Equipment Mini-Review: Anvil Foundry 6.5

I have been brewing many more small (2.5 to 3 gallon) batches lately. It’s a great way to test out new styles–if I don’t like it I’m not stuck with 5 gallons. This has long been my favored format with high gravity beer, too; I don’t necessarily want 5 gallons of a 10% abv brew. I can manage well in my Anvil Foundry 10.5, but it’s a bit of a pain to navigate at smaller batches. The volumetric markings don’t go low enough to measure quickly, and a small mash can end up pretty thick within the brew basket. So, I decided that it was time to splurge a bit and add the Foundry 6.5 to my brewing setup. It is designed for smaller volumes, while also carrying over features like 220v brewing.

The form factor on the Foundry 6.5 is best described as “adorable.” It’s super compact and really easy to handle and clean compared to the Foundry 10.5. It was nice that I could reach so easily to the bottom on this one, which made the already easy cleanup on the Foundry a breeze.

Running at 220v, heating speeds were zippy, and the boil was vigorous. I had to turn it down to around 72% power to avoid too much loss to evaporation. My pump, which I also use with the 10.5 also, works great with the 6.5. The one change is that I had to use tubing of slightly different lengths; a mild annoyance, but at least I didn’t have to buy new tubes. I really like that I didn’t have to buy another recirculation kit.

With smaller batch volumes, I’ve noted that my brew days are definitely shorter; perhaps around 4 hours start to finish versus 5 hours with the 10.5. I could make it a bit shorter if I had colder water for the chiller, but it definitely feels like a more compact brew day overall.

In short, I’ve been having fun with this. The Foundry 10.5 does a great job for 5 gallon batches, but the 6.5 can’t be beat for 2.5 or 3 gallon batches! If you are planning to do only small gallon brews, or you want to extend your brew capabilities, the Anvil Foundry 6.5 has my enthusiastic endorsement.

10 Years of All-Grain Brewing

Looking back through old blog posts, I realized that my first all-grain beer was just over 10 years ago! It was a little intimidating to get started–those days were before the now ubiquitous all-in-one systems, back when the most visible mode of brewing was a shiny (and expensive, and space-hogging) three-tier system. Thankfully, I discovered batch sparging, and this tipped the scales enough for me to try at all-grain.

I have learned a ton since then, so wanted to jot down some of the lessons for posterity. Here we go!

  • Crush is probably the most important factor for me. It can be make-or-break, especially when first learning process, and it has been so worth it to get a mill of my own so that I can dial in this variable. This has made my extraction efficiency quite predictable!
  • For those going into all-grain brewing nowadays, I would suggest either brew-in-a-bag (especially for smaller batches or smaller budgets), or an all-in-one. The Anvil Foundry has been a great investment, and makes my brew sessions all the more enjoyable. A three-tier system just isn’t worth it for me, and I would say even batch sparging is not a good route if you have the cash for all-in-one or brew-in-a-bag.
  • Mash temperature matters, but not as much as I thought. I used to obsess over being within a fraction of a degree, and that was not mental energy well spent. If you are 5 or 10 degrees off — sure, that’s going to affect your intended results. But if you are within 1 or 2 degrees, it’s almost certainly not going to be noticeable.
  • It’s worth having a stash of bulk base malts. At one point, I had three or four bags on-hand, and now I’m down to 2-row and pilsner as my usuals. Perhaps I should pick up a bag of Maris Otter and/or Vienna, but I just don’t brew enough for styles that require them. I don’t think I’ve ever gotten Munich in bulk, but it’s so strong as a flavor that I don’t use it much.
  • Decoctions can be fun. It’s worth giving a try sometime. Same for cereal mashes. But, you can make great beer without them.
  • The biggest benefit of all-grain brewing for me? I get endless recipe control, and it opens up a ton of (grain) ingredients and styles that would be hard to do otherwise.
  • All-grain brewing is no substitute for good temperature control.
  • Sometime soon, I need to do an extract batch. Just for fun, and to see if what I have learned will generate something awesome.

Above: A series of images over the years showing my evolution of all-grain brewing. From left to right, top row: my first mash tun; an early decoction effort; second row: grains ready for a brew; a full sack of malt; a very full mash tun for a high gravity beer; third row: checking temperature; the Anvil Foundry in an early brew.

Schoepshead Pale Schöps

For our April style competition, my homebrew club decided to try a Breslau-Style Pale Schöps. I had never heard of this until my club president brought this up as an option, and a bit of searching online finds virtually nothing. This is a historical style, native to the area of Breslau (now Wrocław, Poland). The Brewer’s Association added it to their style guide for the GABF a few years back, which I can only imagine must have been a special favor for someone, because there just ain’t any commercial examples out there now.

In any case, I only found a handful of recipes online, and many (all?) of these were by people asking, “So, I made up this recipe and does it look plausible…” This meant I decided to just use what I’ve learned over the years, and try and put my own recipe together.

From what I read about the style, it should be mostly wheat malt in the grist (up to 80%), with a bready flavor and aroma aspect and a full body. Although this is a wheat ale, it wasn’t supposed to have German wheat ale yeast–instead, a fruity character was described, without phenols. Hops are in the background on this, too.

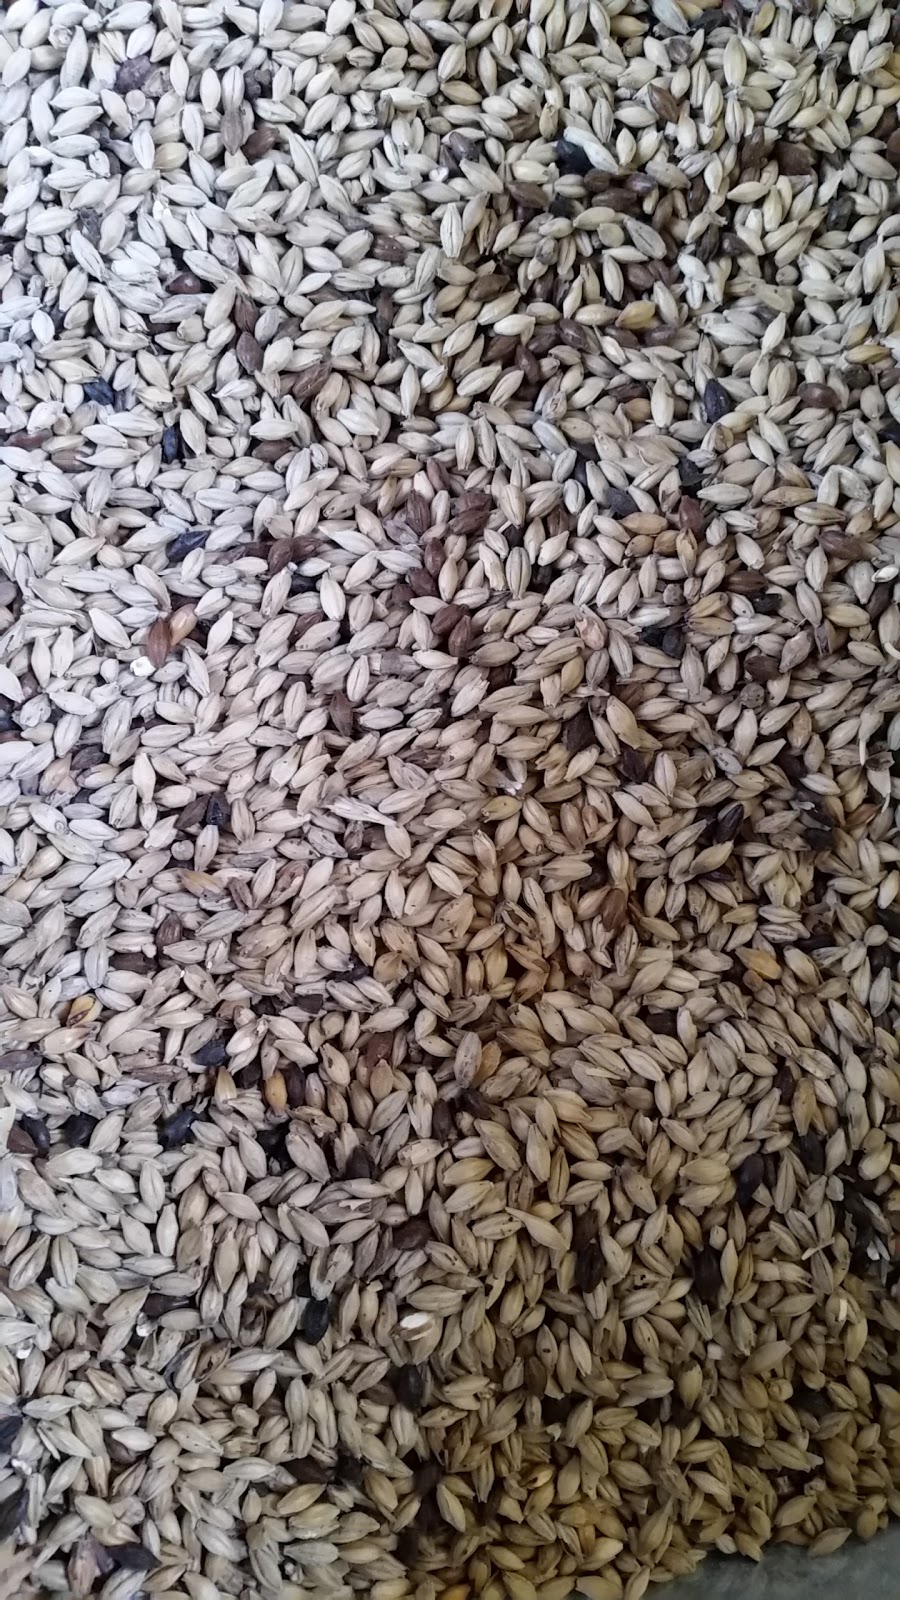
With all of this information, I put together a grain bill that was mostly wheat malt (~70%), backed up by equal parts pilsner and biscuit malt. I elected to go with a German ale yeast, the classic WLP029. For my grains, I wanted to go with European malts, choosing those from Viking because at least some are sourced from Poland. This seemed appropriate for the brew! I had no idea if I would like this batch or not, so I aimed for 3 gallons instead of the full 5.

The name is a German-ish (highly inauthentic and untranslatable) pun on “Sheep’s Head,” just because I thought it sounded funny and vaguely like the word “Schöps.”

Schoepshead Pale Schöps

  • 6 lb. wheat malt (Viking)
  • 1 lb. biscuit malt (Dingemans)
  • 1 lb. pilsner malt (Viking)
  • 1 lb. rice hulls
  • 2 oz. Hallertauer Mittelfrueh hop pellets (2.7% alpha), 35 minute boil
  • 1 Whirlfloc tablet, 10 minute boil
  • 1 tsp. Fremax yeast nutrient, 10 minute boil
  • 1 pkg. German Ale/Kolsch yeast (White Labs, WLP029)

Target Parameters

  • 60 minute infusion mash, 153°, batch sparge
  • 1.065 o.g., 1.016 f.g., 6.6% abv, 24 IBU, 8 SRM
  • Claremont tap water

Procedure

  • 48 hours in advance, I made a 0.65L starter with the yeast, and cold crashed for 24 hours.
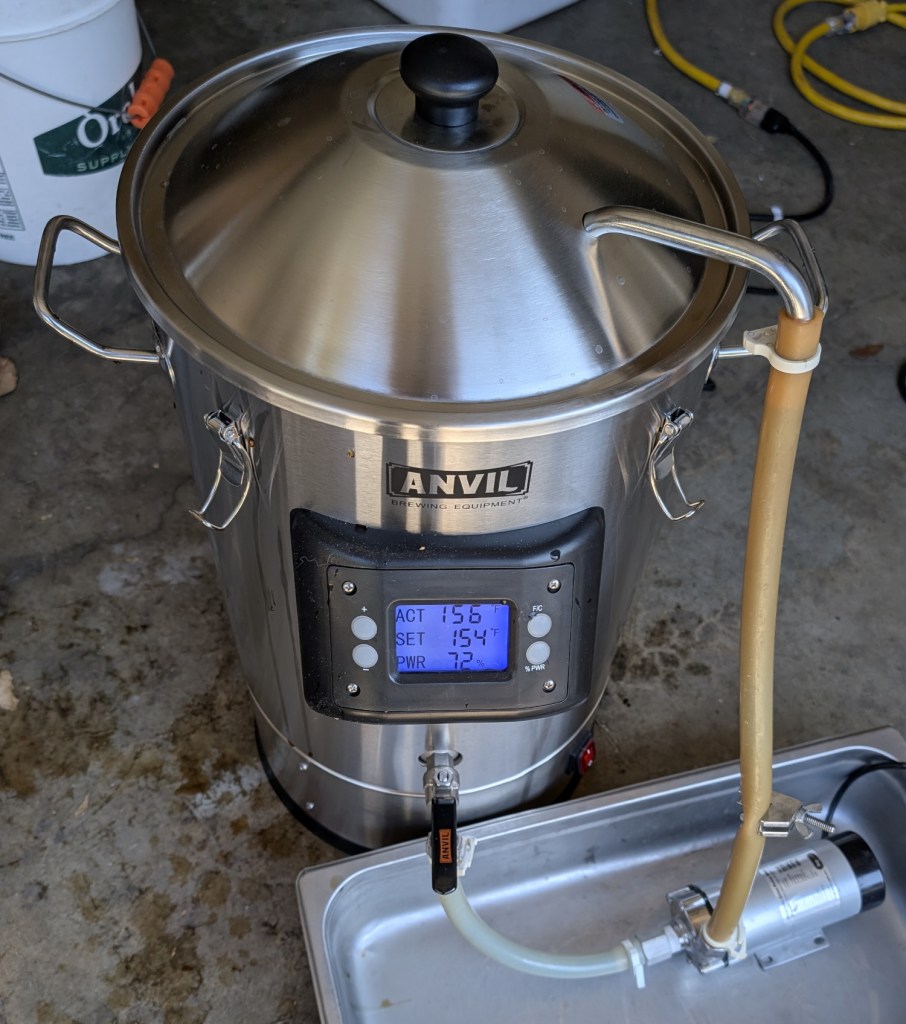
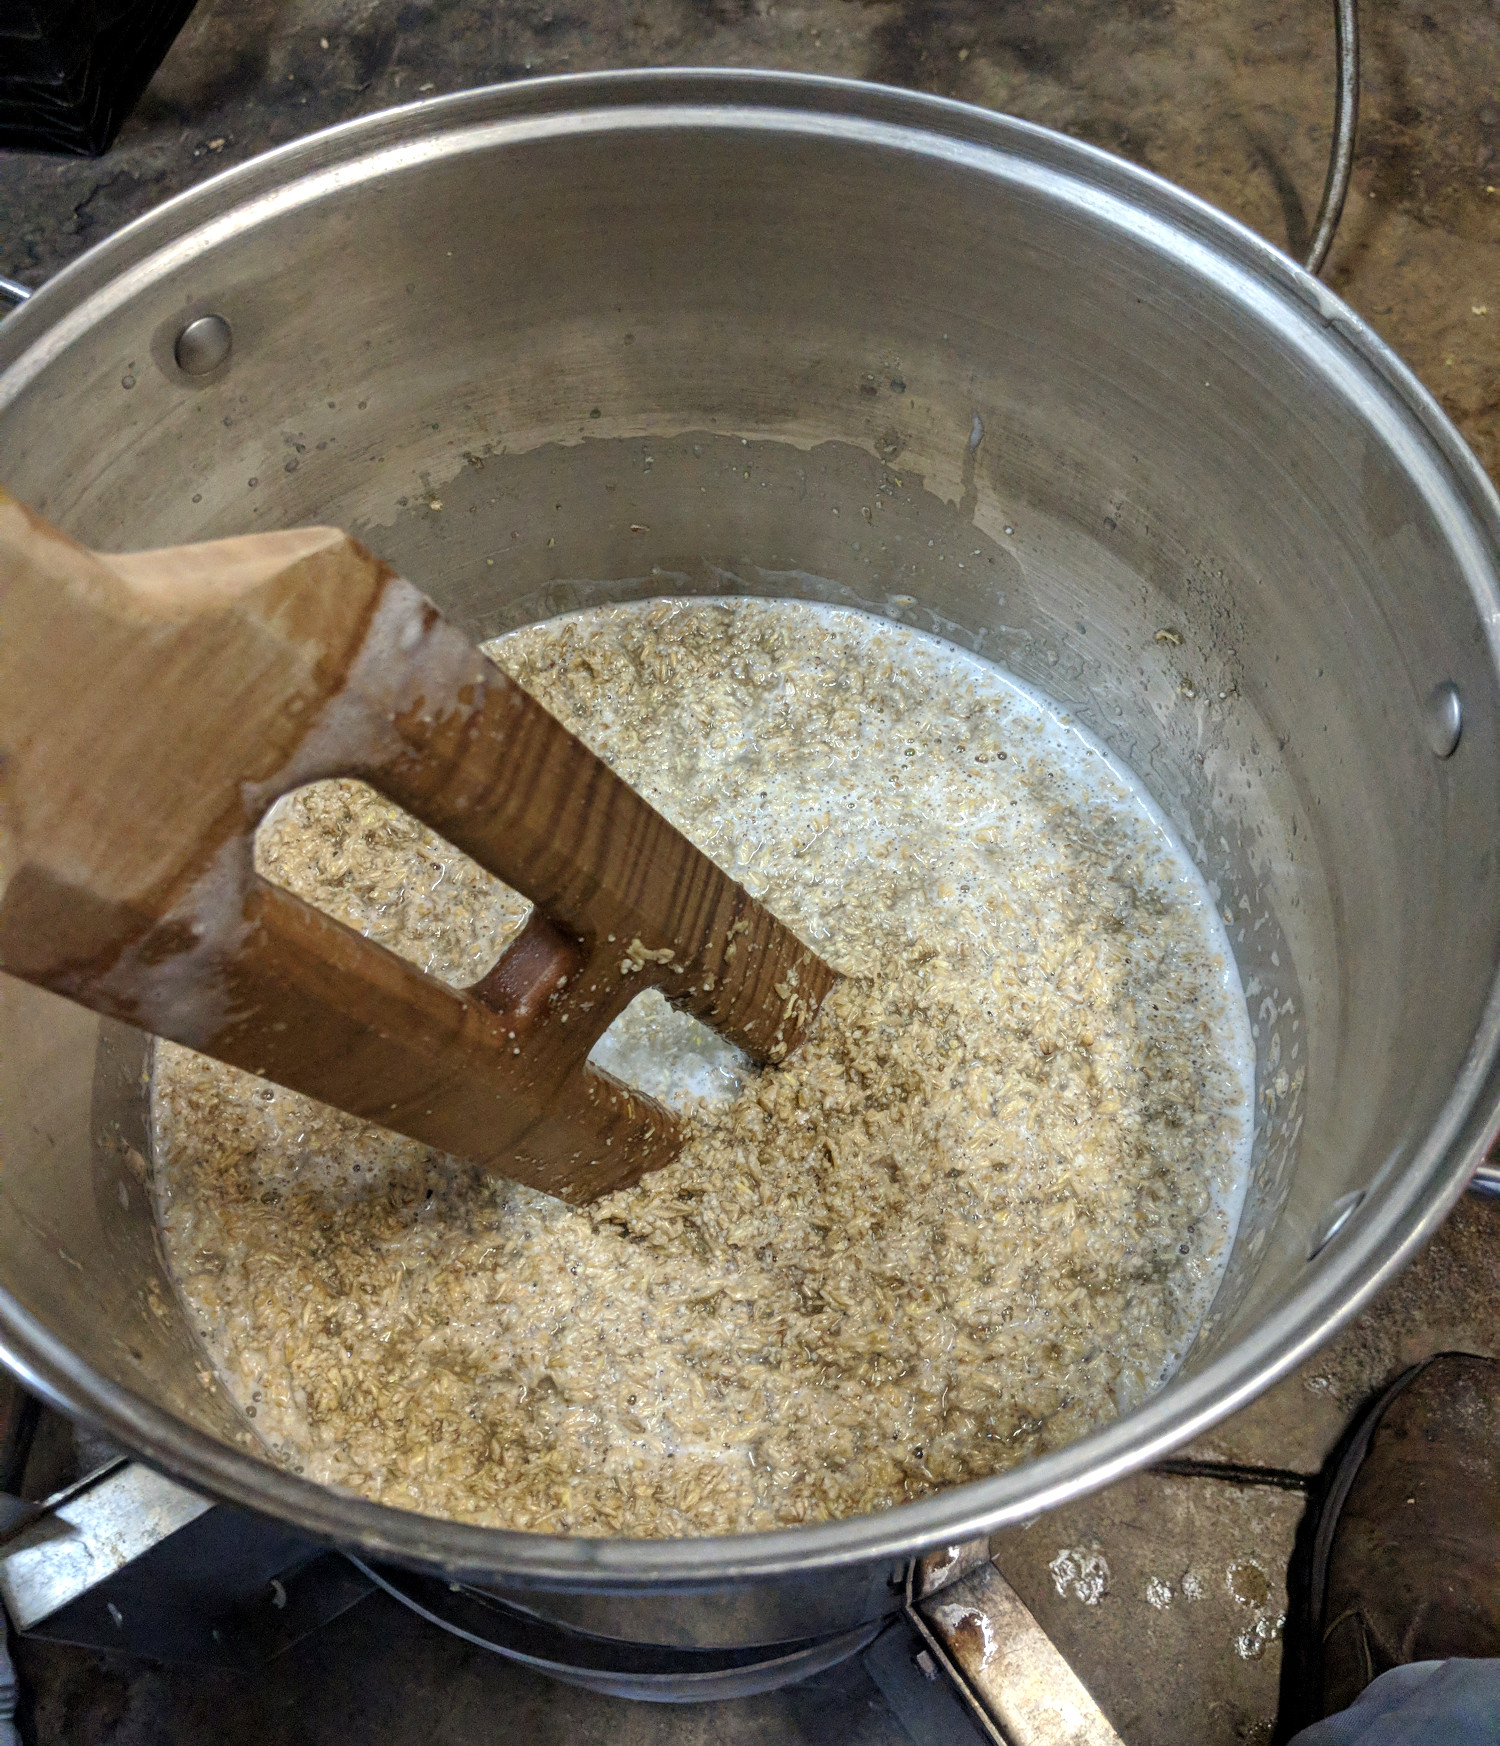
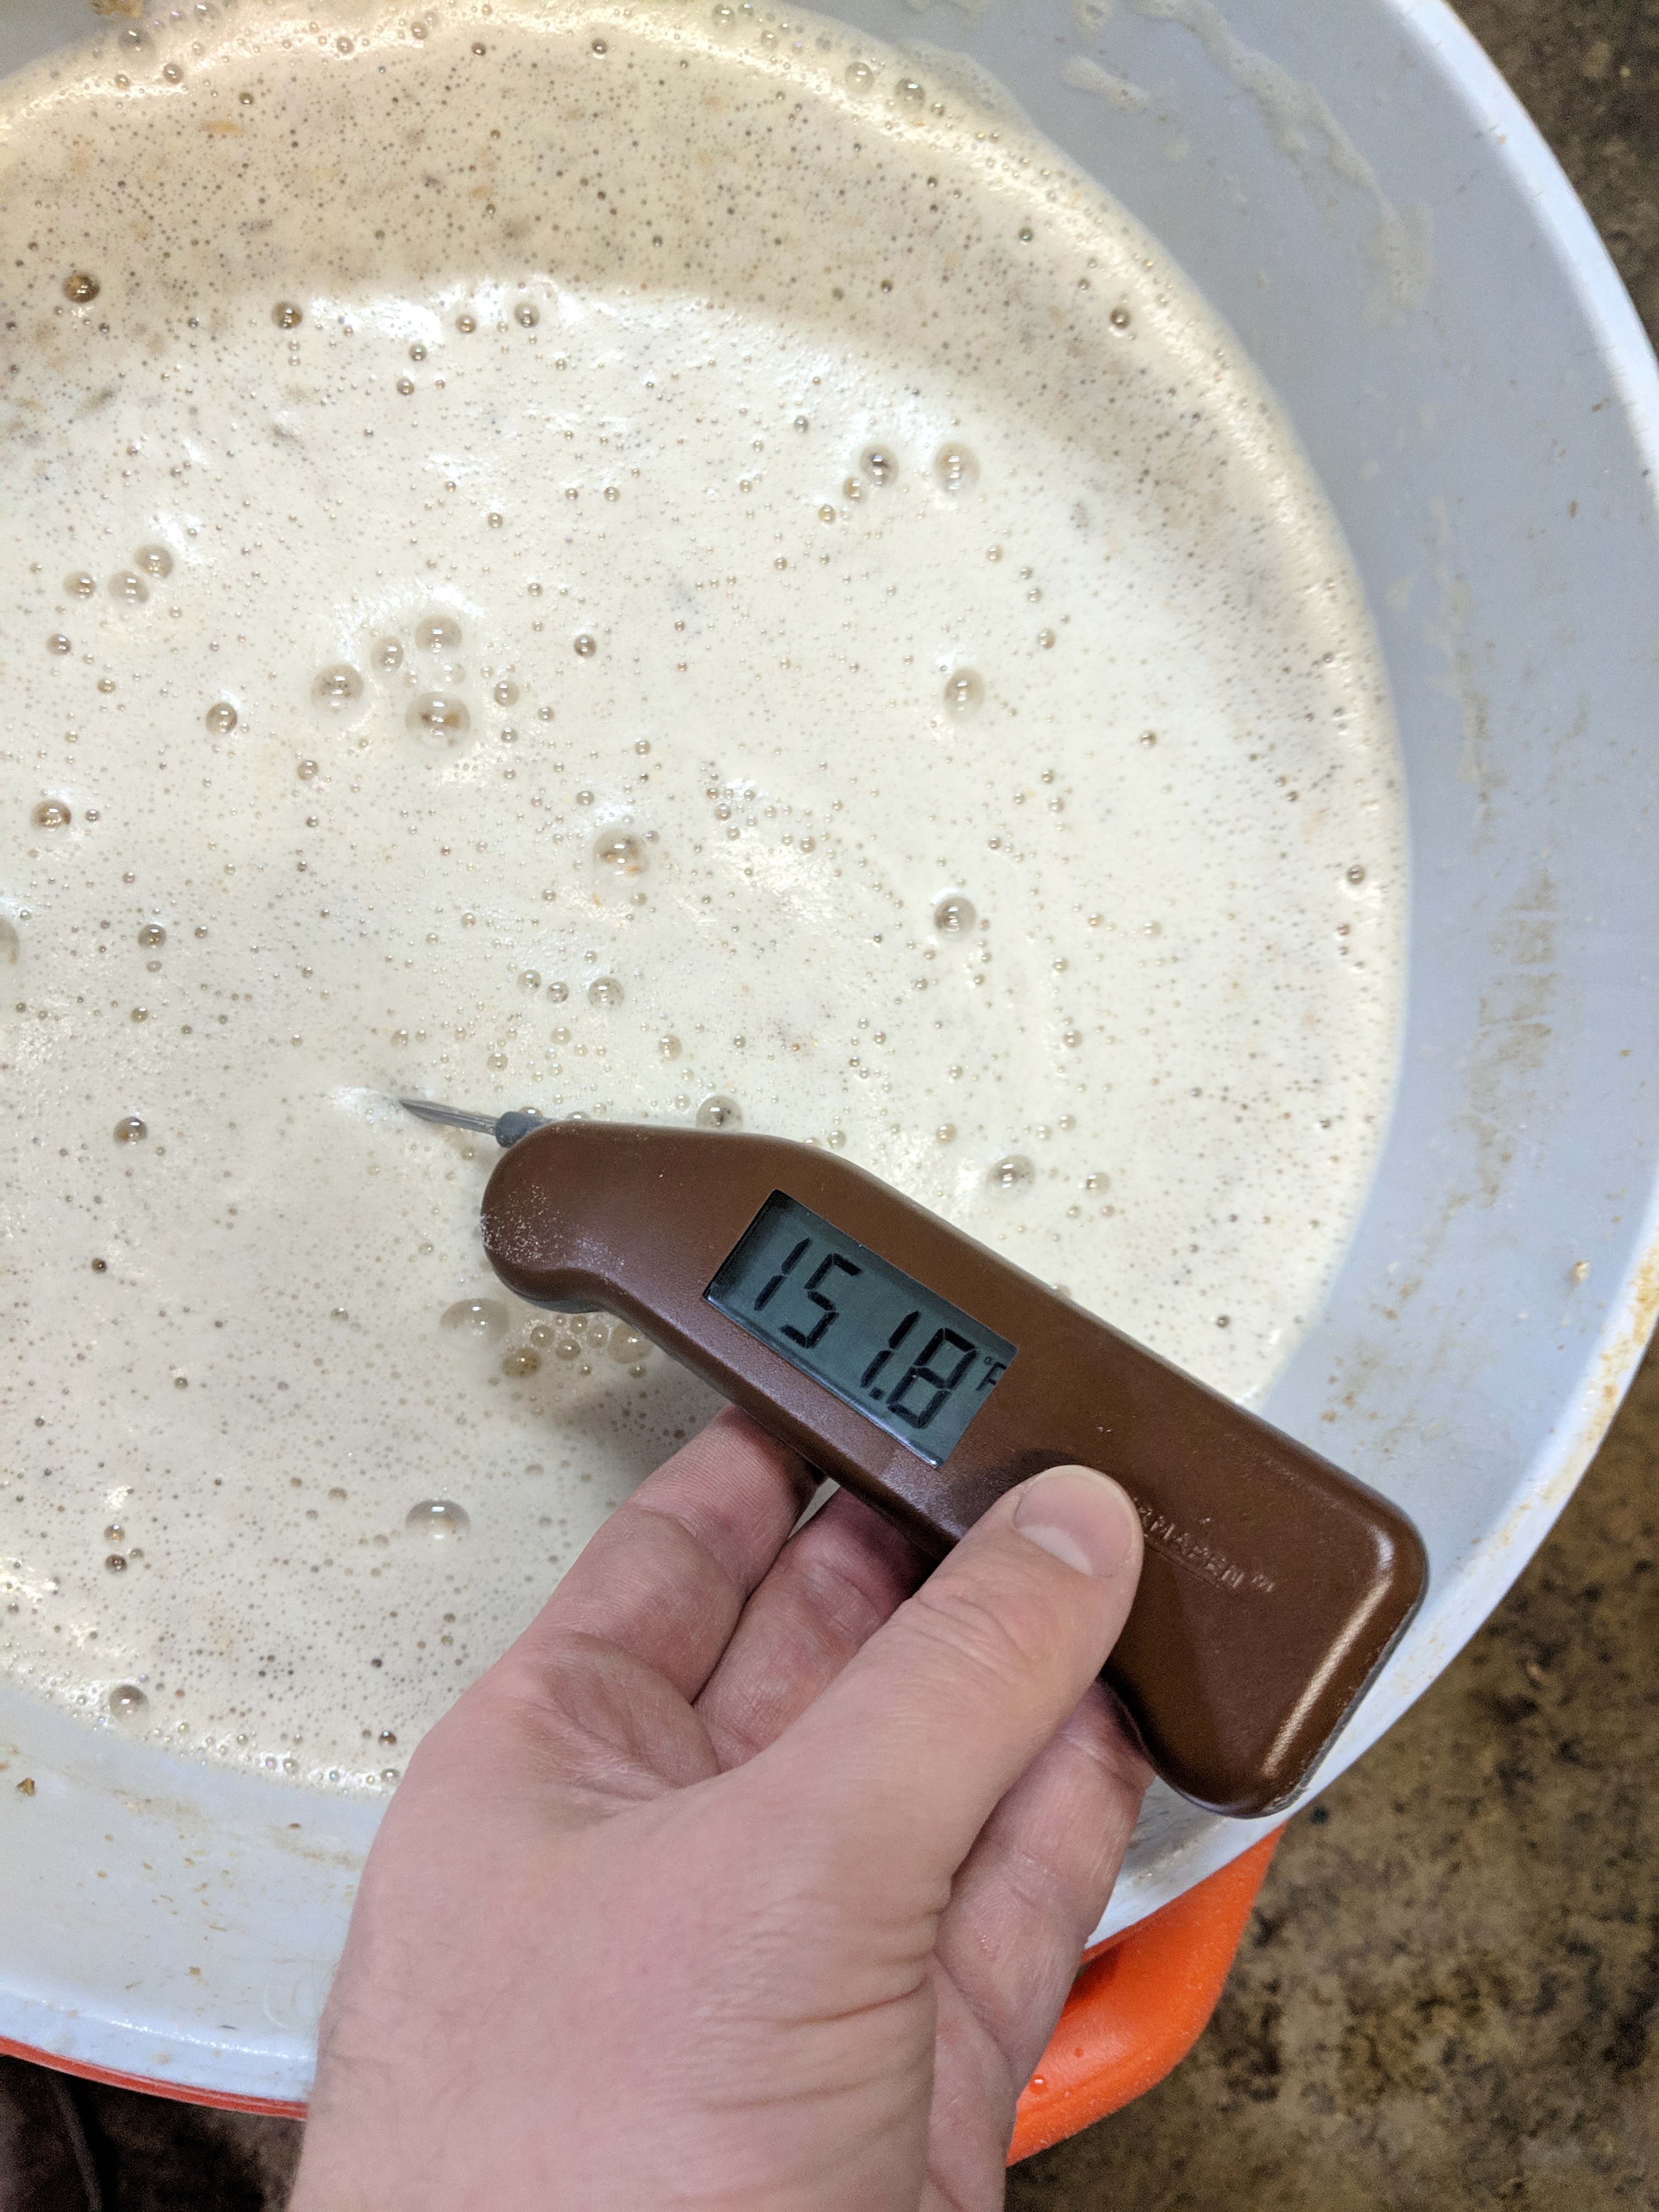
  • I mashed in with 3.25 gallons of water at 165°, to hit a 154° mash temperature. I let this sit for 60 minutes, and it was down to 151° by the end. I added 0.3 gallons of water at 185°, let sit for 10 minutes, vorlaufed, and collected first runnings.
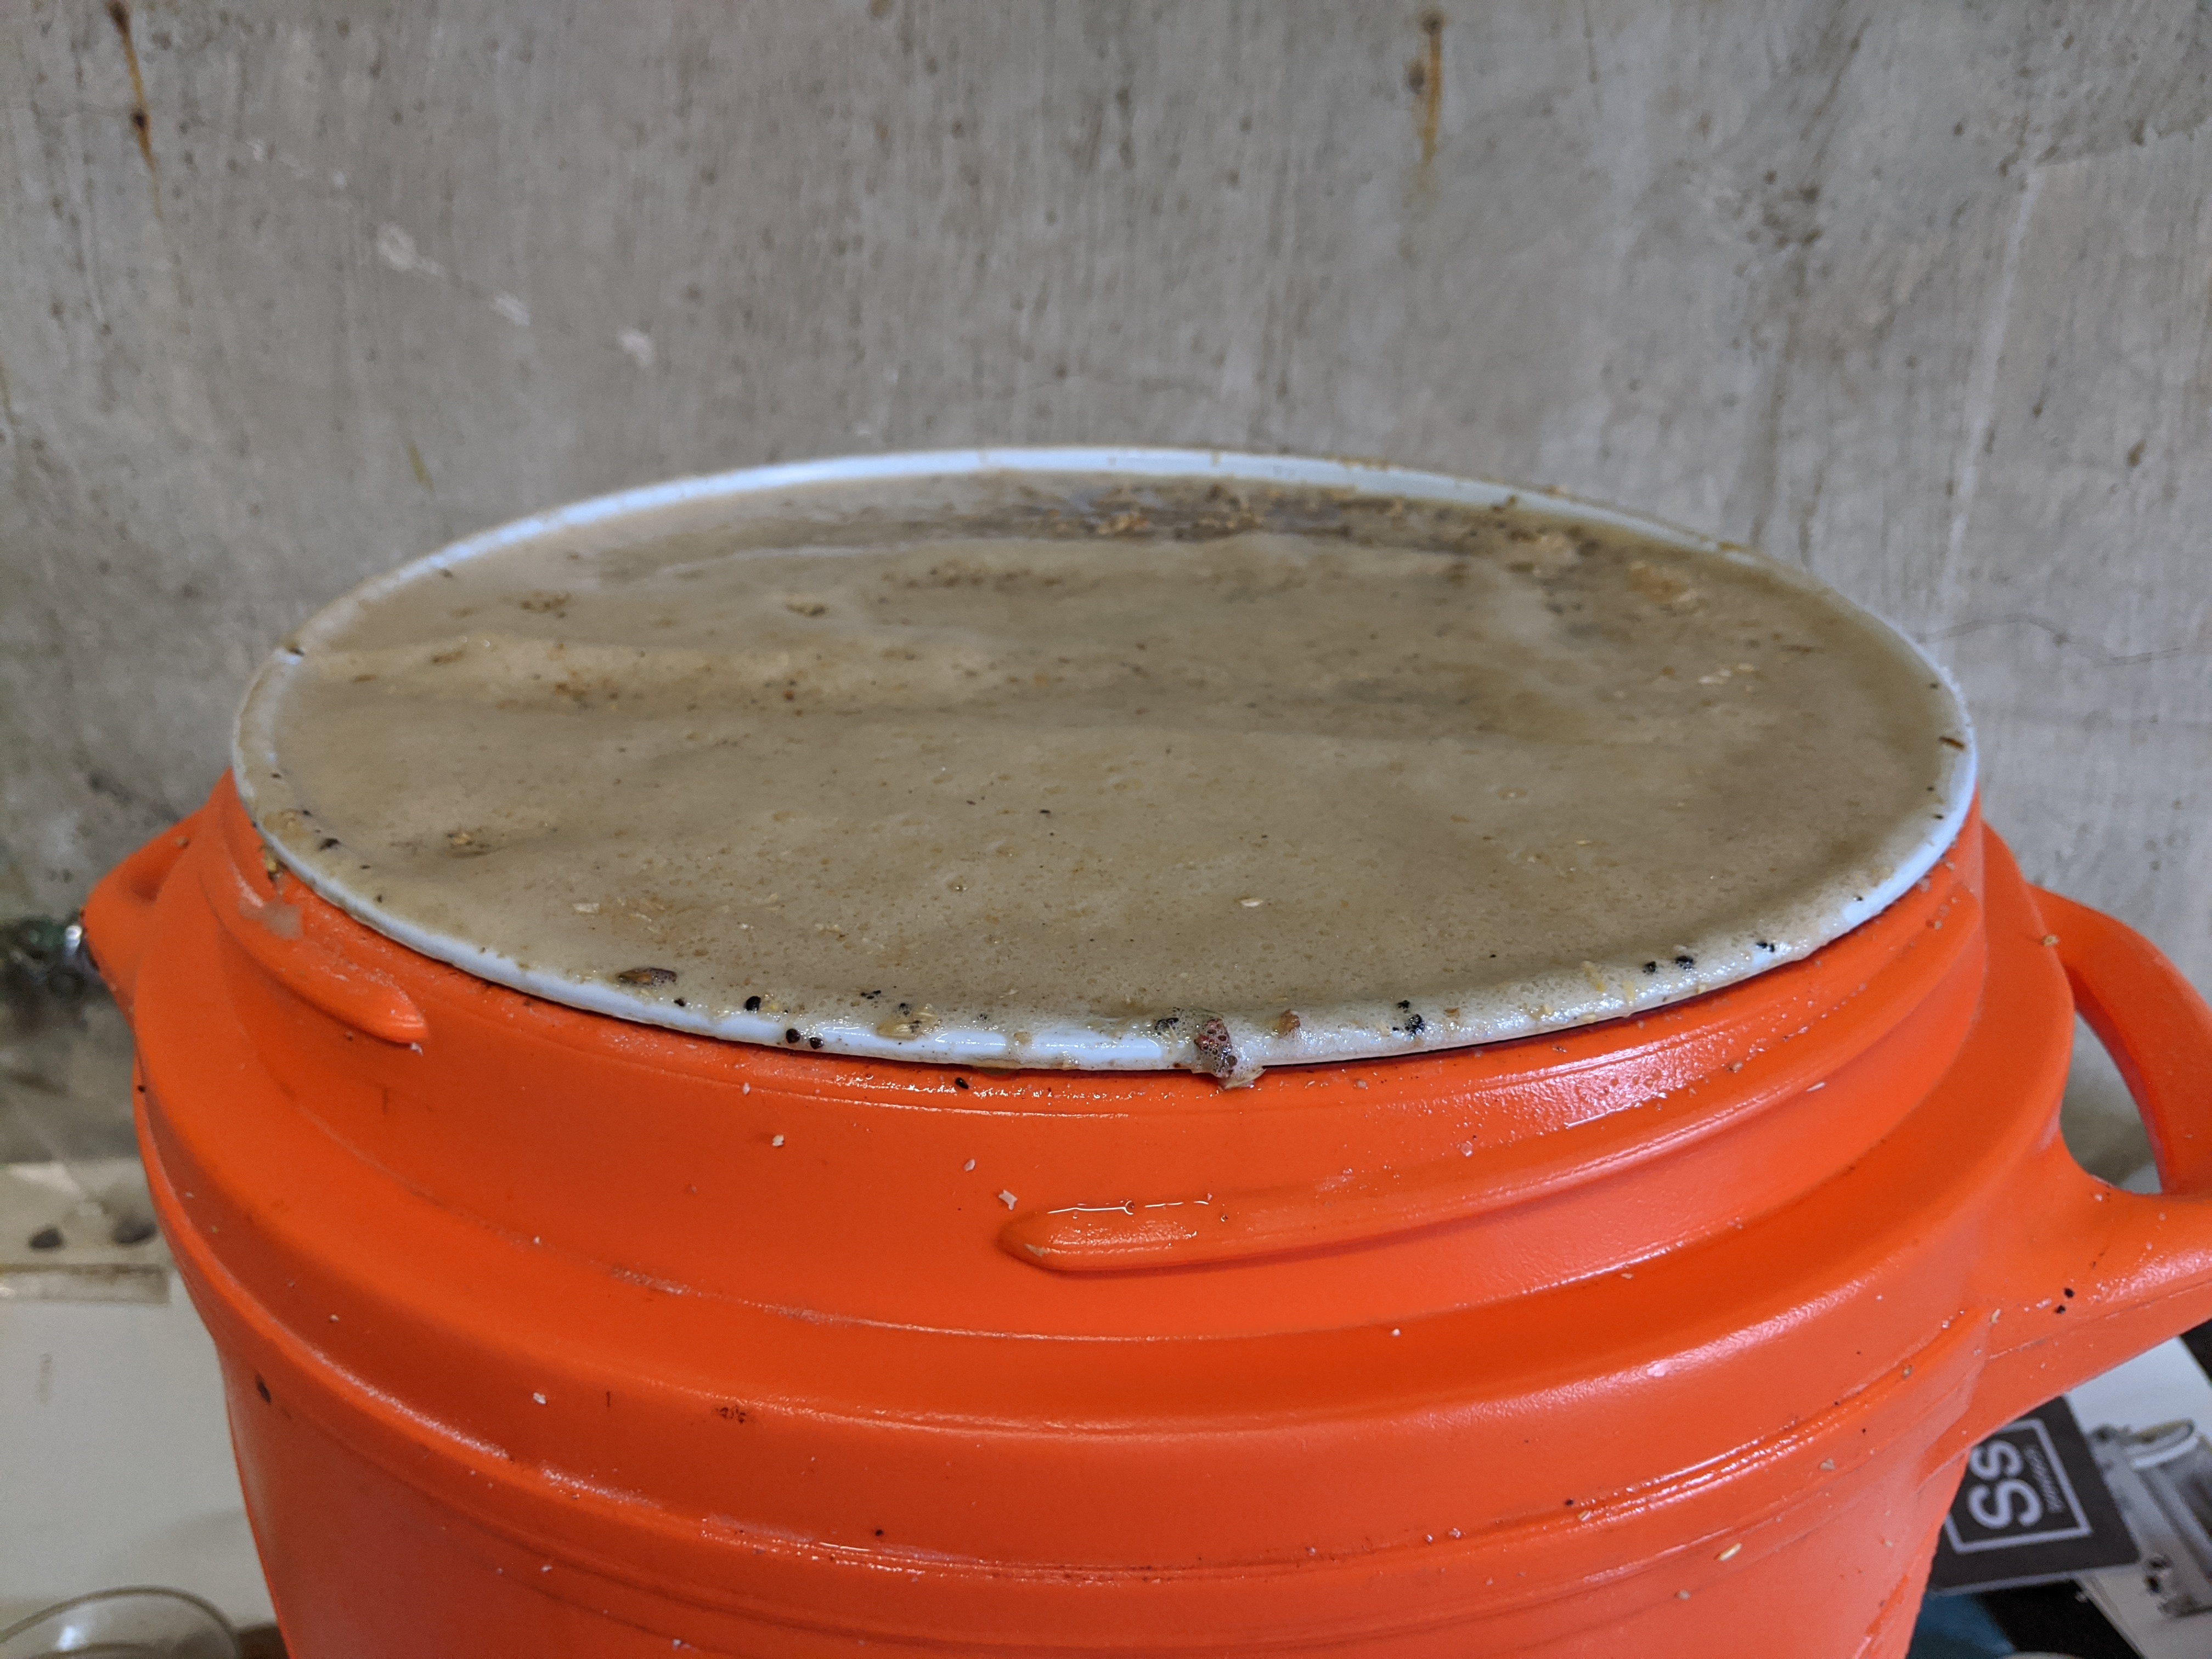
  • Then, I added 2.25 gallons of water at 185°, let sit for 10 minutes, vorlaufed, and collected the second runnings.
  • In total, I collected 4.3 gallons of runnings at a gravity of 1.047. This was only 67% efficiency; it put me well below my target (1.053), but it’s not a surprise given the large amount of wheat in the bill.
  • I boiled for 60 minutes, adding hops and yeast nutrient per the schedule. After 60 minutes, I chilled the wort and transferred to the fermenter.
  • I brewed this beer on March 30, with a starting gravity of 1.060. I fermented the beer a 68°, and gravity was down to 1.014 by 2 April. On 9 April, gravity was 1.010. I kegged the beer at this point; it had reached 6.6% abv.

Tasting

  • Aroma
    • Very bready, with a slight fruitiness behind that. No hop aroma.
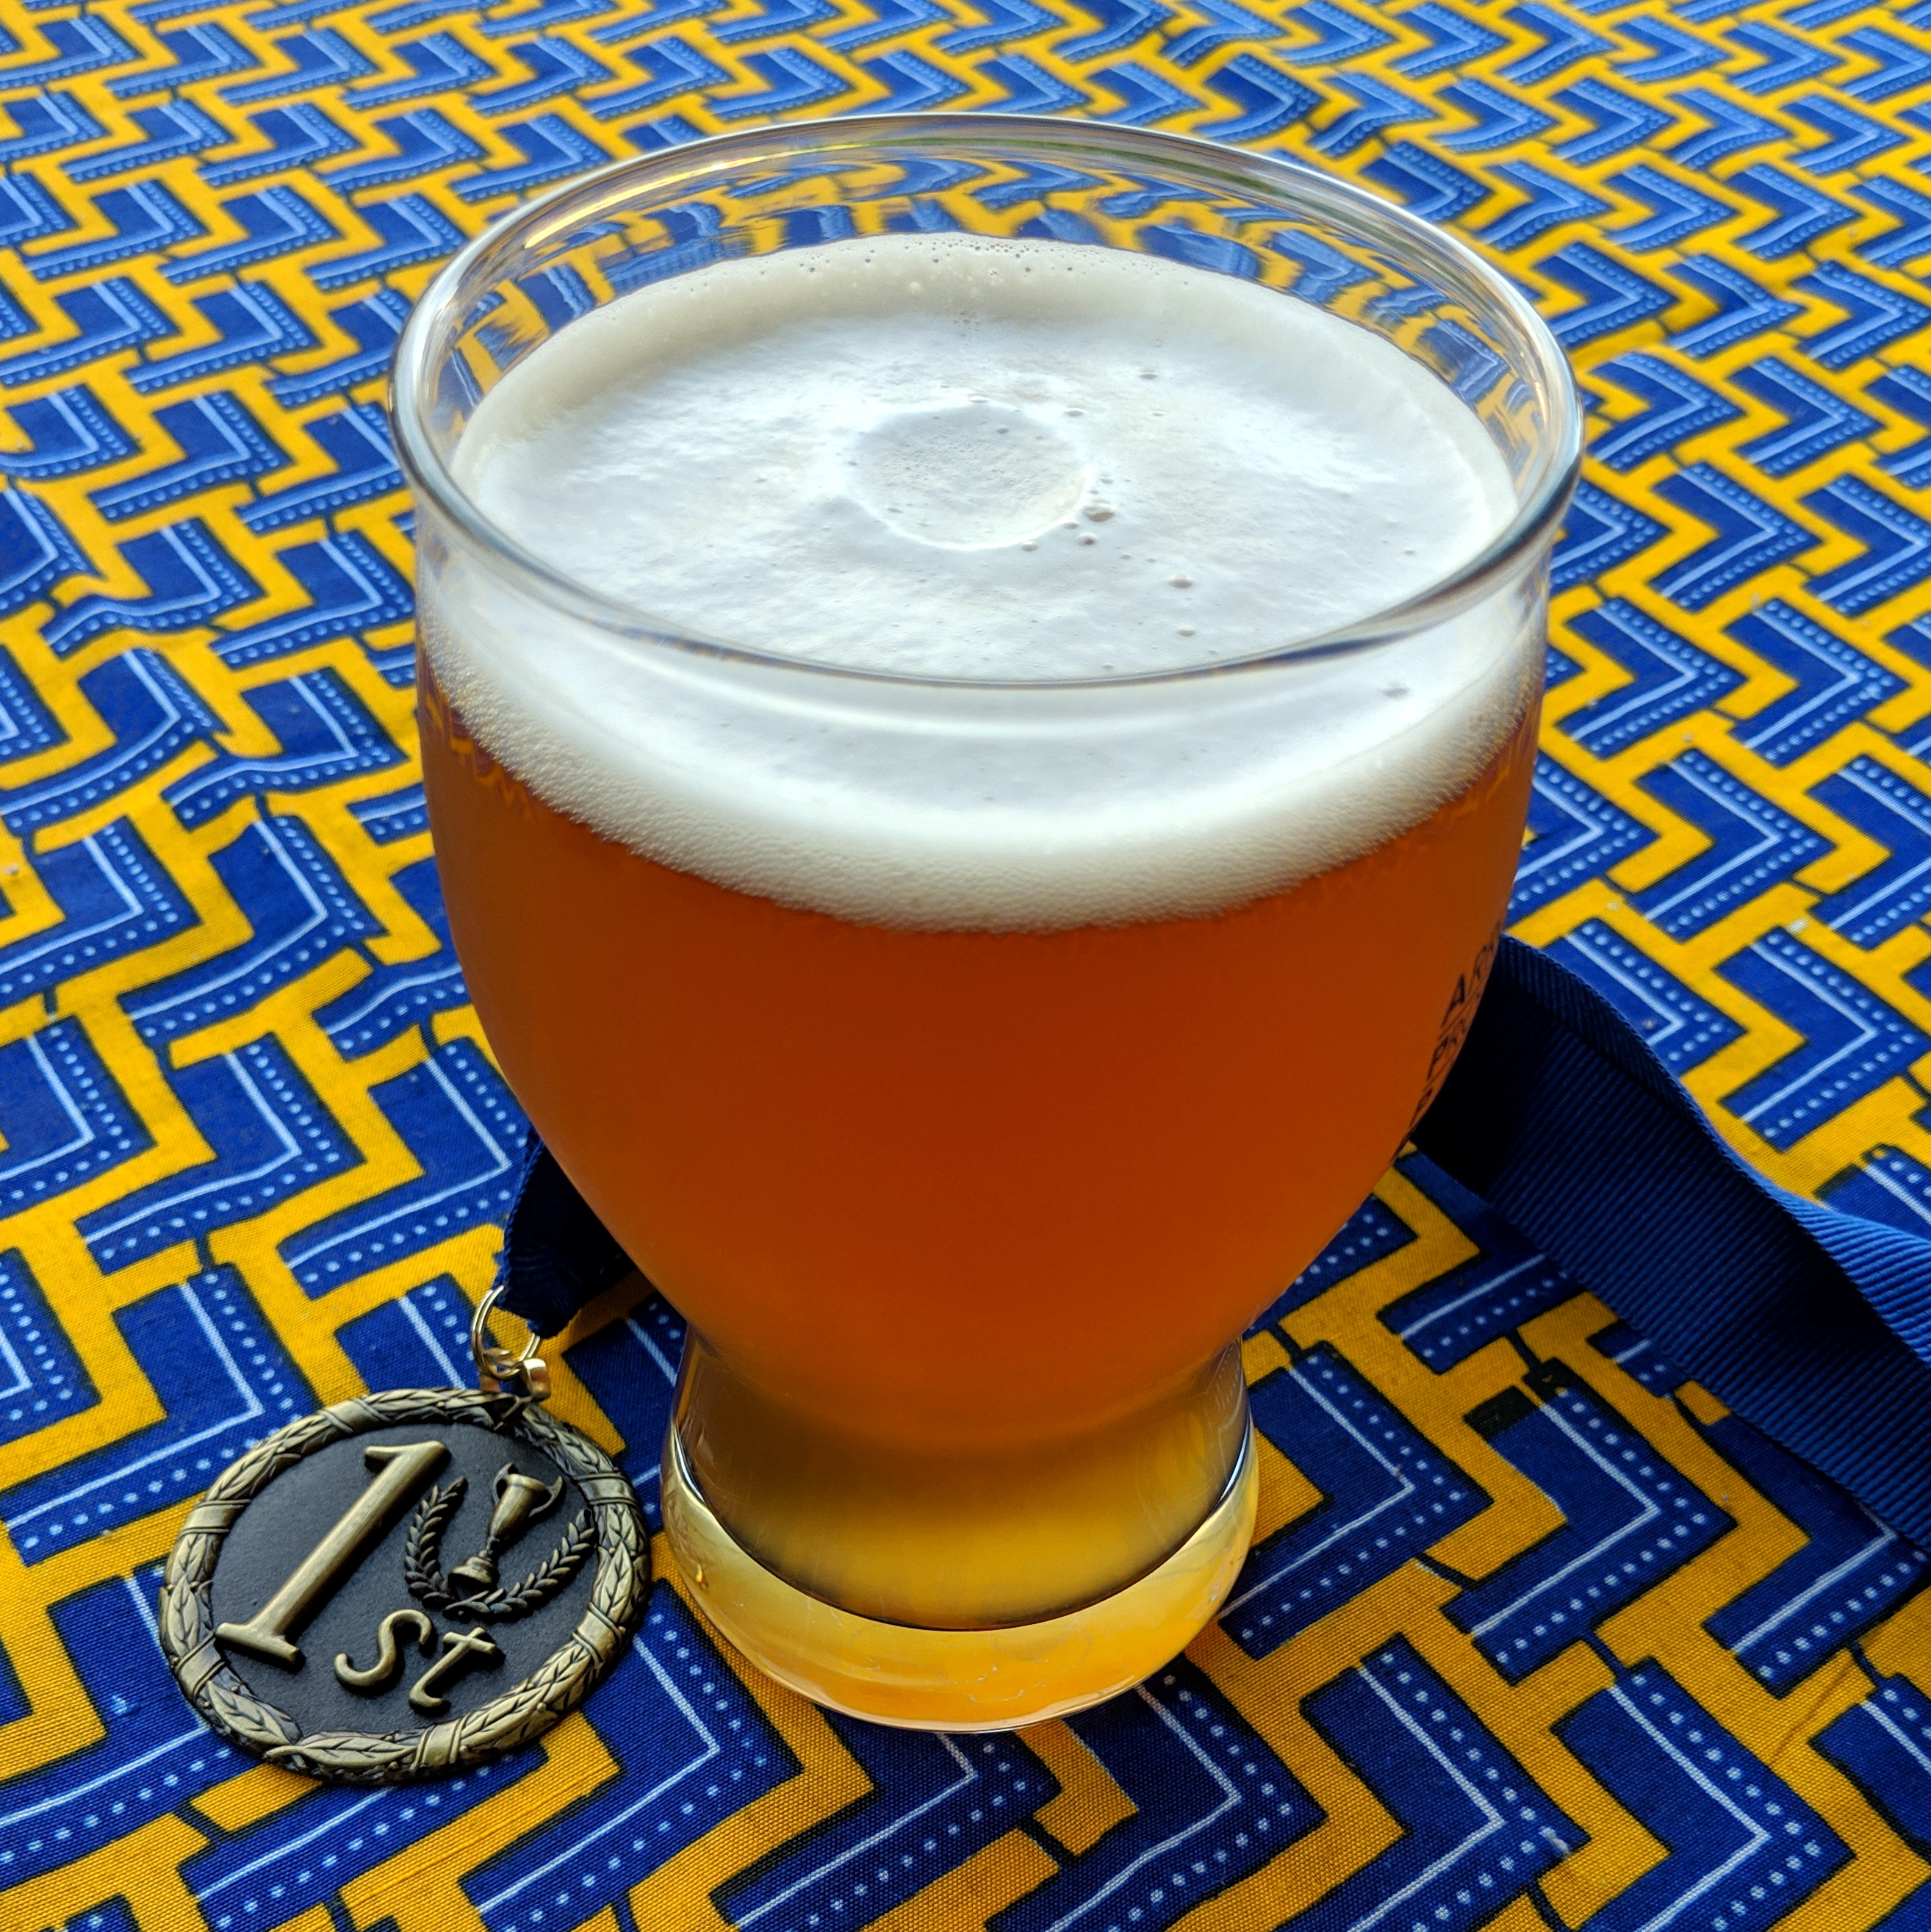
  • Appearance
    • Persistent white and very fine head. Beer itself is copper color, with a decent amount of haze.
  • Flavor
    • Lightly fruity on the front, with a nice rounded bready, malty flavor behind that. Hop bitterness is medium-low, with a nice smooth finish.
  • Mouthfeel
    • Great body on this, with moderately high carbonation. The finish is nice and extended, pleasantly balancing the malt and hops.
  • Would I brew this again?
    • This is a really nice beer! I could see myself brewing this recipe again….I wasn’t sure how I’d like this, and it has turned into a pretty enjoyable brew. The flavor is really nice, and it’s a highly drinkable style for its level of alcohol. It’s a great bridge between the beers of winter and the beers of summer. I can’t say there’s anything I’d really change, either to keep it more to style or to make it more to my palate.
  • Overall
    • 10/10

And…the beer won first place in our club competition!

Olde Persica Porter

I’m getting that itch again, to brew with new styles and new ingredients. With winter on the horizon, I want to stock up on some beers that will serve well on a chilly night next to the fire. I also recently realized I haven’t brewed with smoked malt before. So, a smoked porter seemed like just the thing to try.

In assembling the recipe, I drew heavily upon an Alaskan Smoked Porter clone from the American Homebrewers Association website. This was augmented with a Smoked Robust Porter recipe, also from AHA. Because I wanted this to be a fairly rich base porter that would stand up to the smoke, I elected to go with Vienna malt for the majority of the grist. Conveniently, I also have a decent bit still in stock. To add an American emphasis, I’m going to use whole Cascade hops from South Dakota as the bittering hops, with a charge of Willamette at the very end.

Once I got to the homebrew shop, I discovered that they had several different kinds of smoked malt in stock. I had been planning on using a beechwood-smoked rauch malt, but the owners suggested trying a peachwood-smoked malt instead. I was intrigued!

The malt itself is from Copper Fox Distillery, a Virginia-based operation that specializes in small-batch whiskeys and such. They have also started a brew malt operation, with a handful of products. Because the maltster is so new and so small, it is very difficult to find any specific information on the malts. Their website didn’t have any real information, but Southern Hills Homebrew Supply did. I also learned a bit in chatting with a local person who is helping to distribute Copper Fox malts in California. The bottom line is that this is a floor malted, smoked 2-row barley malt. The aroma and flavor profile are supposed to be a bit gentler than in traditional beechwood-smoked malt. Based on what I tasted and smelled during the brew, this very much seems to be the case. The aroma is delightfully aromatic and smoky, but the flavor in the wort is not at all overpowering.

As for the name of this recipe? Well, because I am using peach wood malt, I wanted to honor peaches. The scientific name for a peach is Prunus persica, reflecting its close kinship with plums (and thus prunes) as well as the fact that domesticated peaches entered Europe via Persia. However, peaches themselves have a deeper origin in China; the oldest fossil peaches clock in at around 2.6 million years old. As a frame of reference, our genus Homo was just getting started around that time, and the modern Homo sapiens was still 2.4 million years away!

Olde Persica Porter, just into the primary fermenter

Olde Persica Porter, just into the primary fermenter

Olde Persica Porter

  • 7 lbs. Vienna malt (Weyermann)
  • 3 lbs. peach wood smoked 2-row malt (Copper Fox Distillery)
  • 1 lb. 80° crystal malt
  • 1 lb. 40° crystal malt
  • 0.5 lb. black (patent) malt
  • 0.5 lb. chocolate malt
  • 2 oz. Cascade whole hops (5.1% alpha), 60 minute boil
  • 1 oz. Willamette hop pellet (4.1% alpha), 10 minute boil
  • 1 oz. Willamette hop pellet (4.1% alpha), 1 minute boil and 5 minute steep after flame-out
  • 1 Whirlfloc tablet, 10 minute boil
  • 0.25 yeast nutrient, 10 minute boil
  • White Labs California Ale yeast (WLP001)

Target Parameters

  • 1.065 o.g., 1.017 f.g., 6.3% abv, 37 IBU, 36 SRM, 5.5 gallons into the fermenter

Procedure

  • Five days before brewing, I made a 2L starter. After two days, I split the starter (to create a yeast culture with 100 billion cells for later), and cold crashed the remainder in the flask for pitching on brew day.
  • I mashed in with 4.3 gallons of water at 166.7°, to hit a mash temperature of 154.5°. After 60 minutes, the mash was down to 151°. At this point, I added 0.75 gallons of water at 165°, to raise the mash to 152°.
  • I let the mash rest for 10 minutes, vorlaufed, and collected the first runnings. I then added 3.5 gallons of water at 175°, let everything sit for 10 minutes, and then collected the second runnings.
  • Altogether, I collected 6.75 gallons of wort with a gravity of 1.054, for a mash efficiency of 77%.
  • I brought the runnings to a boil, and added hops and other stuff per the schedule. After 60 minutes, I turned off the heat and chilled the wort to 80°. Our groundwater is still too warm to get much below that!
  • Starting gravity is 1.060. This is a bit below my target (1.065), most likely because I didn’t have the boil as vigorous as it usually is. I pitched the yeast, and will be fermenting at 68°.
  • This beer was brewed on 22 October 2016, with vigorous fermentation underway within 24 hours.

Vienna Brown Ale

viennaMany of my recent brews have explored styles that are new to me–saison, Bohemian pilsner, witbier, and altbier, to name a few. This has been a ton of fun (and produced some tasty results), and I am ever-searching for new ways to expand my brewing repertoire further. For the next round of exploration, I want to really delve into Vienna malt. My standard base malt has been American 2-row, and last winter I spent a bit of time playing with Maris Otter too. I’ve certainly brewed with Vienna malt as a minor ingredient, but still don’t feel like I have a good handle on its flavor characteristics. Time to change that!

Descriptors for Vienna malt are typically vague–phrases like “full-bodied” and “golden colored” don’t really tell me much about the flavor itself. “Toast” and “biscuit” aromas are also supposed to be present. I’m not yet confident what this means within this particular malt, so I need to find out firsthand.

Thus, I recently purchased a 55 pound bag of Weyermann Vienna Malt from my local homebrew shop. I plan to do a whole series of brews with it during the rest of 2016. First up is a brown ale, then an IPA, and after that a classic Vienna lager (because it would be a shame not to!).

My brown ale recipe for this time around is fairly simple, veering towards the malty side (which I like in a brown ale). I have a good feel for what the various crystal and chocolate malts taste like, so this batch makes a solid first chance to get my brain cells around the overall properties of Vienna malt.

Vienna Brown Ale

  • 9.5 lbs. Vienna malt (Weyermann)
  • 0.5 lb. chocolate malt (Briess)
  • 0.25 lb. crystal 40 malt
  • 0.15 lb. de-bittered black malt (Dingemans)
  • 0.5 oz. Nugget hops pellets (13% alpha), 60 minute boil
  • 1 tablet Whirlfloc, 10 minute boil
  • 1 pkg. Nottingham dry yeast (Danstar)

Target Parameters

  • 1.051 o.g., 1.012 f.g., 5.1% abv, 24 IBU, 23 SRM, 5.5 gallons into the fermenter

Procedure

  • I mashed in with 4.1 gallons of water at 163°, to hit 154°. This was down to 151° after 45 minutes. After 60 minutes, I added 1 gallon of water at 190°, to hit a mash temperature of 155°. I waited 10 minutes, vorlaufed, and collected 3.3 gallons of first runnings. Then, I added 3.7 gallons of water at 182°, to hit 166°. After 10 minutes, I vorlaufed and drained the mash tun.
  • In total, I collected 7.1 gallons of wort with a gravity of 1.039, for 71% efficiency.
  • I boiled the wort for 60 minutes, adding hops and Whirlfloc per the schedule. The wort had boiled down to around 6.25 gallons (unchilled) by the end of the time.
  • After 60 minutes, I turned off the flame and chilled the wort to 80°. I transferred the wort into the fermenter (5.5 gallons total), and pitched the dry yeast directly. I sealed up the fermenter, and will begin fermentation at 68°.
  • Starting gravity was 1.048, slightly below my target of 1.051. I brewed this batch on 20 August 2016.