Looking back through old blog posts, I realized that my first all-grain beer was just over 10 years ago! It was a little intimidating to get started–those days were before the now ubiquitous all-in-one systems, back when the most visible mode of brewing was a shiny (and expensive, and space-hogging) three-tier system. Thankfully, I discovered batch sparging, and this tipped the scales enough for me to try at all-grain.
I have learned a ton since then, so wanted to jot down some of the lessons for posterity. Here we go!
- Crush is probably the most important factor for me. It can be make-or-break, especially when first learning process, and it has been so worth it to get a mill of my own so that I can dial in this variable. This has made my extraction efficiency quite predictable!
- For those going into all-grain brewing nowadays, I would suggest either brew-in-a-bag (especially for smaller batches or smaller budgets), or an all-in-one. The Anvil Foundry has been a great investment, and makes my brew sessions all the more enjoyable. A three-tier system just isn’t worth it for me, and I would say even batch sparging is not a good route if you have the cash for all-in-one or brew-in-a-bag.
- Mash temperature matters, but not as much as I thought. I used to obsess over being within a fraction of a degree, and that was not mental energy well spent. If you are 5 or 10 degrees off — sure, that’s going to affect your intended results. But if you are within 1 or 2 degrees, it’s almost certainly not going to be noticeable.
- It’s worth having a stash of bulk base malts. At one point, I had three or four bags on-hand, and now I’m down to 2-row and pilsner as my usuals. Perhaps I should pick up a bag of Maris Otter and/or Vienna, but I just don’t brew enough for styles that require them. I don’t think I’ve ever gotten Munich in bulk, but it’s so strong as a flavor that I don’t use it much.
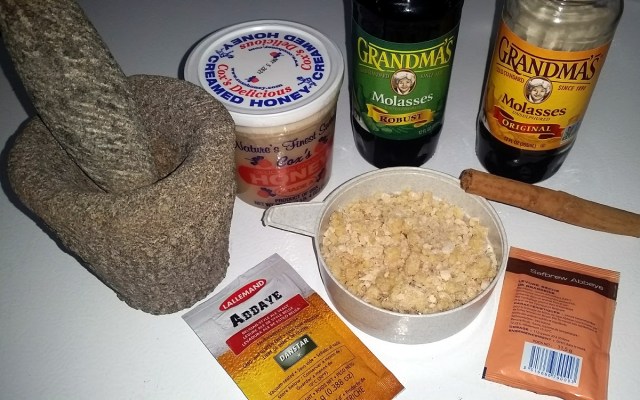
- Decoctions can be fun. It’s worth giving a try sometime. Same for cereal mashes. But, you can make great beer without them.
- The biggest benefit of all-grain brewing for me? I get endless recipe control, and it opens up a ton of (grain) ingredients and styles that would be hard to do otherwise.
- All-grain brewing is no substitute for good temperature control.
- Sometime soon, I need to do an extract batch. Just for fun, and to see if what I have learned will generate something awesome.

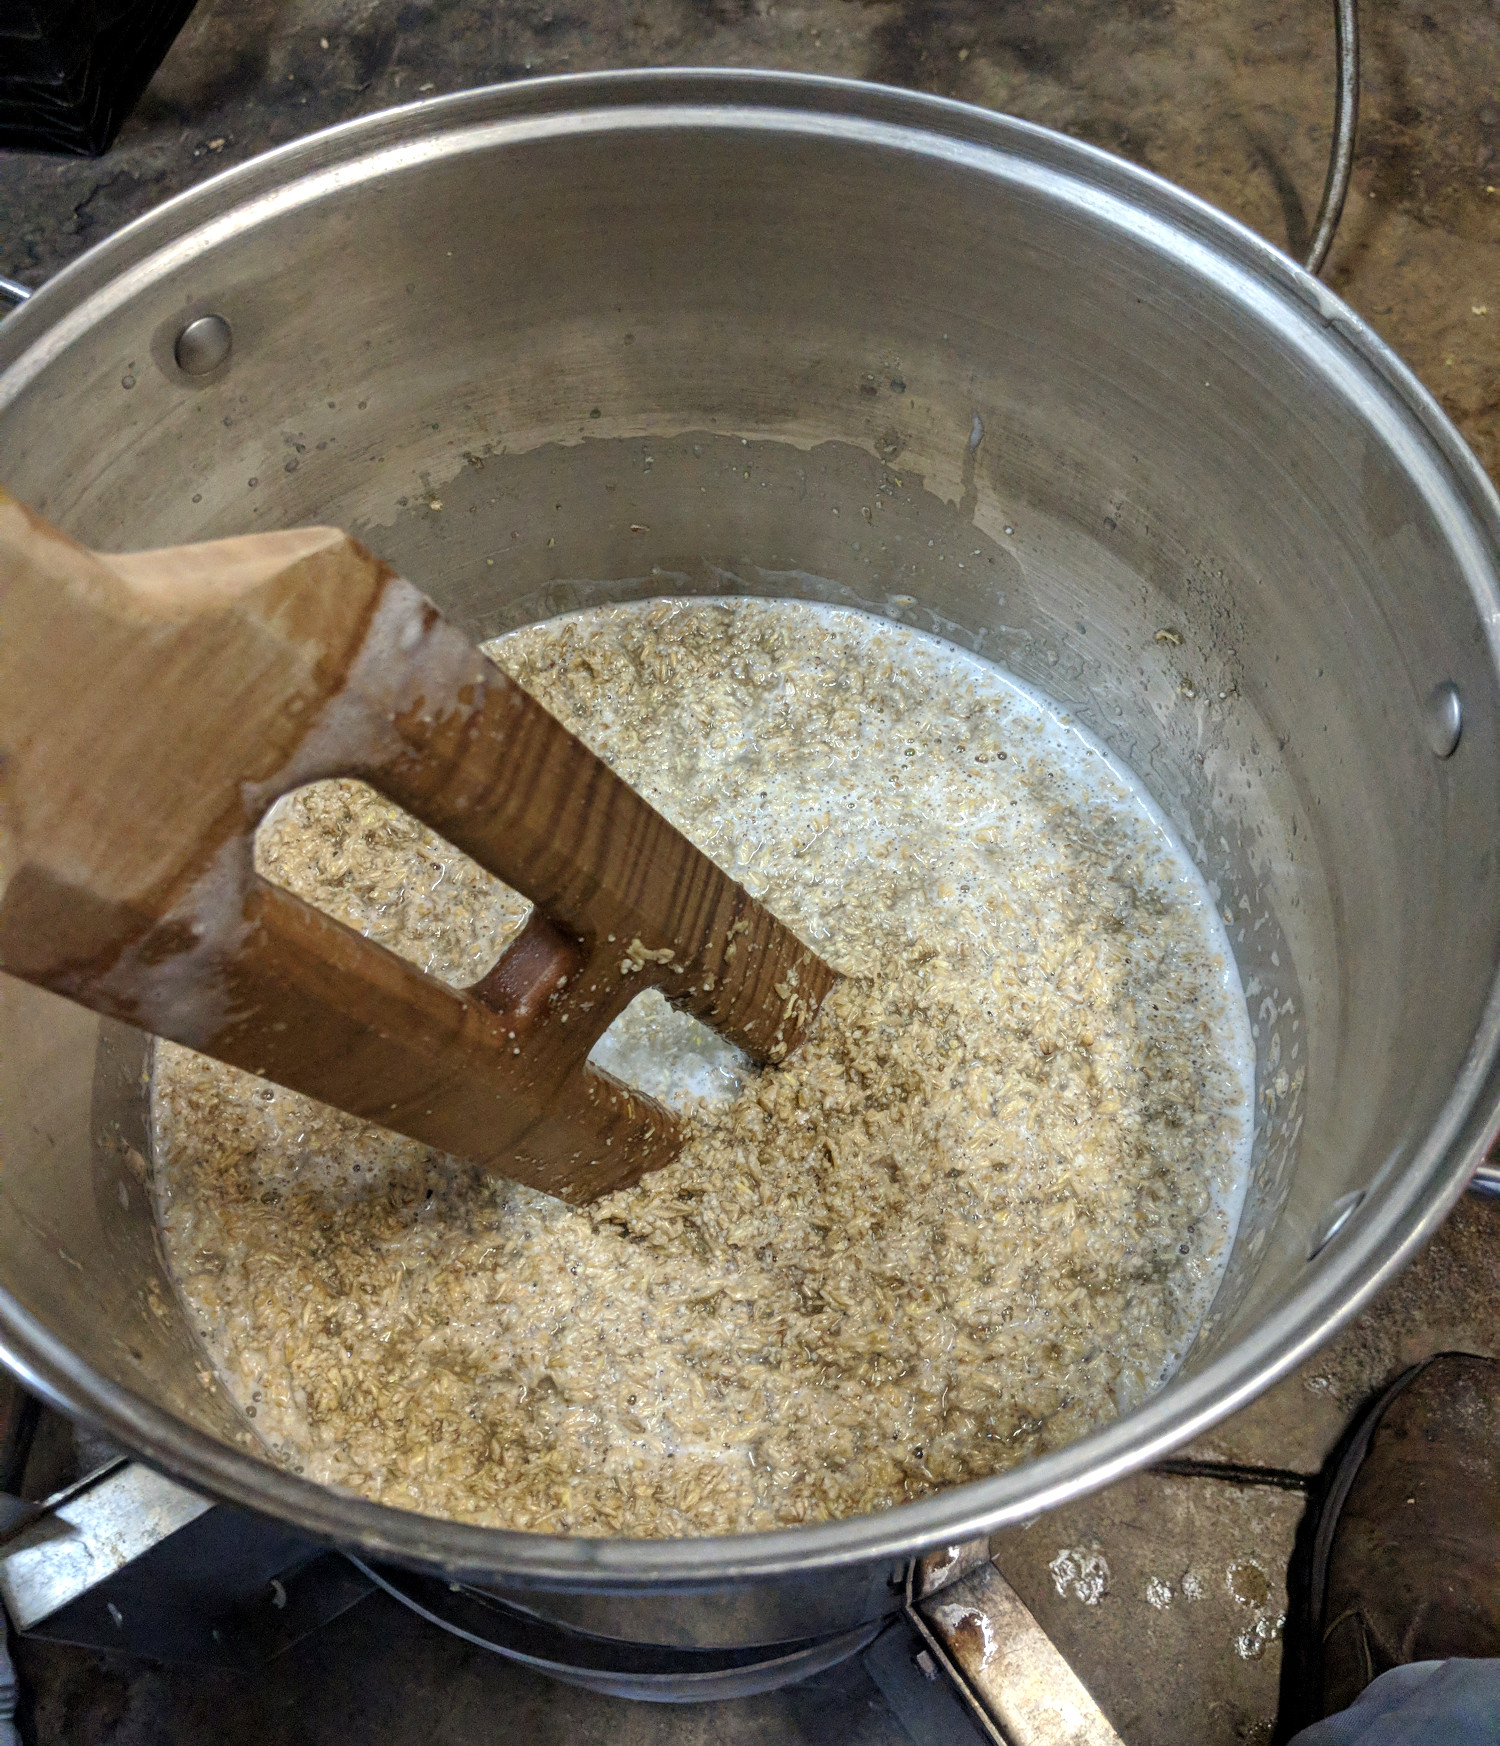
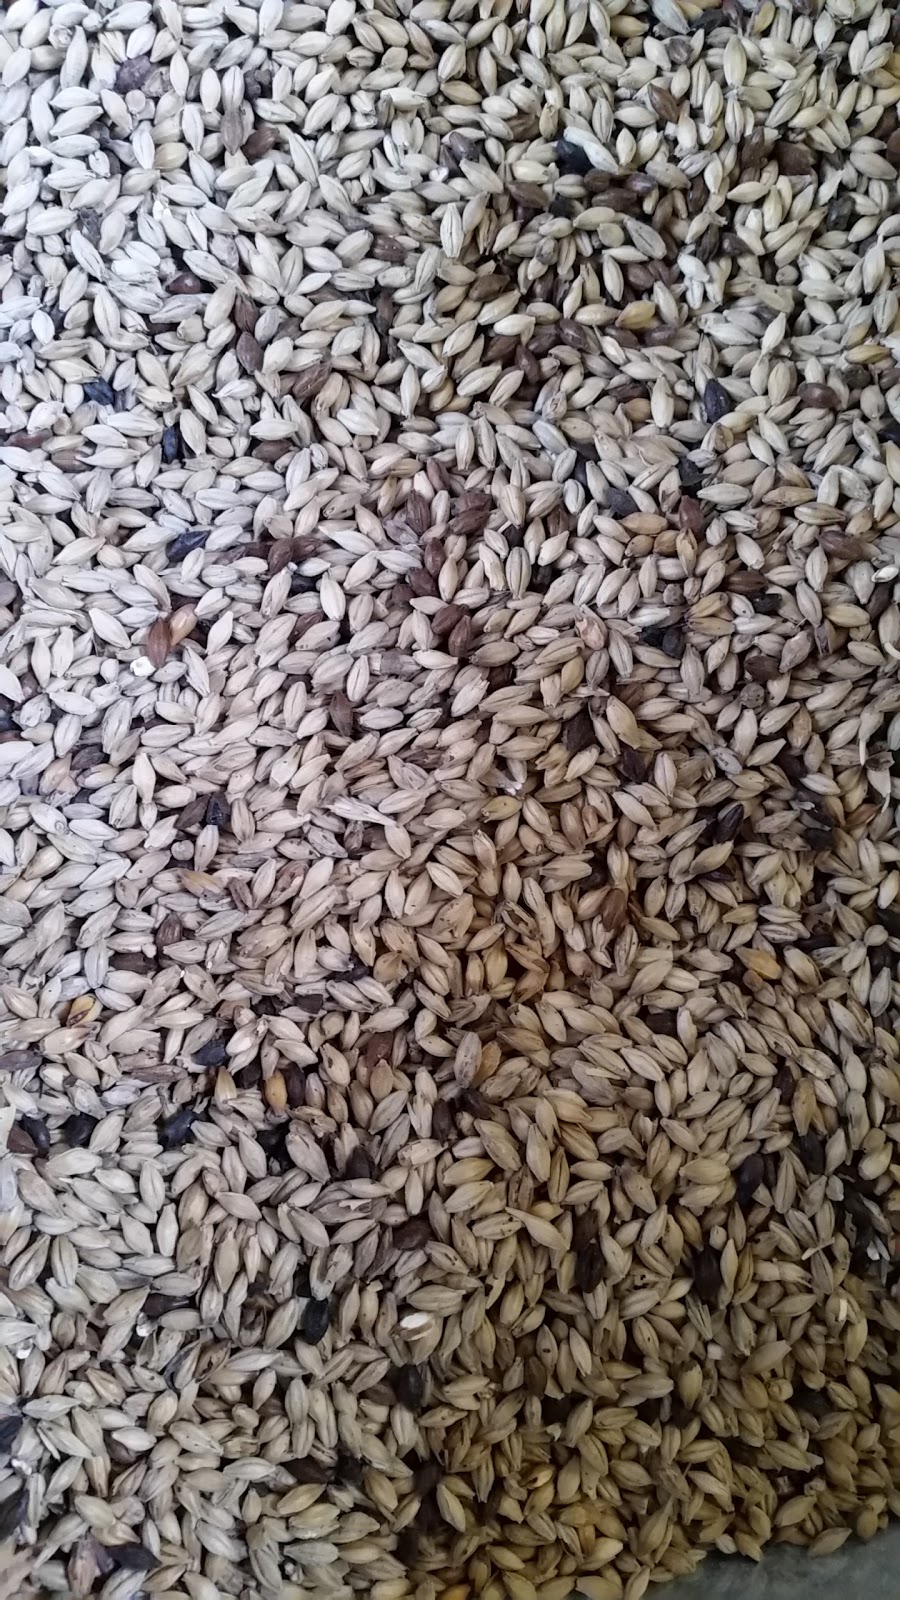

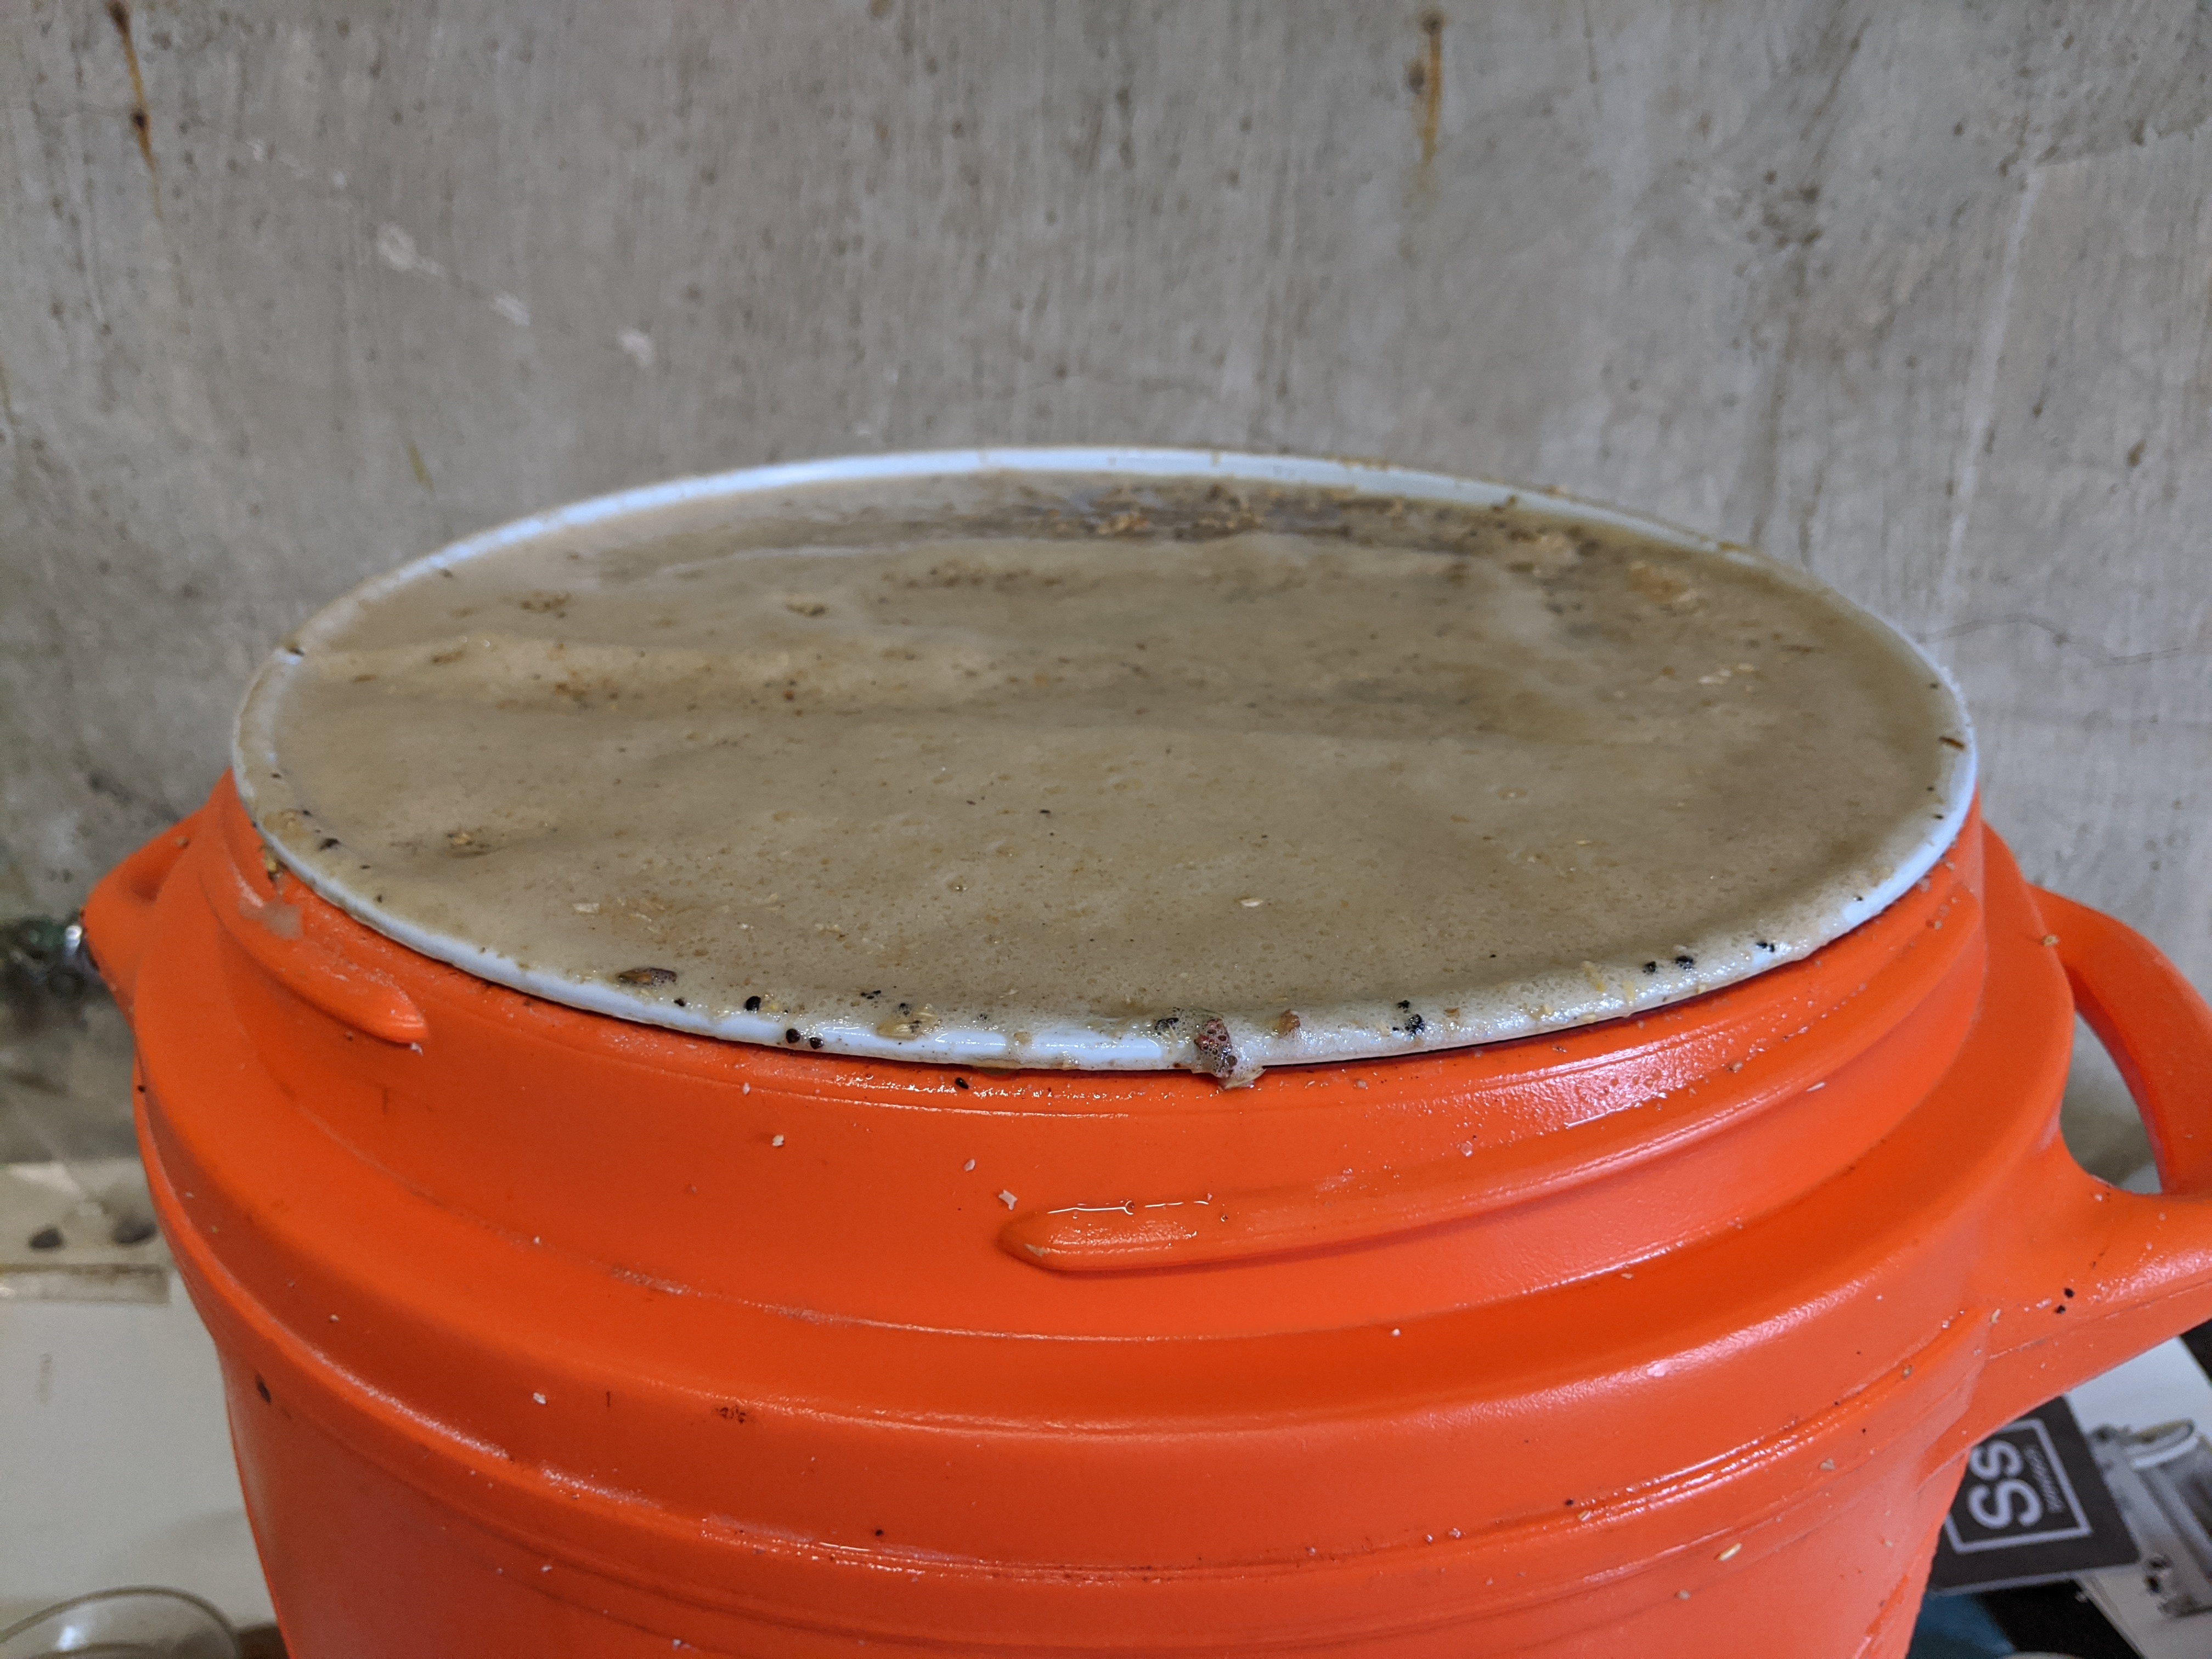
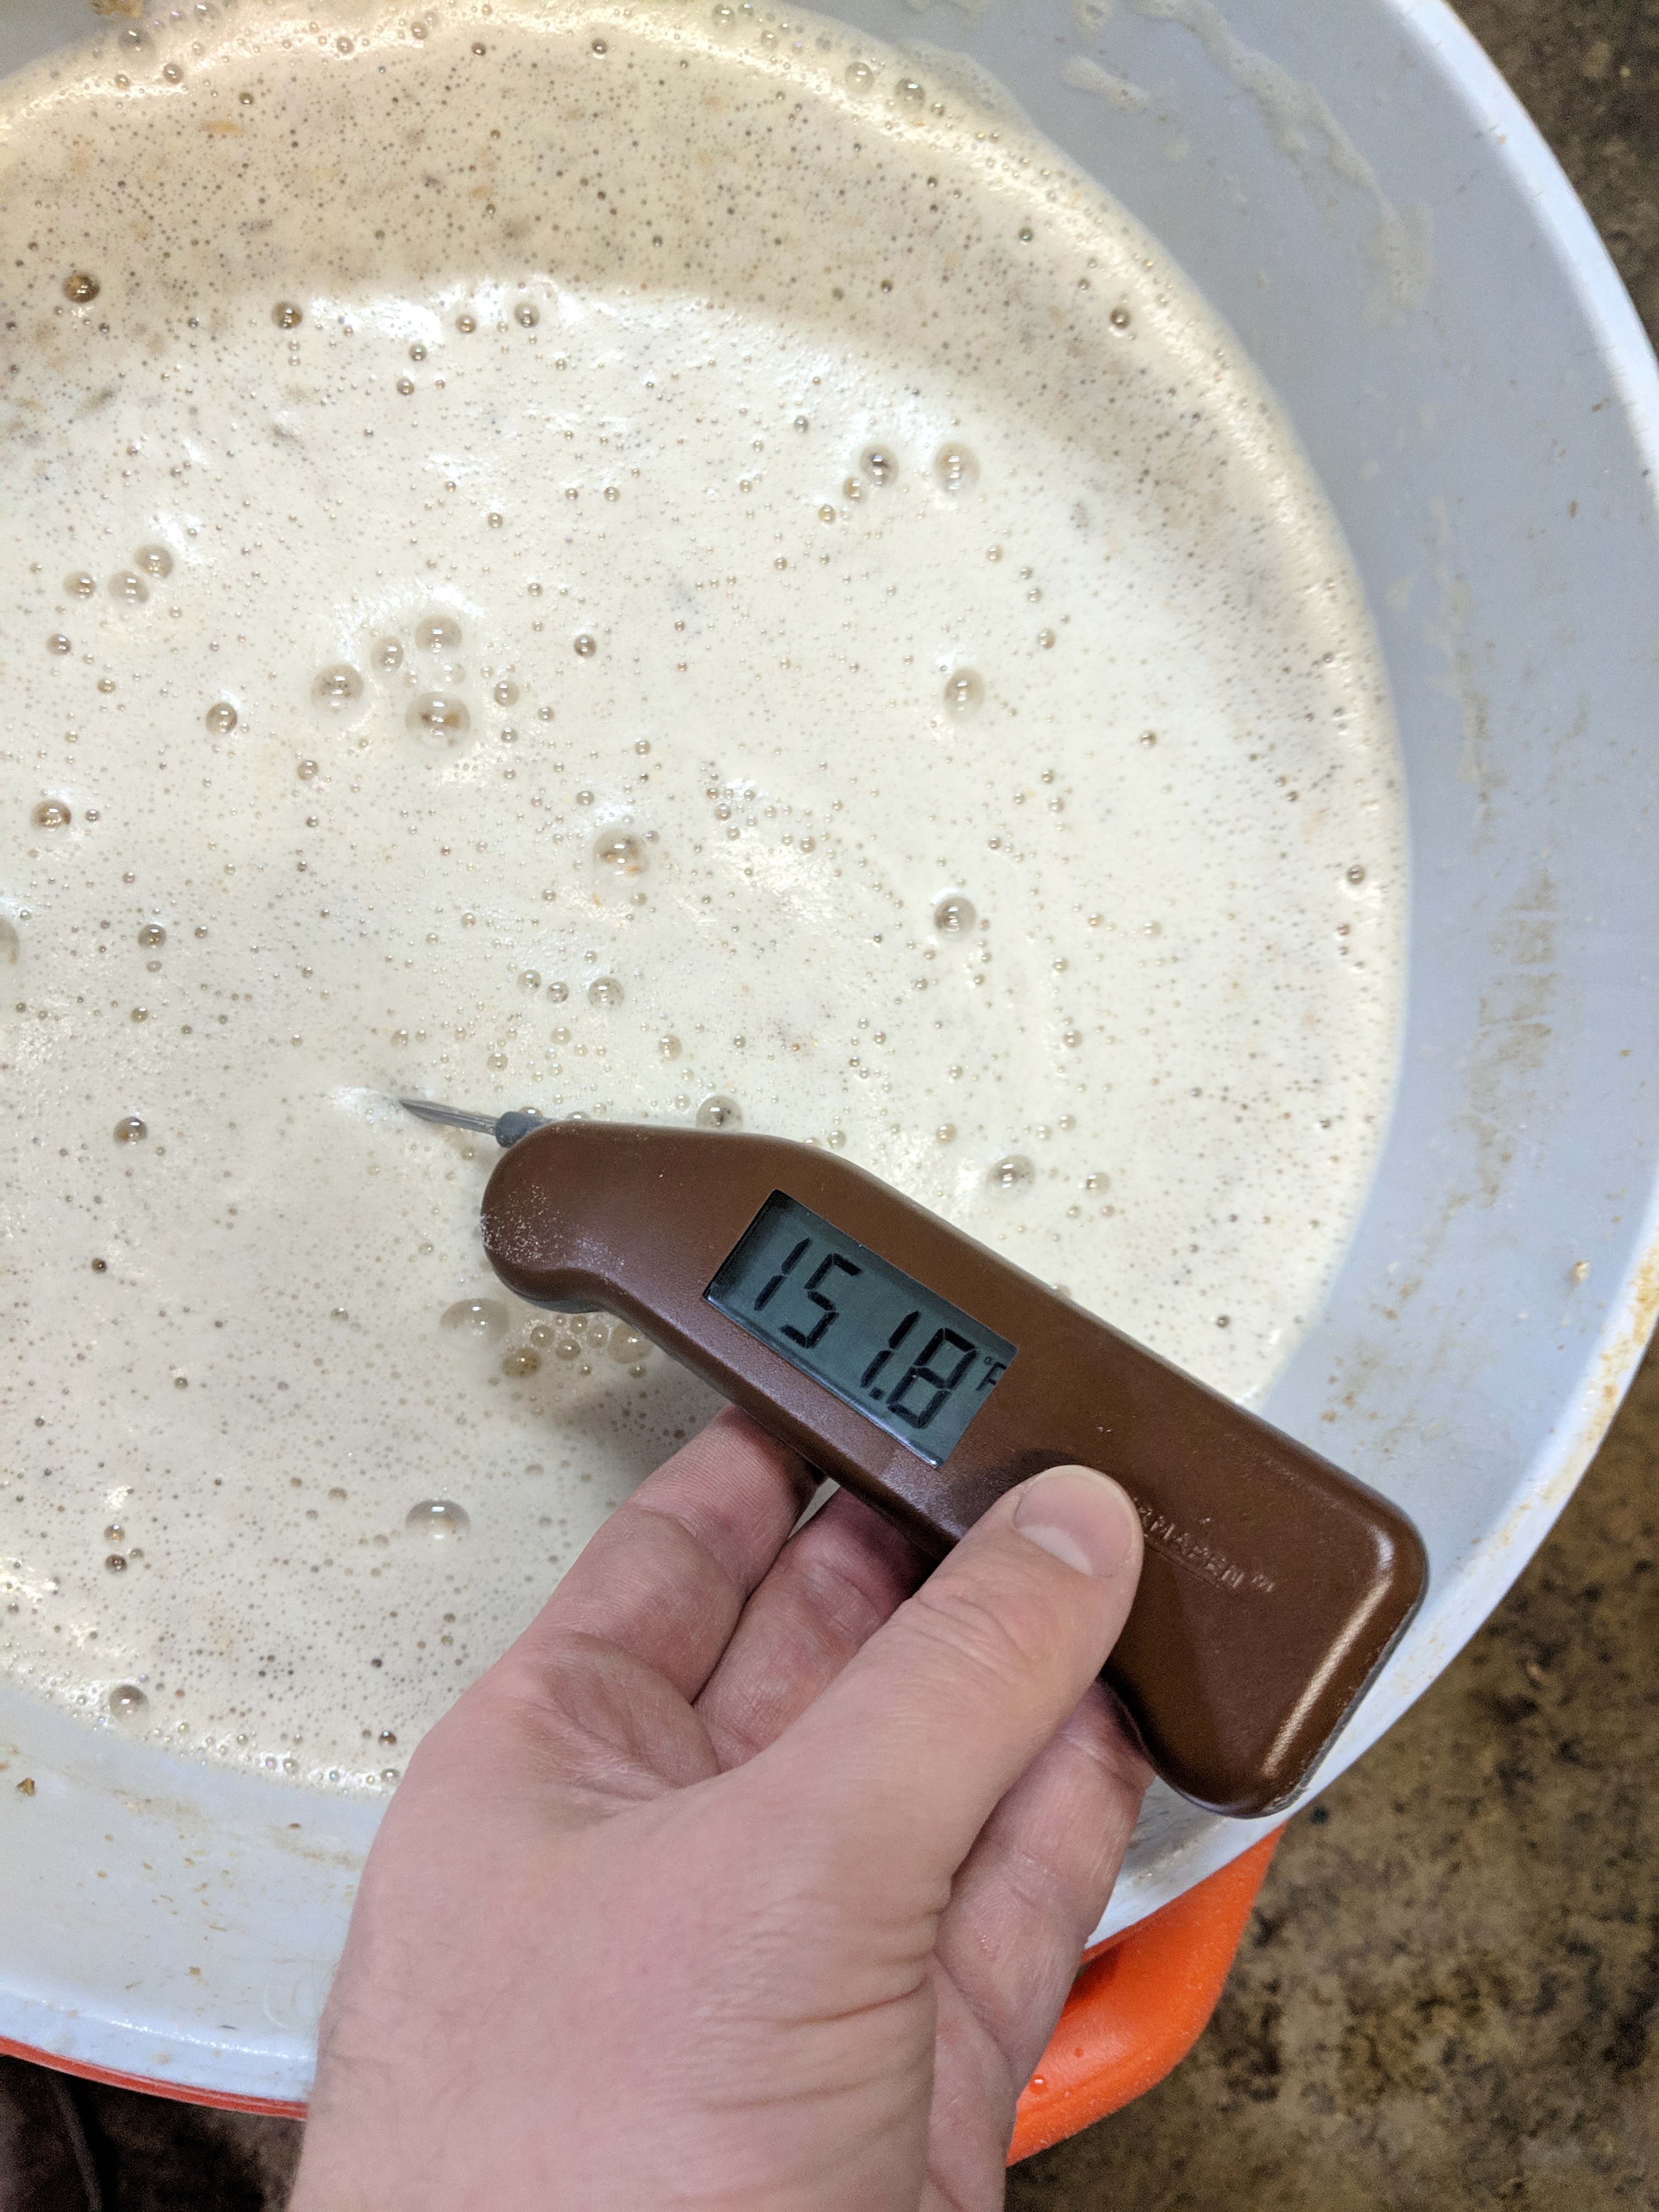

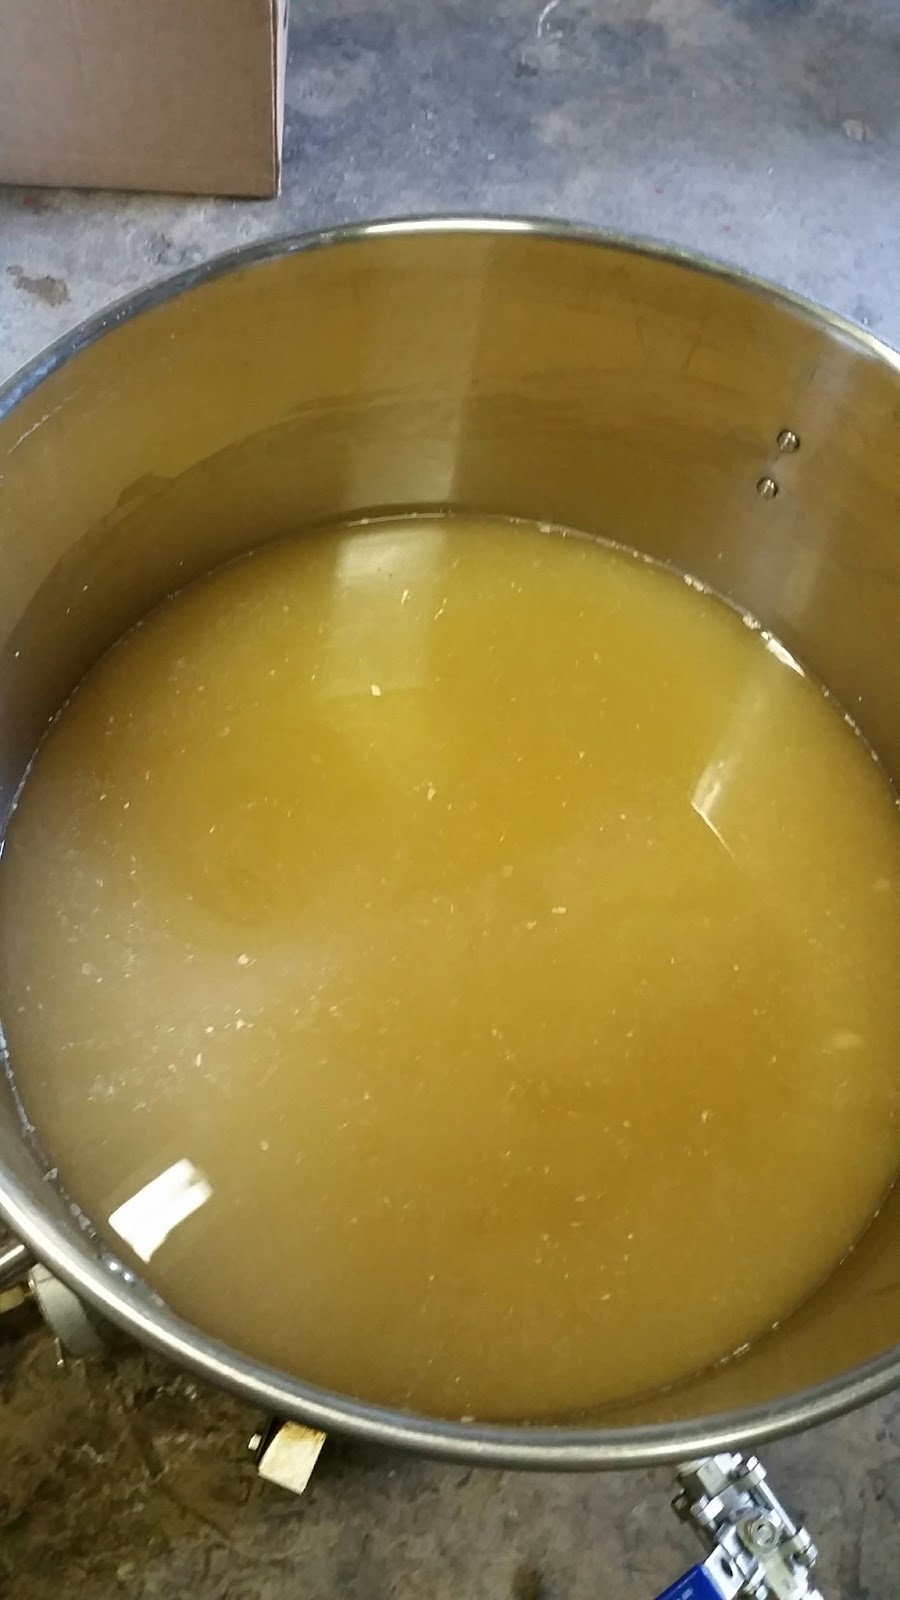
Above: A series of images over the years showing my evolution of all-grain brewing. From left to right, top row: my first mash tun; an early decoction effort; second row: grains ready for a brew; a full sack of malt; a very full mash tun for a high gravity beer; third row: checking temperature; the Anvil Foundry in an early brew.