I enjoy Belgian witbier, as a flavorful and highly drinkable summer beverage. I’ve brewed the style semi-frequently, especially in my early years of all-grain brewing, and sometimes as a base for a hibiscus-infused beer. I haven’t touched witbier recipes in awhile (most recently in 2022), though, and wanted to give the style another round.
My current recipe is patterned after the 2022 version, but following the notes from that I added more oats to round out the mouthfeel. I also dropped the Munich malt, which was only two percent of the original recipe anyhow. From a liquid yeast, I switched over to Lallemand’s wit dry yeast. My previous version of the witbier didn’t have as much yeast character as I wanted (using a fermentation at 64°), so I also decided to ferment at 70°.
Recipe Name
- 5.5 lb. Synergy Select pilsen malt (Briess)
- 5 lb. flaked red wheat (Briess)
- 1 lb. flaked oats
- 0.5 tsp. BrewTanB, in mash
- 1.5 oz. Tettnang hop pellets (2.4% alpha), 60 minute boil
- 0.5 tsp. BrewTanB, 10 minute boil
- 9 g chamomile flowers, 5 minute boil
- 1.5 oz. fresh navel orange plus Meyer lemon zest, 5 minute boil
- 0.5 oz. coriander seed, slightly crushed, 5 minute boil
- 2 pkg. LalBrew Wit dry yeast (Lallemand)
Target Parameters
- 60 minute infusion mash, 149°, full volume mash
- 1.047 o.g., 1.007 f.g., 5.2% abv, 13 IBU, 4 SRM
- Blend of RO water and Claremont tap water (neutralized with lactic acid), to hit 81 ppm Ca, 6 ppm Mg, 71 ppm Na, 55 ppm sulfate, 81 ppm Cl, 7 ppm bicarbonate
- 5 gallon batch
Procedure
- I mixed 5.5 gallons of tap water (with 5.3 mL of 88% lactic acid) and 2 gallons of RO water, to hit my water profile. I heated the strike water to 155° before adding the grains.
- I held the mash, with recirculation, at 149° for 60 minutes. Then, I removed the grains and brought the runnings to a boil.
- In total, I collected 6.5 gallons of runnings with a gravity of 1.042, for 67% mash efficiency.
- During the 60 minute boil, I added hops and finings per the recipe. For the citrus, I used two navel oranges and one Meyer lemon from our yard.
- After the 60 minute boil, I turned off the heat and chilled to 75°. At this point, I transferred to the fermenter and pitched the yeast. I finished the chill down to 70° in the fermentation chamber, and held this temperature for fermentation.
- I brewed this beer on 23 May 2026, and had a starting gravity of 1.049.
- The beer had vigorous fermentation by the morning after pitching, less than 18 hours into fermentation.
- I kegged the beer on 5 June 2026, using an open transfer into the keg with the addition of 6 oz. of corn sugar boiled in a cup of water. I figured the natural carbonation would help the quality of the beer (and foam), and also scrub any oxygen introduced during transfer. Belgian styles seem to do well with an open transfer and natural keg carbonation.
- Final gravity was 1.014, for 4.6% abv.
Tasting
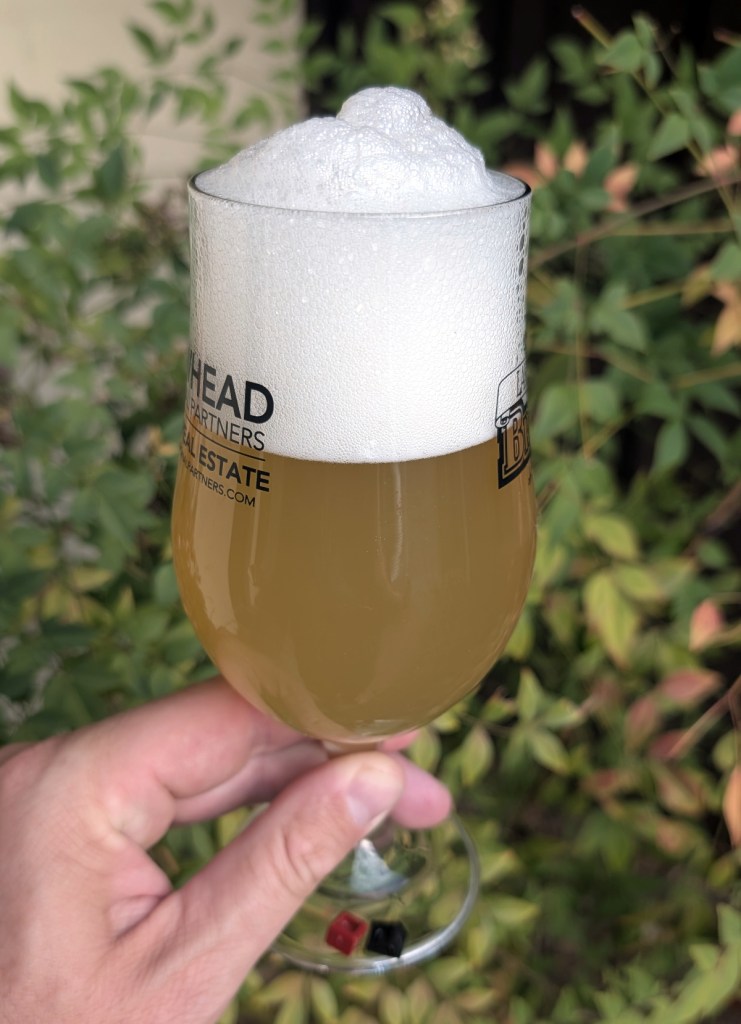
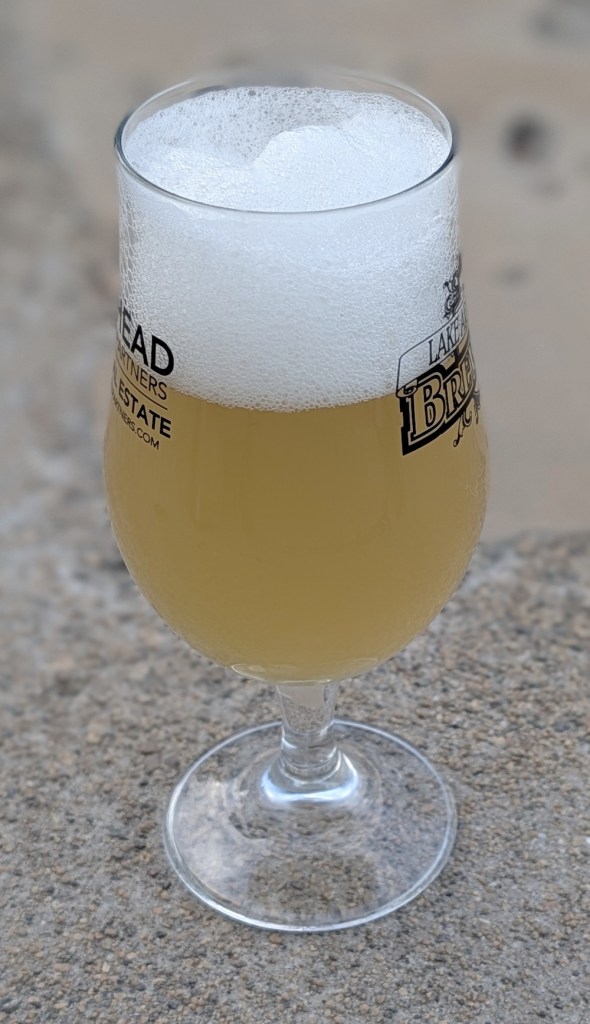
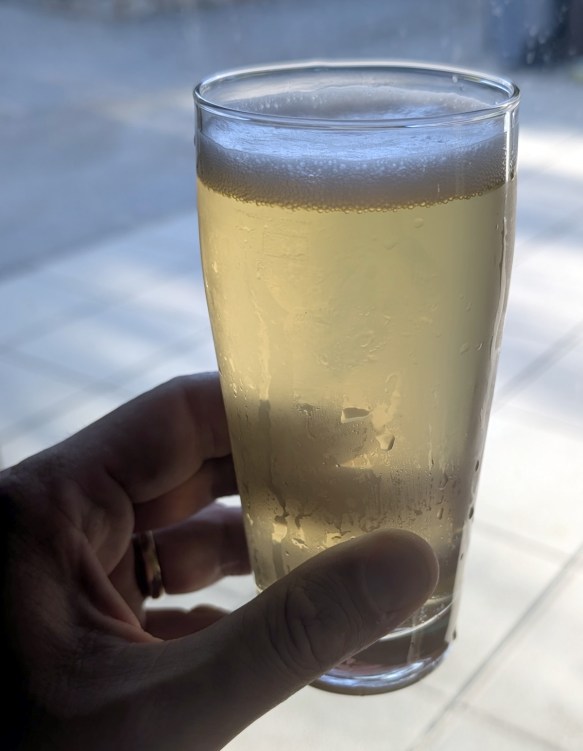
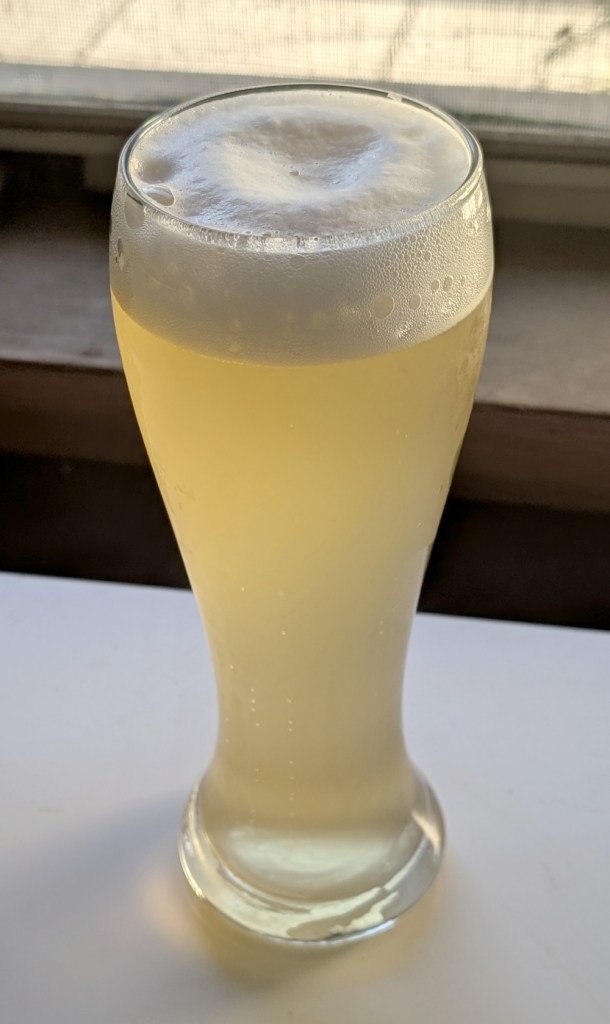
- Appearance
- Hazy, light straw colored beer, with a creamy and persistent white head
- Aroma
- Medium chamomile aroma, and a fresh breeze-like aroma from the yeast
- Flavor
- Doughy malt at a medium level, with medium herbal chamomile notes. Light tartness. Light spicy hop flavor. Very light, fresh fruitiness in the yeast.
- Mouthfeel
- Medium-high carbonation, light body, slightly dry yet smooth finish.
- Would I Brew This Again?
- This is a good recipe from the yeast and grain end. Oats were an excellent addition to the grain bill. The chamomile should be dialed back to let the coriander shine through; despite using fresh coriander and citrus peel, both are just overwhelmed by the chamomile flavor. I might even consider ditching chamomile entirely, or dialing it back by 50 percent. That would get the recipe more into line with BJCP style–without considering style factors, this is a really great (and quaffable) beer! The yeast character is surprisingly mild; I think it might be fun to try in a gose-style sour or fruited sour.
- Overall
- 7/10