It has been three years since I last did one of these posts, but I figured I would give it a go in 2025. I usually only somewhat loosely adhere to these resolutions, but they can be fun ways to frame the year.
More Small Batches.
I enjoy brewing, and sometimes it’s more about the brew day than consuming the final product. One way to get around an occasional backlog in beer (and to have more variety) is to brew smaller batches. So, I’m going to aim to do a greater percentage of 3 gallon brews this year. Although I anticipate continuing with 5 gallon batches as the bulk of my brewing (especially for favorites like German pils), I hope to work more 3 gallon batches into the rotation, especially for new-to-me styles.
Conditioning Time.
Somewhat paradoxically relative to the item above, some of my beers would benefit from a longer conditioning or lagering time before serving. For instance, my märzen was on tap within 6 weeks after kegging, but a minimum of 8 weeks and preferably 10 would have been ideal to hit the point of brilliance for this particular recipe. A German pils (not yet posted) is at 6 weeks and is now brilliant and ready to serve; I often have these beers on around 2 weeks after kegging. Beyond simple discipline, I think the key to achieving this goal is brewing frequently enough that I can afford to let a keg sit for longer lagering.
New Styles.
I have explored a good chunk of the styles out there, but there are still more to do. In the most recent Zymurgy issue that highlights the winners of the 2024 NHC, there was a really intriguing gose recipe. Sour beers aren’t my usual favorite, quick sour methods are sometimes a bit one dimensional or not advised for many styles, and the possibility of contamination always gives me second thoughts. But, this particular “Salty One” by gold medal winner Jonathan Hernandez relies on a blending technique that avoids souring on the cold side, and allows some complexity on the hot side. Basically, you make a fraction of the batch as sauergut, and then adding this to the rest of the wort at the boil. I’m going to give it a try!
2024 was a decent year for brewing; I focused in part on perfecting classic styles, in addition to returning to a few standby recipes. I feel that I know my brewing system pretty well and have been learning the mash and recipe formulation techniques to get to my destination. Interestingly, I think I was at 100 percent dry yeast during the past year–I might try one or two liquid yeast varieties for particular batches, but in the end the variety and convenience of dry yeast can’t be beat.
Favorite Batch(es)
Bear Butte Porter is on tap right now, and it hits every note that I love about classic American craft beer styles. It’s rich without being cloying, malty while still being drinkable, and low enough abv that I can enjoy a glass or two without getting knocked out. American porters are a style I keep enjoying, especially because they’re relatively scarce nowadays in a sea of IPAs.
Snowdrop Kölsch 2024 Attempt 1 (not blogged) got infected; this was a disappointment, and led me to add Iodophor semi-regularly into my cleaning rotation. Thankfully my second attempt at this recipe went much more smoothly.
Experimental Recipe With Most Potential
Session Saison got soooo close to perfection, and I’m looking forward to dialing in this recipe.
Most Fun New Style/Recipe to Try
Levitation Ale Homage was a super tasty session ale, and I still remember the hop flavor on this one. It had so much going on for a lower alcohol beer, and I absolutely love that!
Upcoming Beer With Most Potential
I have a Belgian blond ale conditioning in the keg right now, for a recipe I’ve called “Unruly Gnome Belgian Blond Ale.” It’s intended to be an approximation of La Chouffe, which is one of my favorite beers.
My first rauchbier is lagering right now; it will go on tap once I have space in my keezer. Initial samplings have been very tasty!
Best Ingredient/Technique Added to Repertoire
Feijoa (Pineapple Guava): This unusual (to me) fruit has a unique taste and is perfectly suited for a sour. So, my Rated “PG” for Pineapple Guava recipe was born.
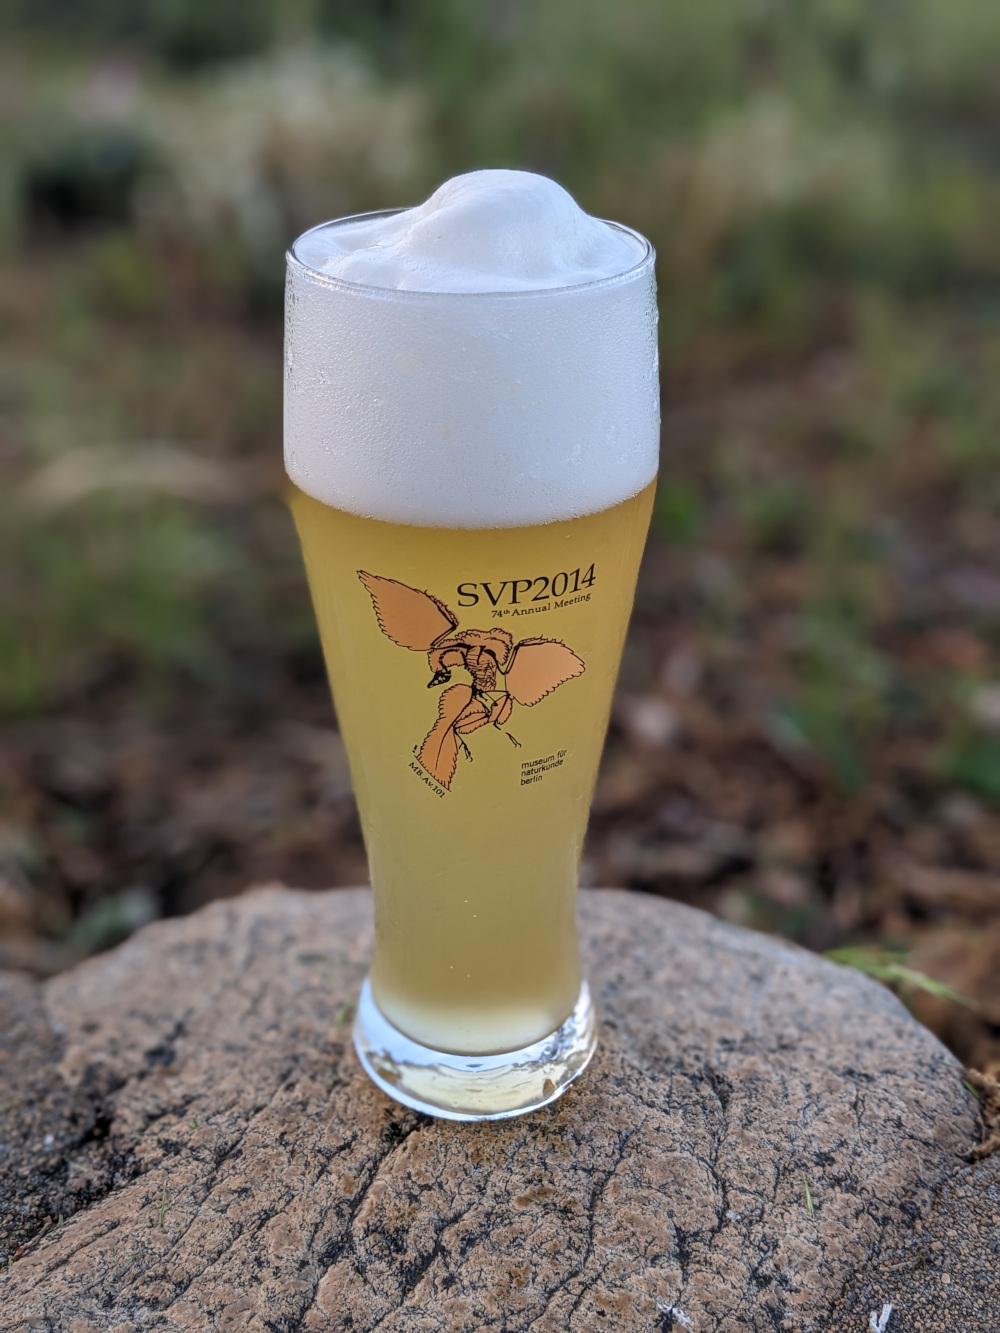
Mash schedules: I used my Anvil Foundry to its full potential this year, by adjusting mash schedules to achieve desired fermentation results. Exemplar number 1 is my hefeweizen–I added a ferrulic acid rest, which I am fairly sure tipped the beer’s character into perfection. Similarly, I used a long and low saccharification rest on my session saison, which finally got me the dryness I want and need on that style.
Favorite Books
No new books jumped out at me this year, which may be just as much a factor of me reading other things versus a dearth of interesting content. A new-to-me book that I greatly enjoyed was Experimental Homebrewing: Mad Science in the Pursuit of Great Beer Mad Science in the Pursuit of Great Beer by Denny Conn and Drew Beechum, published a full 10 years ago. It’s a time capsule in many ways, from a simpler era when the overlap between homebrewers and commercial brewers was blurrier, and it felt like the homebrewing scene was on an eternally upward trajectory. I like the approach they take to recipes, with an emphasis on thinking through the ingredient inputs needed for sensory outputs. This is not unique to them, but their way of relating it is quite approachable and fun to read.
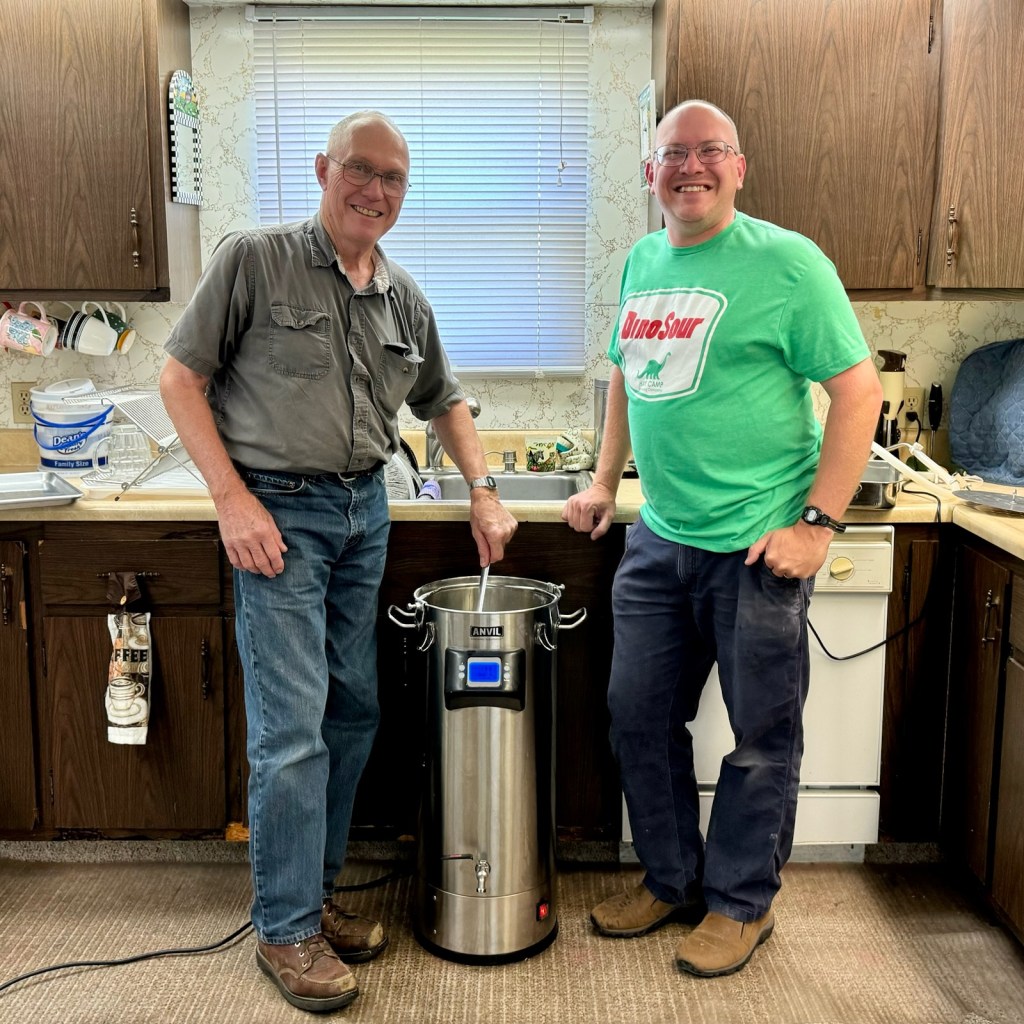
This past summer, I got to brew with my dad, who first got me thinking about brewing many years ago (I remember helping him way back as a teenager, even if I couldn’t enjoy the product at the time). He started as an extract brewer decades ago, took a break, got back into it, and then eventually switched to all-grain brewing (alongside wine making). Dad makes almost exclusively lagers, with his regular rotation including a Pre-Prohibition PIlsner and a Vienna Lager.
Dad currently brews on an Anvil Foundry 10.5 (gifted by us kids a few years back), doing a handful of batches annually to keep his cellar stocked. Awhile back, I shared my Citra Blonde Ale recipe with him, and he liked it enough to add a version into his repertoire. I also helped him put together a simple German pils, which is made with hops he grows himself.
We’ll usually brew something when I’m visiting, but I almost never get to sample the results due to the distance. So, it was extra nice to get a shipment with a bottle of each of the beers we made this summer. I was also able to get my hands on the notes (thanks, Dad!), which are presented in only lightly edited format.
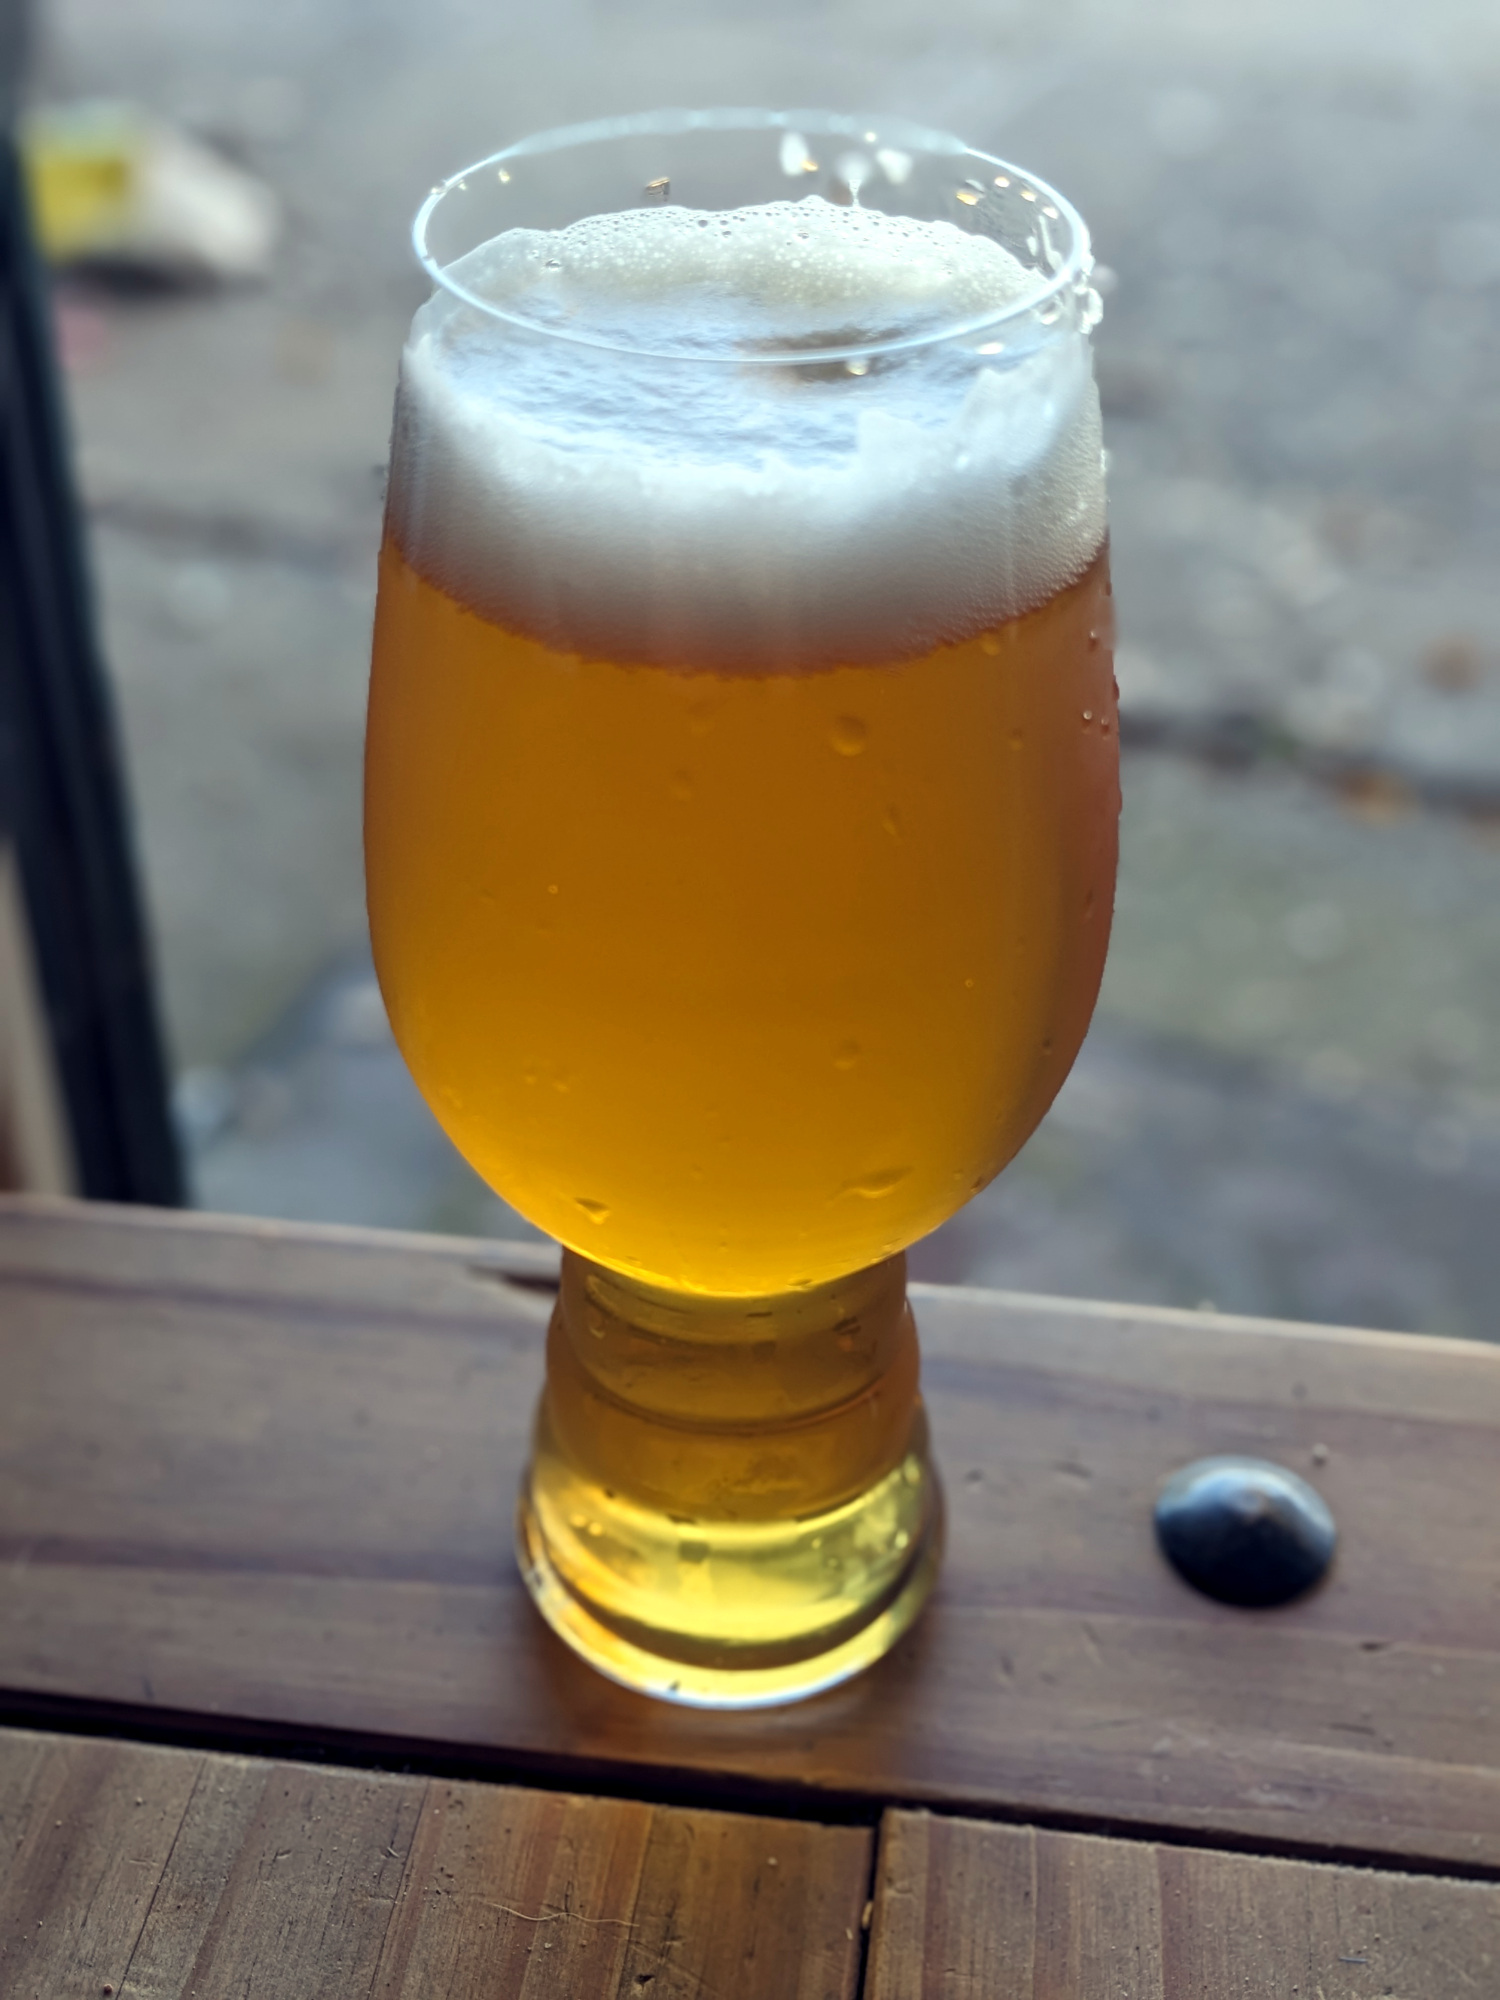
Citra Blonde Ale
5.25 lb. Briess Pilsen malt
5 lb. Briess 2-row malt
0.75 lb. Munich malt
0.5 lb. Vienna malt
0.5 lb. Carapils malt
0.5 oz. Citra hops (boil 10 min.)
Whirlfloc tablet (boil 1- min.)
0.5 oz. Citra hops (boil 5 min.)
1.0 oz. Citra hops (steep for 5 min. after shutting the heat off).
BRY-97 American West Coast Ale (dry) and Safale US-05 (dry) yeast, 1 packet each
Procedure
Double-milled grains with 0.035 in. gap. Steeped grains at 152 degrees. Mashed out at 168 degrees for 10 minutes. Boiled for 50 minutes. Added 0.5 oz. Citra hops, Whirlfloc. Boiled for 5 minutes. Added 0.5 oz. Citra hops. Boiled for 5 minutes.
Shut off heat. Added 1.0 oz. Citra hops. Steeped for 5 minutes. Removed hops and cooled to 69 degrees. S.G.=1.054. Added American West Coast Ale yeast BRY-97 (best by 08-2024) and Safale US-05 (best by 01-24).
Fermented in the basement at approx. 65 degrees for 12 days. S.G.=1.006. Continued to ferment in the basement for 3 more weeks, then moved to 34-degree fridge. Chilled for about 3 weeks, then filtered, force carbonated and bottled.
Brewed July 18, 2024.
Tasting
Appearance
Medium yellow color, relatively clear. A touch of chill haze. Thin white head that subsides after pouring.
Aroma
A nice orange/ citrus hop aroma at a moderate level; moderate/low malty aroma
Flavor
Citrus hop flavor, low bitterness level, grainy malt character, no yeast to speak of. Nice round maltiness.
This is a great recipe, even after a few months. Clean, drinkable, interesting but not overpowering.
Overall
8/10
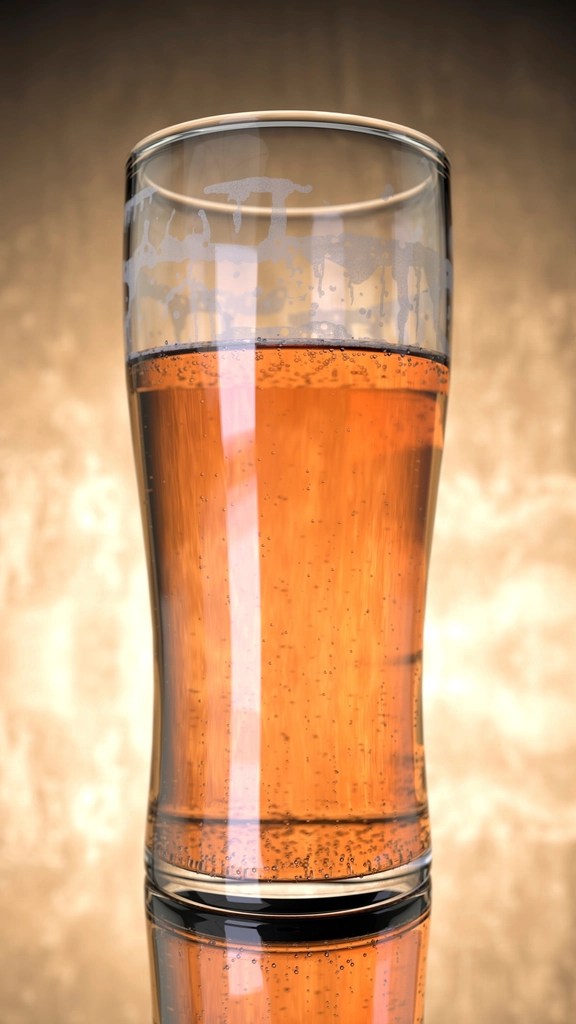
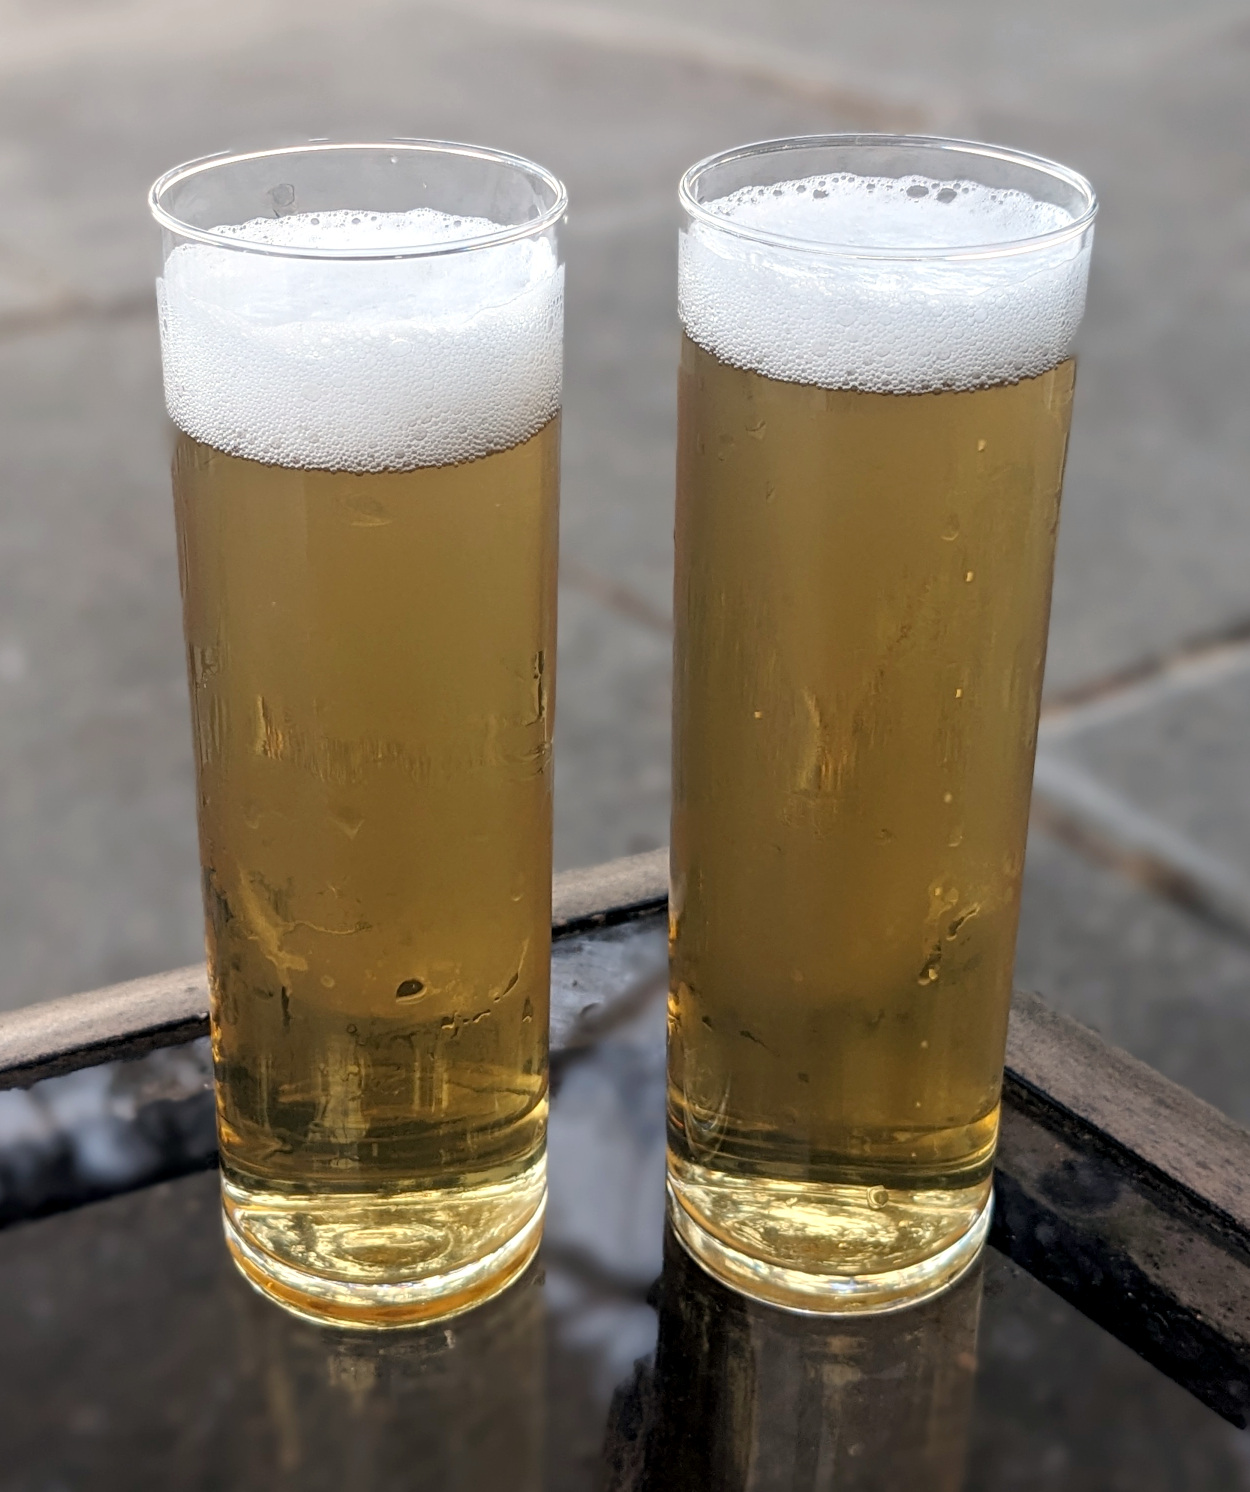
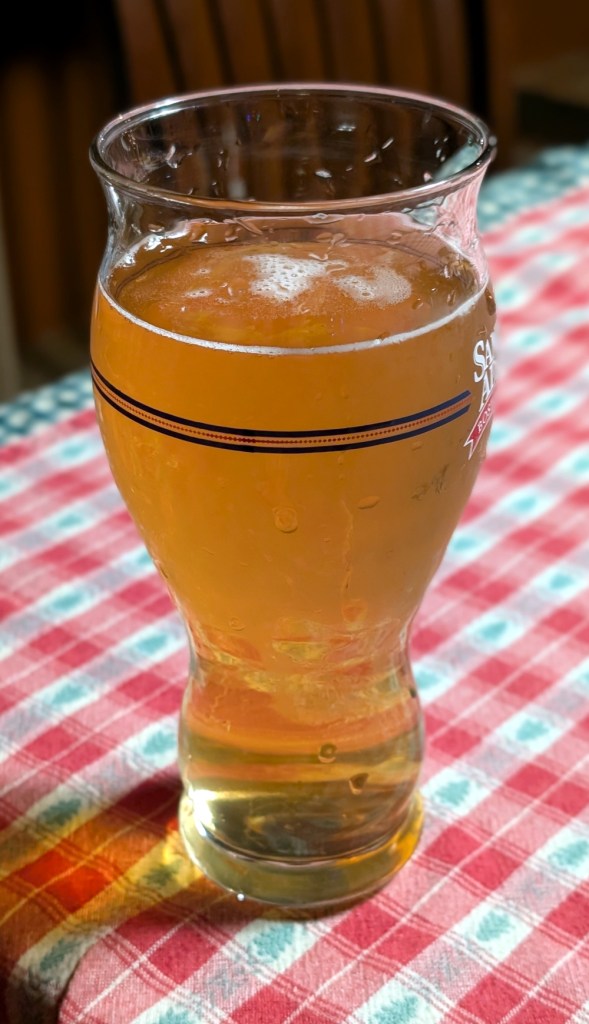
Andy’s Pilsner
This is a SMaSH-esque recipe, based on various SMaSH pilsners that I have made over the years. The closest equivalent would be Farke’s Best Pils.
10 lb. Briess Pilsen malt
1.0 oz. Saaz (2023) hops in boil (60 minute boil)
1.0 oz. Mt. Hood (2023) hops (10 minute boil)
Whirlfloc tablet, 10 minute boil
2 pkg. DIamond Lager dry yeast (Lallemand)
Procedure
Double-milled grain at 0.035 in. gap. Steeped grain at 150 degrees for 50 minutes. Mashed out at 168 degrees for 10 minutes. Brought to a boil and added Saaz hops.
Boiled for 60 minutes. Added Whirlfloc tablet and Mt. Hood hops. Boiled for 10 minutes. Cooled to 70 degrees. S.G.=1.051. Added 1-1/2 qts. tap water. S.G.=1.047.
Chilled to 52 degrees. Added 2 packages of Diamond Lager yeast (BB 08-2024 & 09-2023). Fermented for 10 days. S.G.=1.006. Racked to 5 gal. carboy. Continued to ferment at 52 degrees for 12 days. Warmed to 74 degrees for diacetyl rest for 4 days. Chilled to 34 degrees for approximately one month, then cold filtered, force carbonated and bottled.
Brewed July 18, 2024.
Tasting
Appearance
Very clear, straw color, with thin white head that subsides fairly quickly.
Aroma
A bit of spicy hop at the forefront, and some grainy maltiness behind that. Very nice!
Flavor
Malty sweetness at the front, and medium level of spicy hopping. Clean fermentation profile.
Mouthfeel
Medium-low carbonation level; medium mouthfeel; smooth and slightly dry finish.
Would I Brew This Again?
This is a great recipe! Carbonation might help with giving a touch more head. Malt and hop levels are perfect. This is a nice pilsner.
I like to make a holiday beer every once in awhile, for drinking during the Christmas and New Year’s stretch. It’s an opportunity to do a smaller batch of something unusual, which might not warrant a full 5 gallons. This year, I chose a version of a recipe from Gordon Strong’s Modern Homebrew Recipes, called “Winter in Antwerp.” It’s a spiced Belgian ale, roughly in the realm of a dark pale ale (yes, that’s an oxymoron). I made some malt substitutions and also used the Abbaye dry yeast, although the overall “feel” is pretty close.
Winter in Antwerp 2024
4 lb. 2-row brewer’s malt (Great Western)
2 lb. Vienna malt (Weyermann)
0.5 lb. aromatic malt 20L (Briess)
0.5 lb. caramel malt 60L (Briess)
0.5 lb. Caramunich II (Weyermann)
0.5 lb. Munich dark malt (Viking)
0.25 lb. biscuit malt (Dingemans)
2 oz. chocolate malt (Bairds)
2 oz. Special B malt (Dingemans)
0.5 oz. Liberty hop pellets (5.0% alpha), 60 minute boil
1 oz. Liberty hop pellets (5.0% alpha), 10 minute boil
0.5 oz. Liberty hop pellets (5.0% alpha), 5 minute boil
1 vanilla bean, split, scraped, and steeped for 5 minutes after the boil
1 cinnamon stick, steeped for 5 minutes after the boil
1 pkg. Abbaye Belgian ale yeast (Lallemand)
Target Parameters
1.068 s.g., 1.021 f.g., 6.2% abv, 30 IBU, 24 SRM
Full volume infusion mash, held at 156° for 60 minutes and 168° for 10 minutes
Claremont tap water with Campden tablet, with approximate ppm of 110 Cl, 50 SO4, 40 Ca, 156 HCO3, 12 Mg, 87 Na
Procedure
I heated 5 gallons of water (with Campden tablet) to 163°, and then mashed in the grains. I held the mash temperature, with recirculation, at 156° for 60 minutes before raising the temperature to 168° for a 10 minute mashout.
Once I pulled the grains, I collected 4.5 gallons of runnings at a gravity of 1.049, for 71% mash efficiency.
I brought the runnings to a boil, adding hops and finings per the recipe. After 60 minutes, I turned off the heat and added the spices in a mesh bag. Because the cinnamon was a bit old, I added two sticks (broken up). After a 5 minute steep, I removed the spices and continued the chilling process.
I chilled the wort to 78° before transferring to the fermenter. I chilled the rest of the way, down to 68°, in the fermentation chamber. I pitched the yeast at 68°, holding at this temperature for fermentation. Expecting a vigorous fermentation, I used a blow-off tube.
Starting gravity was 1.065. I brewed this beer on 17 November 2024.
I kegged the beer on 30 November 2024. Final gravity was 1.024, for 5.4% abv.
Tasting
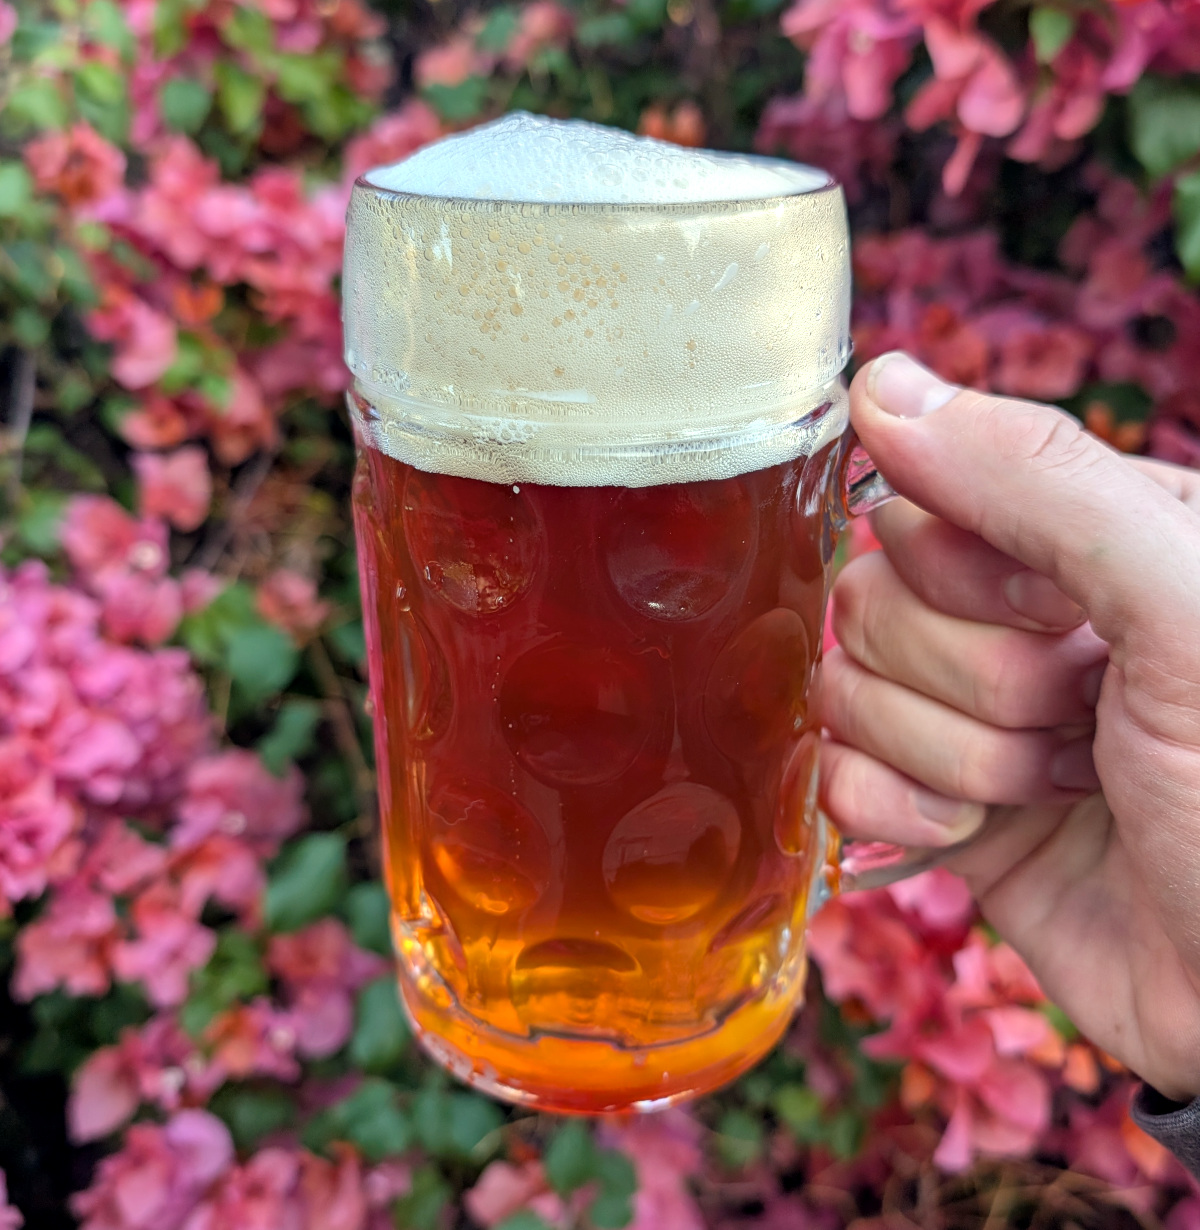
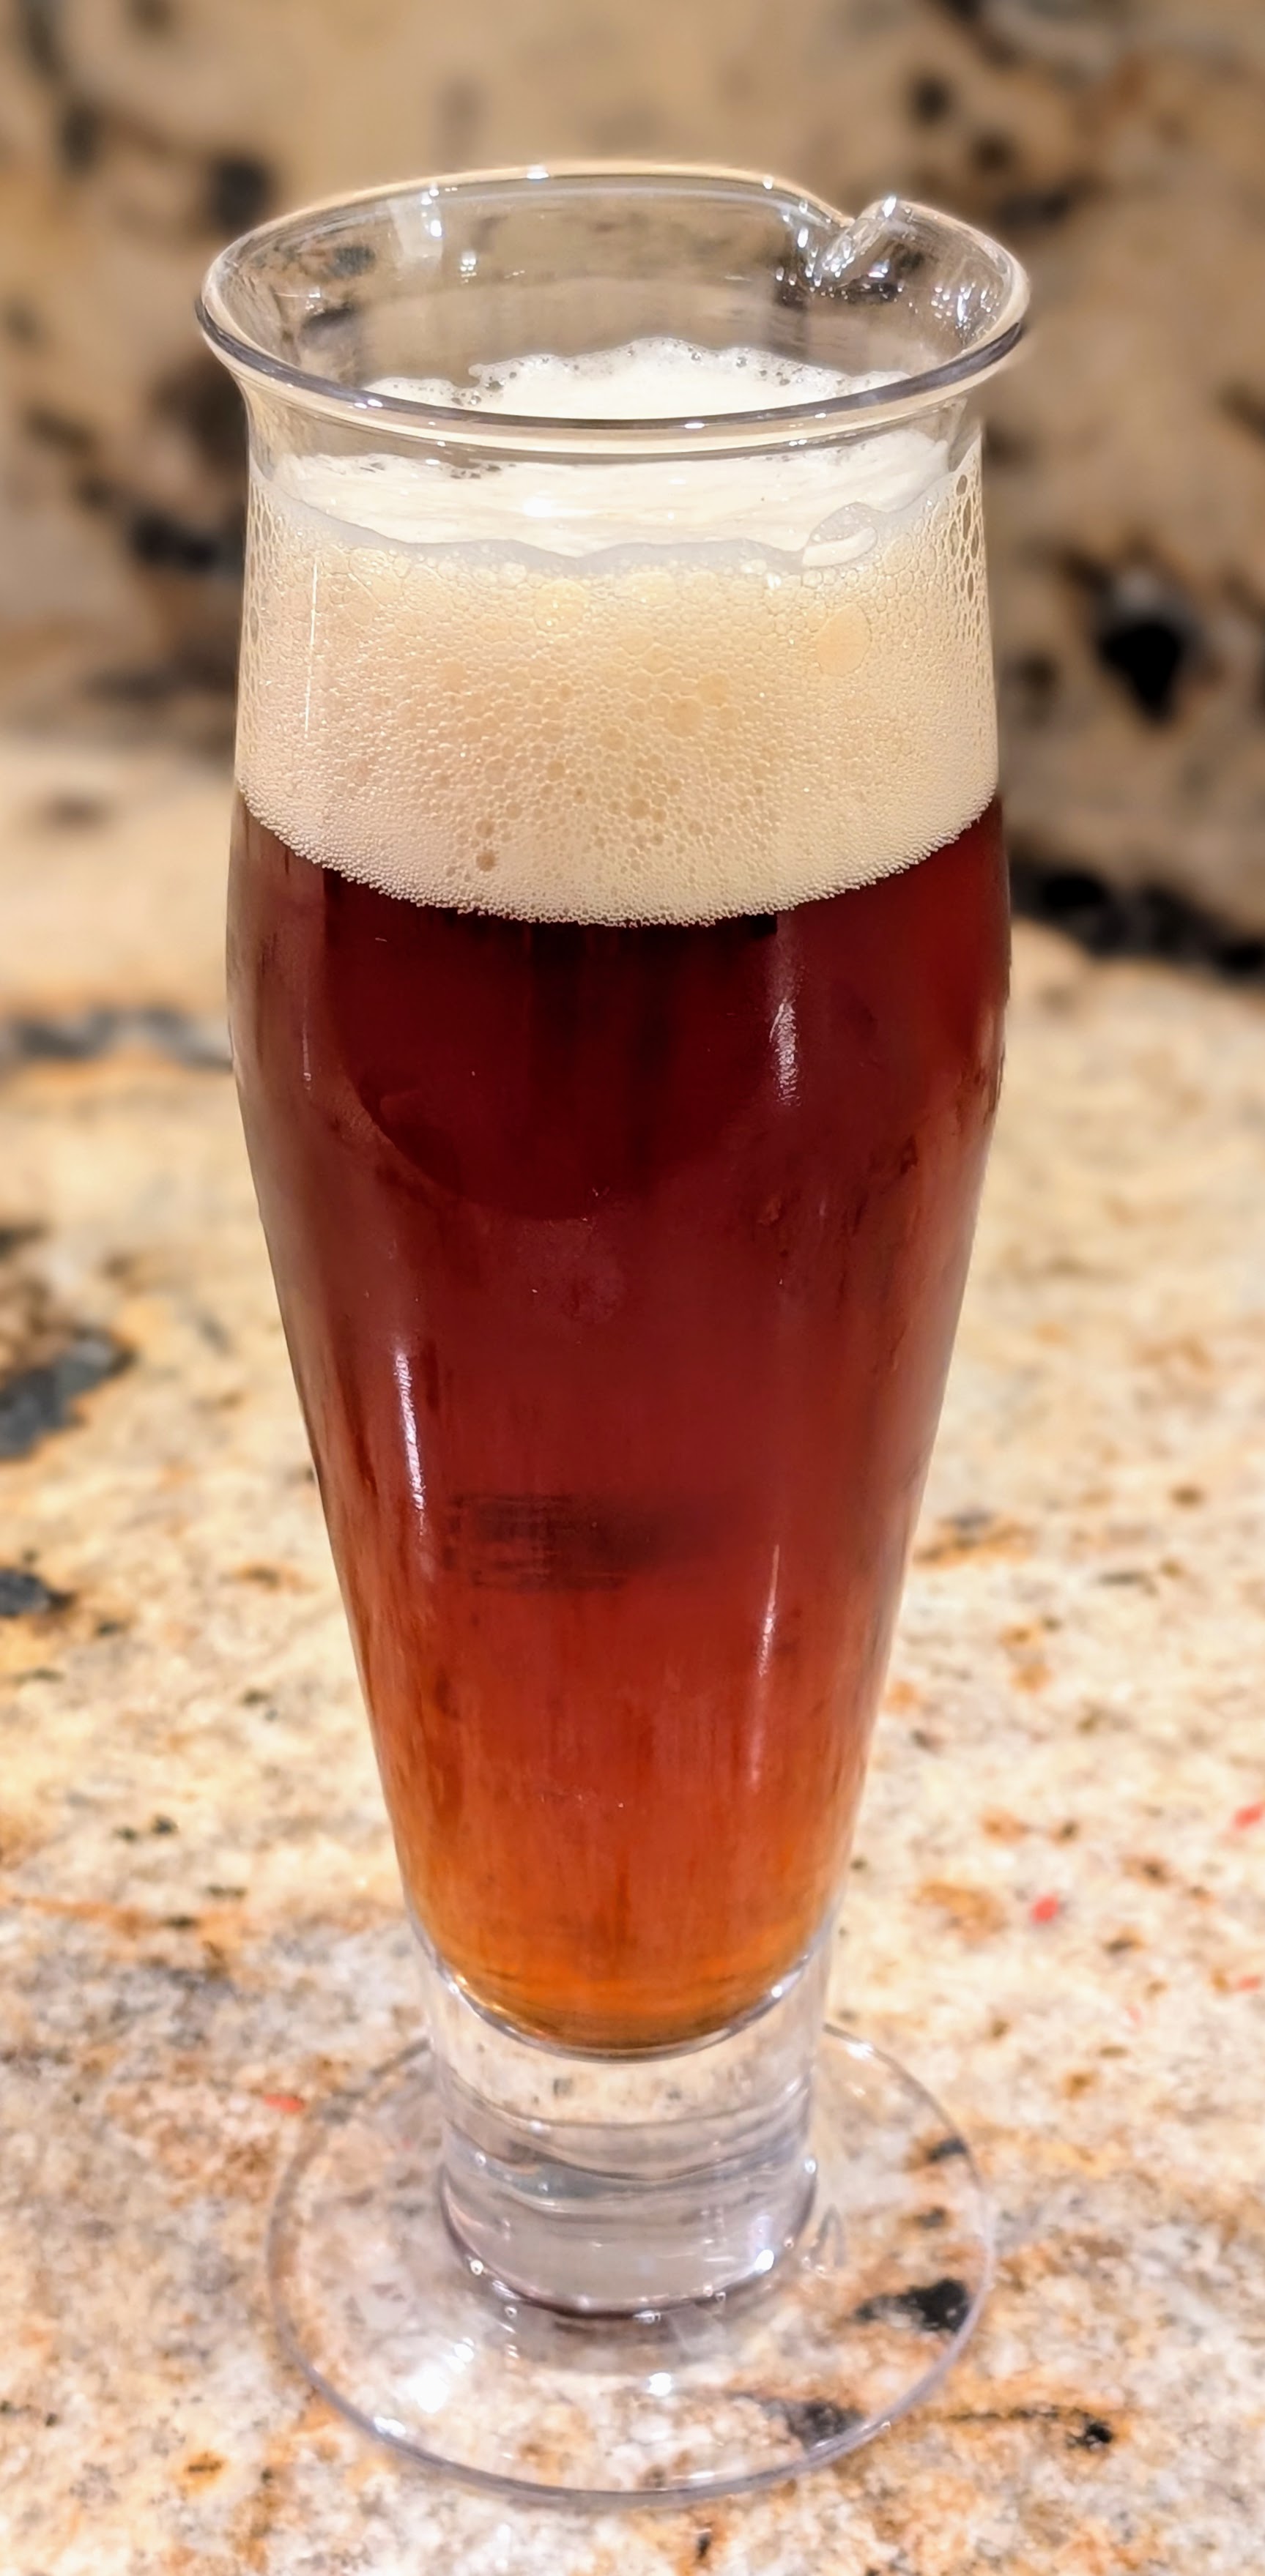
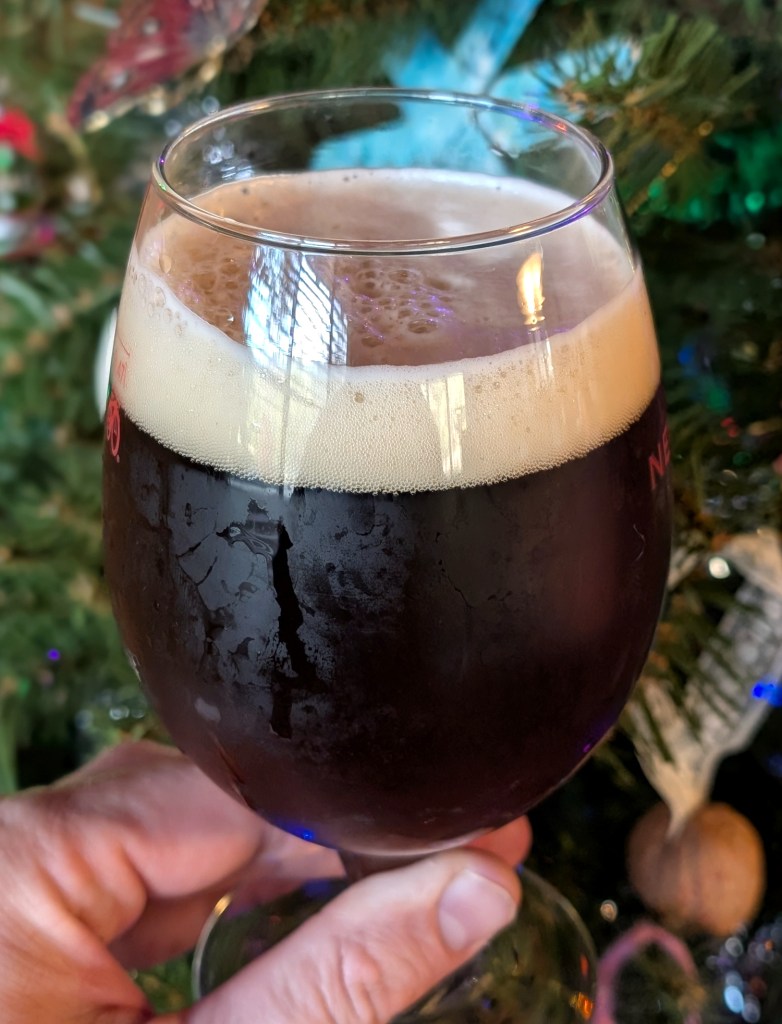
Appearance
Deep reddish amber beer, very clear; pours with a creamy and persistent ivory head. It’s very pretty!
Aroma
Some dried dark fruit character as the beer warms and a hint of very ripe banana. Rich maltiness, but just a hint. Very faint cinnamon as it warms.
Flavor
Bread crust malt character, dried dark fruit in the yeast, medium level of bitterness. Less complex than I expected!
Mouthfeel
Medium body, medium high carbonation, very slightly dry finish.
Would I Brew This Again?
This is a good beer but nothing special. I was hoping for a bit more spice character, but there isn’t really any. I would probably increase the spicing rate a touch. For a similar beer next time, I would condition longer. It needs more body and malt “oomph”! Given all of the crystal malts, I’m surprised it doesn’t give the impression of more body. Perhaps for this kind of beer, it would benefit from a higher starting gravity or swapping in Munich for the 2-row malt. I would also age it for awhile longer. Another challenge is that I have this beer in my conditioning chamber, at around 35°, so it takes awhile to warm up after pouring. It’s definitely better at warmer temperatures!
Porters are a classic homebrewing style, and they are an accessible entry point for newer brewers because their rich flavors are simultaneously enjoyable and also able to cover the results of overheated fermentations. As my brewing has progressed, and my fermentation temperature control has improved, I come back to them again and again as an enjoyable winter beer.
Last year I made a Sierra Nevada Porter clone, and this year I delved into a clone recipe for Deschute Brewing’s Black Butte Porter. The version I had was pulled from the Brew Your Own Big Book of Homebrewing (2022 updated edition), with some small modifications for hops and yeast on-hand on-hand as well as some very slight malt quantity adjustments. Instead of Galena as the bittering charge, I subbed in Chinook, which seemed like a reasonable swap, and I used Mangrove Jacki’s M36 Liberty Bell ale yeast instead of Lalbrew’s Verdant strain. Again, this seemed to be a reasonable swap that would get me into the same flavor zone. Interestingly, I learned via David Taylor’s Yeast Master List that M36 is a blend of M42 (New World/Nottingham) and M15 (Empire/Windsor); the reported fruitiness of the strain seemed like a good fit for this particular batch.
It’s interesting to note that the BYO clone recipe is very different from an AHA clone recipe. The AHA version uses chocolate wheat malt instead of chocolate malt, 80L crystal instead of 60L crystal, and a bit of dextrine malt, and it also calls for WLP002. Hops include Hallertauer instead of Tettnang. I’m not sure which version is more “authentic,” and I suppose it doesn’t really matter in the end! As another aside, I brewed a version of the AHA recipe back in 2021, as Turtle Toe Porter.
Because this is not a direct version of the clone recipe, and in honor of a landmark in my home state, I have called this batch “Bear Butte Porter.” I also used some South Dakota-grown hops from my dad, another fitting addition to the beer.
Bear Butte Porter
10.25 lb. 2-row brewer’s malt (Great Western)
0.75 lb. crystal 60L (Briess)
0.75 lb. chocolate malt (Simpsons)
0.35 oz. Chinook hop pellets (12.3% alpha), 60 minute boil
2 oz. Cascade whole hops (3.5% est. alpha), 20 minute boil
1 Whirlfloc tablet, 5 minute boil
2 oz. Tettnang hop pellets (2.4% alpha), 5 minute boil
1 pkg. Liberty Bell ale yeast (Mangrove Jack’s M36)
Target Parameters
1.052 s.g., 1.012 f.g., 5.4% abv, 33 IBU, 33 SRM
Full volume infusion mash, held at 152° for 60 minutes and 168° for 10 minutes
Claremont tap water with Campden tablet, with approximate ppm of 110 Cl, 50 SO4, 40 Ca, 156 HCO3, 12 Mg, 87 Na
Procedure
I heated 7.5 gallons of Claremont tap water, with Campden tablet, to 158°, before adding the grains as well as 6 mL of 88% lactic acid to adjust the mash pH. I held the mash at 152° for 60 minutes, with recirculation, before raising the temperature to 168°. After 10 minutes at the mash-out temperature, I removed the grains and heated the runnings to a boil.
In total, I collected 6.7 gallons of runnings with a gravity of 1.043, for 68% mash efficiency.
Once the runnings were boiling, I added the hops and finings per the recipe. After 60 minutes on the boil, I turned off the heat and chilled to 78° before transferring to the fermenter and dropping to 66° in the fermentation chamber.
Once the beer was at 66°, I pitched the yeast.
I brewed this beer on 25 October 2024; it had a starting gravity of 1.057.
I fermented the beer at 66° until 28 October 2024, when I pulled it to ambient (~70°). Active fermentation seemed mostly done, so I figured it wouldn’t hurt it to sit at ambient for awhile.
I kegged the beer on 16 November 2024. Final gravity was 1.016, for 5.4% abv. This was around 71% measured attenuation. It’s on the lower end that Mangrove Jack’s reports for the strain (74% to 78%), but in my experience I’ve often had lower attenuation with the Windsor strain that comprises part of this blend.
Tasting
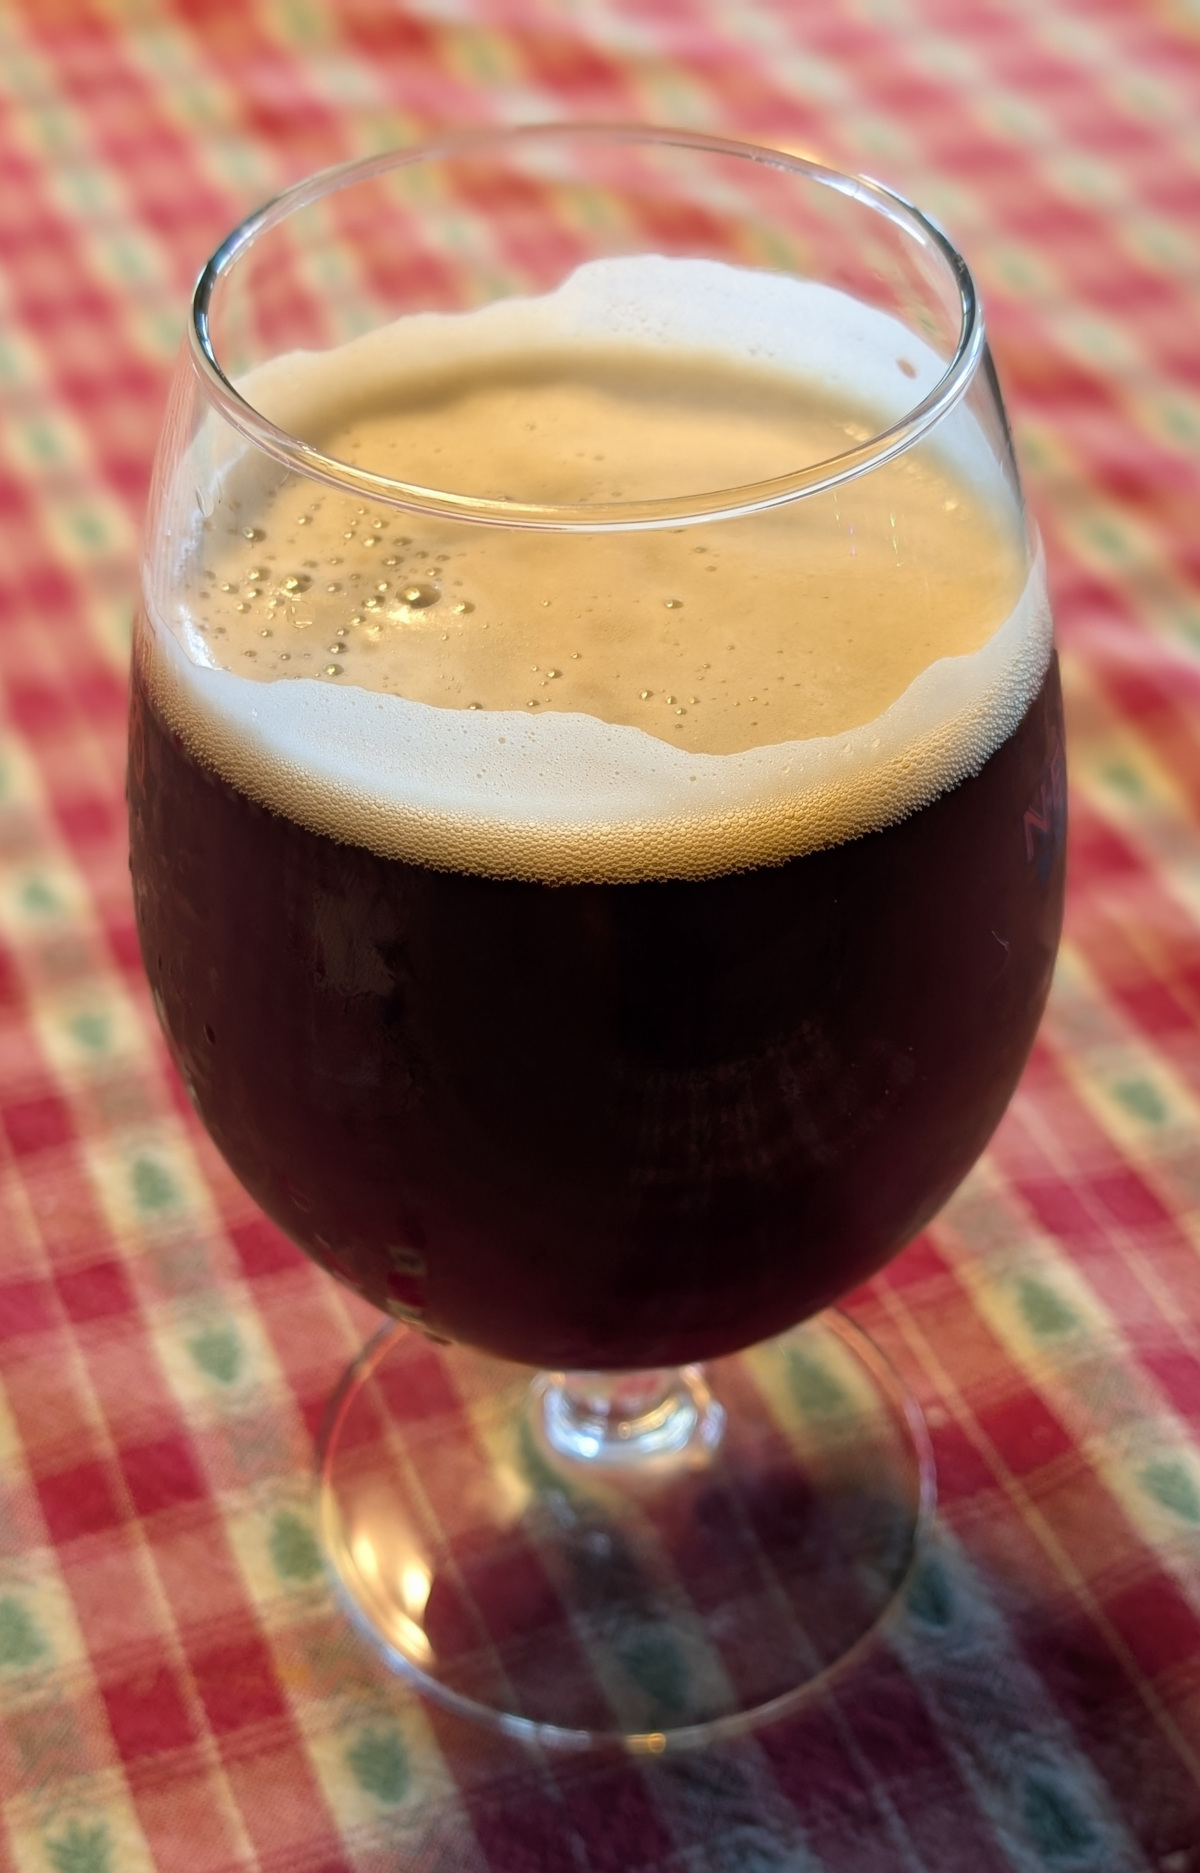
Appearance
Deep, deep brown beer with dark garnet highlights, very clear. Pours with a persistent and creamy tan head. Beautiful! Great lacing down the side of the glass.
Aroma
Moderate dark chocolate: coffee aroma, a touch of earthy hop character.
Flavor
Slightly roasty and bitter chocolate malt character, a bit of dark sugar character; medium bitterness. A medium bit of dark dried fruit yeast character, but it’s in the background.
Mouthfeel
Medium carbonation, medium-full body, off-dry finish.
Would I Brew This Again?
I love this beer! It’s a perfect American porter, and wonderfully drinkable. Porter is such an underappreciated style; this version looks great and tastes great!