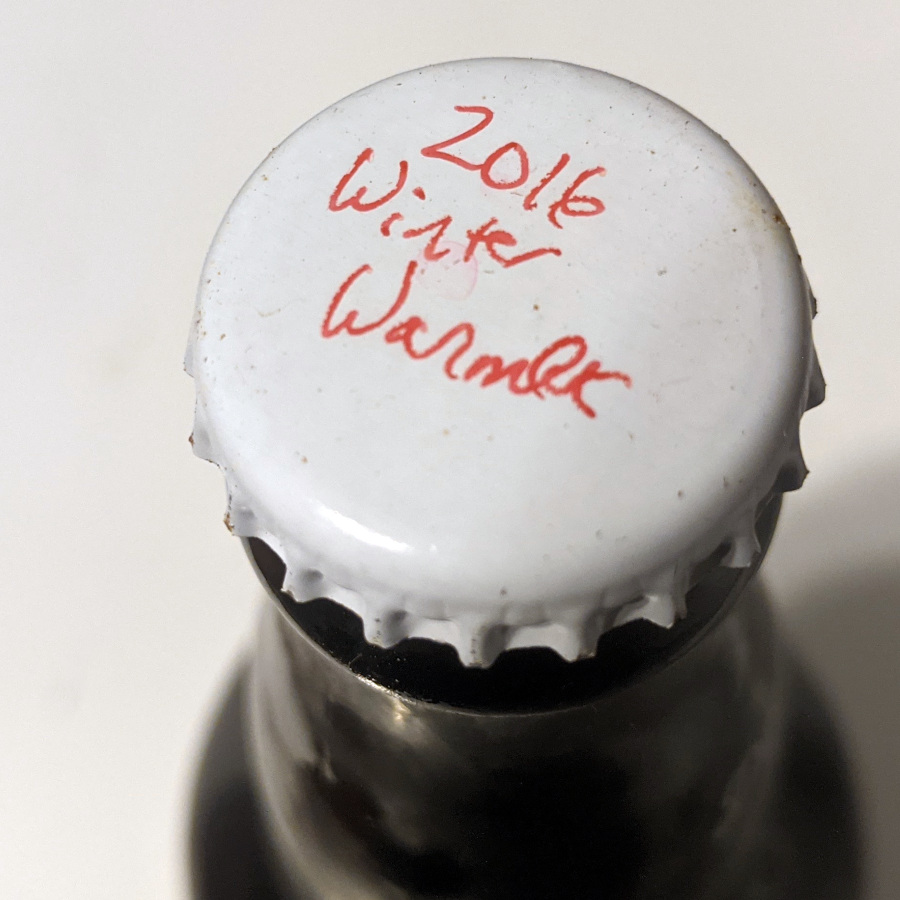
Way, way, way back in the innocent days of September 2016, I brewed a winter warmer. At the time, it was okay, but nothing great. I drank much of it right from the keg, and the rest got bottled. I sampled some back in January 2018, and it was aging nicely. After that, I forgot about the beer for awhile, and only just ran across my stash in the basement while putting away Christmas decorations. Being New Year’s Eve and all, I thought it would be fun to pull out a bottle and give it a taste!
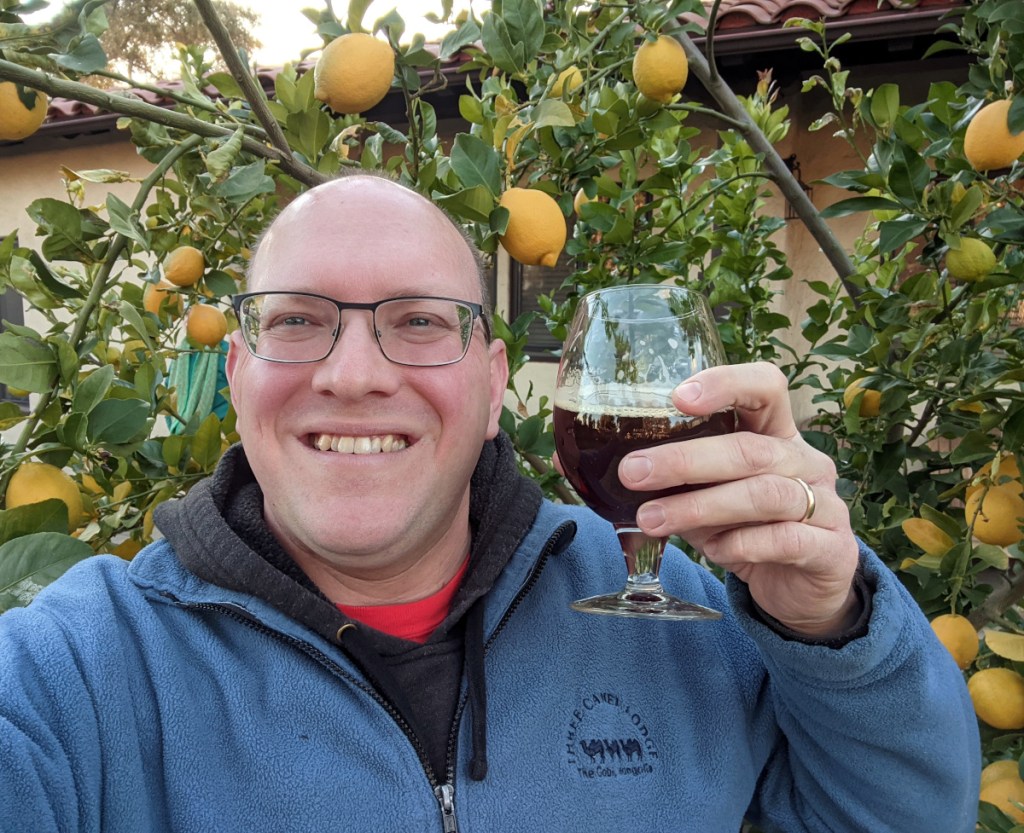
Although I was tempted to review my recipe and brewing notes prior to opening the bottle, I decided to go into the tasting with minimal expectations. I vaguely recalled that there was some ginger in there, but that’s about it. My spouse shared the bottle (it was 22 ounces of beer, and I didn’t need to drink all of it myself!), and we talked over the beer as watched the southern California sunset from our yard.
Tasting
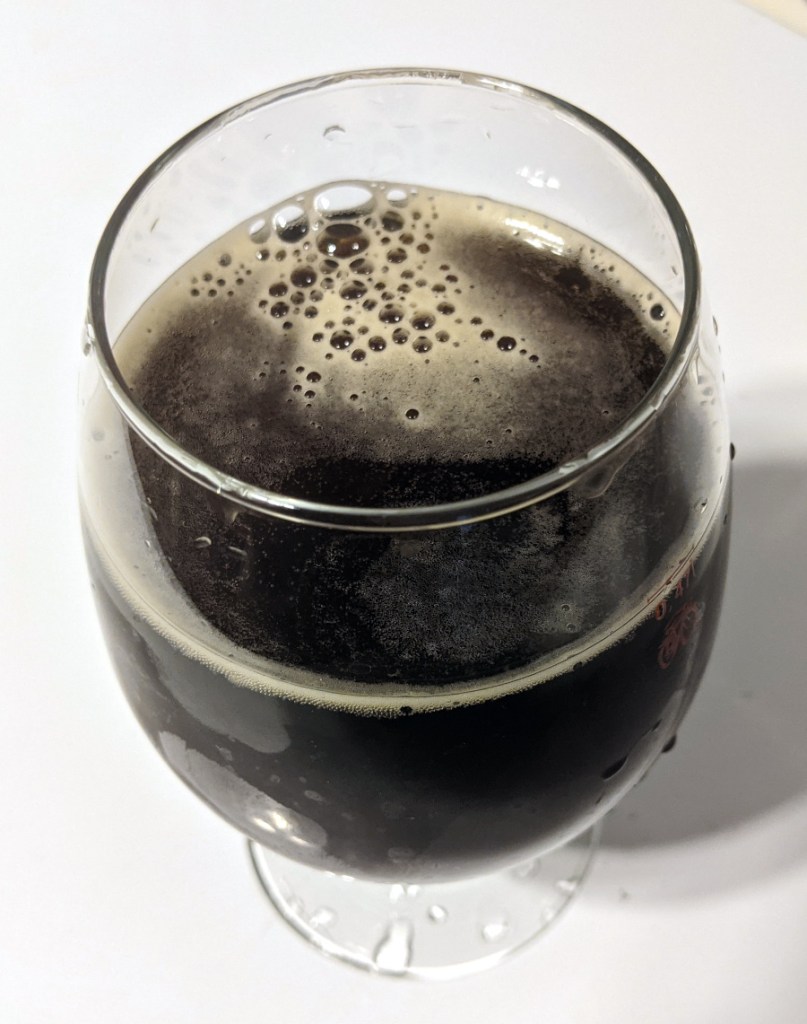
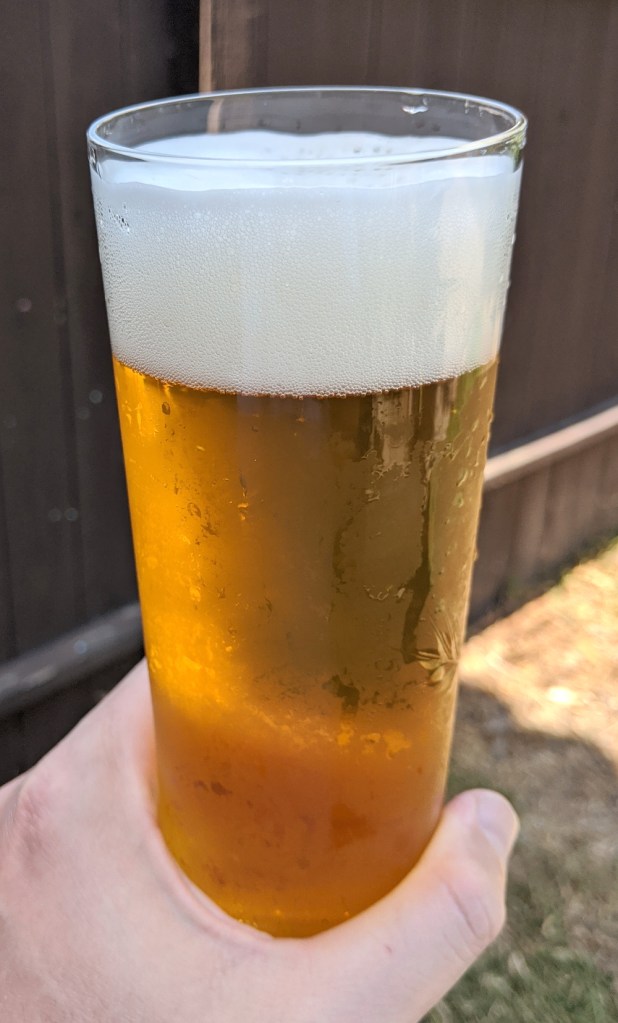
Appearance
Very clear, deep amber beer, which pours with a moderately persistent cream-colored head.
Aroma
Raisins, light hint of leather, ginger, dried figs…very rich! No hop aroma noticeable.
Flavor
Malty, with moderate bitterness. Lots of pleasant notes from aging, including dried figs, raisins, and a touch of spice (ginger). Yeast character was surprisingly clean, with no unpleasant aspects that I was afraid might seep in after a few years.
Mouthfeel
Big body, very smooth, moderate carbonation.
Would I Age This Again?
YES. Although I don’t recall this being an exceptional beer four years ago, it sure is something special now. Everything has just come together in a rich, flavorful way, and I can’t think of a better beer to enjoy as we close out 2020. I’ll brew this again soon, to have at least a little aging under its belt before next New Year’s Eve.
At the beginning of the past few years, I’ve set annual brewing goals. Now that we’re almost to the end of 2020, it seems like a good time to review my resolutions and see how it all went.
Recognizing that I often rushed my lagers into service quicker than is optimal, I planned my production so that each batch got a more extended lagering time. I did pretty well on this one. Most of my lagers got at least a month of cold conditioning before getting tapped, and in some cases even 5 or 6 weeks. I often felt another week or two of lagering might have been helpful, although the beers inevitably hit their full stride not long after going on tap. So, I count this one as a decent success.
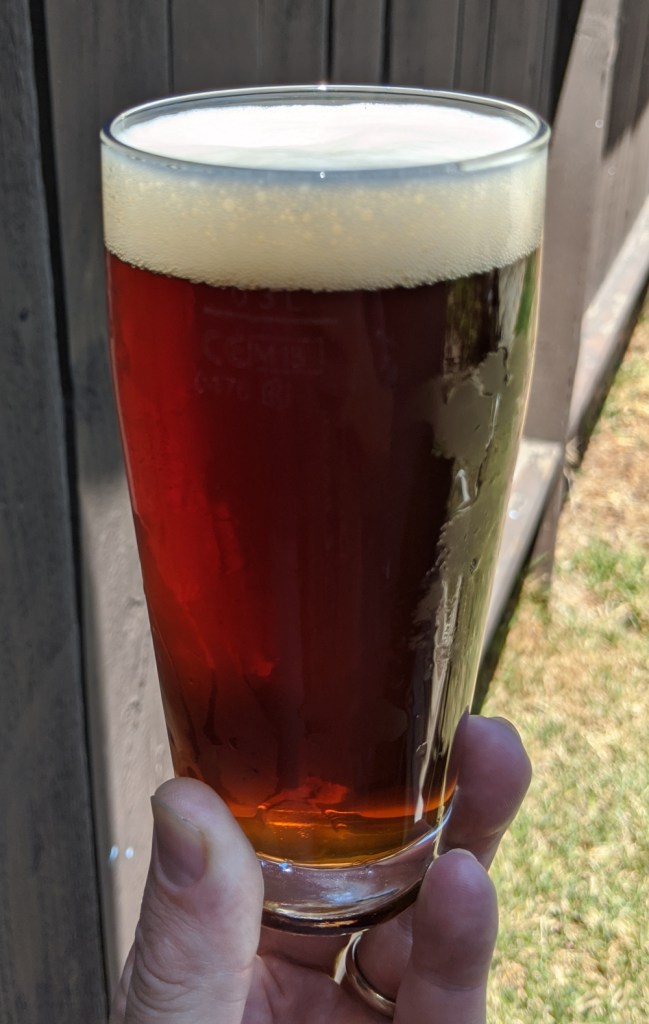
I did pretty well here, also, with varieties like Crystal, Mt. Hood, Sterling, and others figuring prominently in my lagers and German ales (like the altbier depicted at right). Another succcess!
Final Score: 10/10
Prose.
At the start of 2020, I thought it might be fun to write another magazine article, or something similar. Then 2020 happened, and this one just had to go by the wayside. I got some good blogging in, but that’s about it.
Final Score: 2/10
Prost!
I had hoped to keep brewing fun…and, it really was. Even with everything else happening, brewing was a bright spot in my year. I couldn’t get together with friends in the same way, but I was able to arrange some socially distanced growler swaps for later enjoyment, and I got some good time in the early mornings while starting up brew sessions.
2020 was…2020. With everything that happened, from the pandemic to presidential shenanigans, this was one of the odder brewing stretches I’ve had. My homebrewing hobby was a bit of a respite from 2020, giving me a chance to disconnect and relax. Almost as importantly, homebrewing meant I had a steady supply of fresh beer even when the store shelves were bare, or when I really didn’t want to run more errands than necessary!
Here are some of this year’s highlights:
Tremonia Lager
Favorite Batch
It was hard to pick just one favorite, but Tremonia Lager stands out. The perfect level of maltiness in my version made it incredibly enjoyable, and it was ridiculously drinkable at just shy of 5% abv. More, please! In fact, I have another batch lagering right now.
Least Favorite Batch
Nothing was a complete dumper (in sharp contrast with the dumper year of 2020), although I found that the Kveik Pale Ale was the most disappointing batch. I blame my hopping strategy, not the yeast.
Experimental Recipe with Most Potential
Kveik the Keg Brown Ale was lots of fun, and turned out surprisingly well. If I have Hornindal Kveik on hand in the future, I’ll likely do more in this flavor space.
Most Fun New Style/Recipe to Try
“Favorite Batch” Tremonia Lager also wins this category! It was a new-to-me style (Dortmunder Export, a.k.a., German Helles Exportbier), and I had a lot of fun figuring out the recipe.
Upcoming Beer With Most Potential
I’ve got a few beers in the fermenter or keg that are still waiting to be put on tap, including a German pils, that rebrew of Tremonia Lager, a Scottish-esque ale, and a double IPA (clone of Avery Brewing’s Maharaja IPA). They’re all full of promise, but the one I’m most excited for is “Off the Rails Belgian IPA”. It’s currently in its second week of fermentation, as an attempt at a clone of Houblon Chouffe. It’s a pretty high octane beer, well on target to hit around 10% abv. The batch is going to condition for awhile before being ready to serve, probably a month or two at least. I imagine that this is going to be a beer that I’ll finish fairly slowly, and may not even put it on tap at the main keezer, but will just pull off a glass now and then using a picnic tap.
Best Technique Added to Repertoire
A few months ago, I transitioned to electric brewing, which has enabled mash recirculation as well as easier step mashing. I’m still on the learning curve, but the curve is starting to flatten out a bit. The brew day rhythm is locking into place, and I’ve steadily gotten more efficient with each batch.
Best Ingredient Added to Repertoire
As mentioned above, kveik was a fun yeast space to play around in. I made three batches with it–a pale ale, a brown ale, and my holiday ale. It really does live up to the hype of fermenting cleanly and quickly.
I’ switched entirely to stainless steel fermenters, after years of glass carboy use. Safety was a big concern, as well as ease of cleaning.
I had a lot of fun in the fermented foods realm, playing with some sauerkraut and other lacto-based items.
On the commercial beverage side, I’ve been sampling a variety of non-alcoholic options. They’re not a complete substitute for alcoholic beverages, but are a bit more interesting flavor-wise.
Overall Stats
I brewed 34 batches of beer this year, with around 160 gallons into kegs.
German Pils was my most frequently brewed style, with four batches. American pale ale followed, with three batches. American IPA, Dortmunder Export, Irish stout, and kölsch-style beers had two batches each. Lagers as a group comprised slightly more than a third of my overall brewing this year.
Overall beer strength was pretty middle-of-the-road, with a target starting gravity averaging 1.053 (median=1.048). My highest starting gravity was 1.105, for my homebrew club’s imperial stout barrel project. The lowest starting gravity was 1.031, for the Berliner Weisse.
My beer tastes run towards the lighter, lower-alcohol side, but I sure do like a nice and robust beer in that stretch between Thanksgiving and New Year’s. I just finished the keg of Stygimoloch Bock, and this year’s Christmas Warmer went on tap in its place.
The goal for this batch was to have something with a bit of character and a bit of kick. I wanted a rich malt character, alongside a bit of spice. I looked through Gordon Strong’s Modern Homebrew Recipes, and found “Christmas Beer” as an inspiration. The malt proportions in my version are pretty similar to Strong’s recipe, but I did a ton of swapping for brand and even malt type. Golden Promise got replaced by Vienna, and Belgian Aromatic got swapped out for Honey Malt, among other things. The original recipe is far more English in character, including the hops and yeast, and I did away with that entirely! Instead of English ale yeast, I brought in Hornindal kveik. My logic was that its orange/citrus qualities would fill that space of orange zest in Strong’s recipe. Plus, I had the kveik on-hand, and thought it would be a fun variation.
Because this was a pretty experimental batch, and because I didn’t want ridiculous amounts of a spiced beer, I knocked the recipe back to 2.5 gallons. This gave me a chance to do a test-run for a small batch on my Foundry system. I quite like the result, but am glad that I don’t have endless quantities of it. Even a good spiced ale is best as a treat in moderation!
Christmas Warmer 2020
3.5 lb. Vienna malt (Weyermann)
1 lb. Munich II malt (Weyermann)
1 lb. honey malt (Gambrinus)
0.5 lb. Caramunich I malt (Weyermann)
0.5 lb. caramel 40° malt (Briess)
0.5 lb. flaked barley
2 oz. chocolate malt (Briess)
1 lb. honey, 1 minute boil
1 oz. robust molasses (Grandma’s Brand)
1 oz. Cascade whole hops (5.5% alpha), 30 minute boil
1 tsp. Fermax yeast nutrient, 10 minute boil
1 Whirlfloc tablet, 5 minute boil
Steeping spices (steeped for 10 minutes after boil)
Claremont water, with Campden tablet to remove chloramines.
Procedure
I mashed in (using my Anvil Foundry) with 4.5 gallons of water at 160°, adding 2.5 mL of 88% lactic acid to adjust pH. I let this settle down to 154°, mashing for 50 minutes with recirculation. I then raised the mash to 168° over 10 minutes, let it rest for 10 minutes, removed the grains, and brought the runnings to a boil.
The mash yielded 4 gallons of wort at 1.041, for 62% mash efficiency. This was a bit below where I wanted to be, so I added 0.5 lb. of extra light DME, to raise the gravity.
I boiled for 60 minutes, adding the hops and other ingredients per the schedule.
After the boil but before chilling the wort, I steeped the spices in a bag for 10 minutes.
I cooled down to ~80°, transferred to the fermenter, and let it run at ambient. Because it was later in fall when I brewed this, ambient was around 70° or so for the start.
Starting gravity was 1.061. I brewed the beer on 20 October 2020.
I kegged the beer on 6 November 2020, and force carbonated.
Final gravity was 1.017, which works out to 5.8% abv. I’ve noticed that this kveik strain seems to underattenuate, measuring 61% to 71% in the batches I’ve done.
Tasting
Appearance
Deep amber beer with some haze; pours with a persistent beige head.
Aroma
Candied ginger, general spice, with a touch of citrus peel. Slight malty/biscuity character, and a slight tartness. There is a hint of cinnamon/spice as the beer warms up.
Flavor
Medium-low bitterness, and a light tartness (from the kveik?). There is a subtle spice character, with a bit of cinnamon and molasses that become more prominent as the beer warms.
Mouthfeel
Medium body, moderate carbonation. The finish is off-dry and fairly smooth.
Would I brew this again?
This is a pretty good beer, but still needs a little work. For my personal conception of a “holiday beer,” I’d like a bit more base malt character. For a rebrew, I might use all Munich I as the base, and also add some dark crystal malt (maybe crystal 80 or crystal 120?). The beer could also use a little more sweetness–perhaps from lactose or crystal malt–to round out the profile. The level of bitterness is about perfect. Finally, I might change the yeast to an English ale yeast rather than kveik. In sum, this is a perfectly drinkable experiment, and will be worth a future revision.
Classic American IPA time, again! The recipe is a modest modification of my Wildfire IPA from a few months back. The malts are fairly different (crystal 40 and biscuit, instead of crystal 30), and I used light Munich instead of dark Munich malt. The hopping schedule is also adjusted, to use the clean bitterness of Magnum and all of the flavor/aroma happening in the whirlpool and dry hop. So, I suppose it’s not really a complete rebrew, but a new recipe strongly inspired by the past recipe.
The name references the C-C dry hopping, with Cascade and Chinook whole cones right in the keg. And that, in turn, is a (bad) pun on “See See Rider,” a song that originated over 100 years ago and is known to many of us because of Elvis Presley.
See See IPA
12 lb. 2-row brewer’s malt (Great Western)
1 lb. Munich light malt (Chateau)
0.5 lb. crystal 40 malt (Great Western)
0.25 lb. biscuit malt (Dingemans)
1.4 oz. Magnum hop pellets (13.2% alpha), 45 minute boil
1 tsp. Fermax, 10 minute boil
1 Whirlfloc tablet, 5 minute boil
1 oz. Cascade whole hops (5.5% alpha), 15 minute whirlpool
0.5 oz. Chinook whole hops (13.1% alpha), 15 minute whirlpool
0.4 oz. Centennial hop pellets (9.3% alpha), 15 minute whirlpool
1 pkg. American West Coast Ale yeast (Lallemand BRY-97)
1.5 oz. Chinook whole hops (13.1% alpha), dry hop in keg
1 oz. Cascade whole hops (5.5% alpha), dry hop in keg
Target Parameters
1.057 s.g., 1.011 f.g., 6.1% abv, 7 SRM, 67 IBU
Infusion mash, 150°, full volume; 60 minute boil
Claremont water, with Campden tablet to remove chloramines.
Procedure
I heated 7.5 gallons of mash water to 157°, and added the grains to hit a target mash temperature of 150° for 60 minutes. I added 10 mL of 88% lactic acid to adjust pH.
After a 60 minute mash with recirculation, I ramped the temperature up to 168° over 10 minutes, and held it there for 10 minutes more. Next, I removed the grains and started heating to the boil.
I had approximately 6.5 gallons of runnings with a gravity of 1.050, for 64% mash efficiency.
I boiled for 60 minutes, adding hops and finings per the recipe.
After 60 minutes, I added the whirlpool hops and recirculated for 15 minutes, before continuing to chill.
I transferred the wort to the fermenter, and let it chill down to 68° in the fermentation chamber, before pitching the yeast.
I brewed this beer on 14 November 2020. Starting gravity was 1.055.
I kegged the beer on 1 December 2020, adding whole dry hops directly to the keg. I have the hop screen adapter for my Clear Beer Draft System, and thought I’d give it a try.
Final gravity was 1.012, for 5.7% abv. This batch came pretty close to hitting targets!
Tasting
Appearance
Deep gold and fairly clear, with just a smidge of haze at the time of this writing. It has cleared up surprisingly wel! The beer pours with a persistent but modest off-white head.
Aroma
There are definitely Chinook hops in this! Hop aroma is at the forefront, with a heavy spicy, herbal, and slightly dank character. I don’t pick up much for citrus notes, although I could be convinced there is grapefruit as part of it. There is a hint of caramel malt character, but that’s very much in the background. No yeast character is evident.
Flavor
Flavor is dominated by the hops, with the herbal and dank character mentioned above. Bitterness is moderately high, but not over the top; it’s about perfect for my tastes! The malt character is nicely supportive, and I like the malty, bready character alongside the trace of caramel. As with aroma, the yeast stays in the background, where it belongs!
Mouthfeel
Medium body, with a finish that is only slightly on the dry side. Carbonation is also on the moderate side, as is appropriate for the style.
Would I brew this again?
This general recipe is a great base for a classic northwestern IPA that highlights “old school” American hops. It’s pretty similar to its Wildfire IPA predecessor, and I think this overall recipe is likely to stay in my semi-regular rotation. Although it’s a bit out of vogue these days, the 2-row plus Munich base malt combo really hits the spot for me, and I think the crystal malt adds important character. My main complaint on this batch is that the Chinook hops are just a touch heavy. Their flavor plays well with everything else, but I prefer the more citrusy varieties like Cascade in my American IPAs.