Laurasia IPA

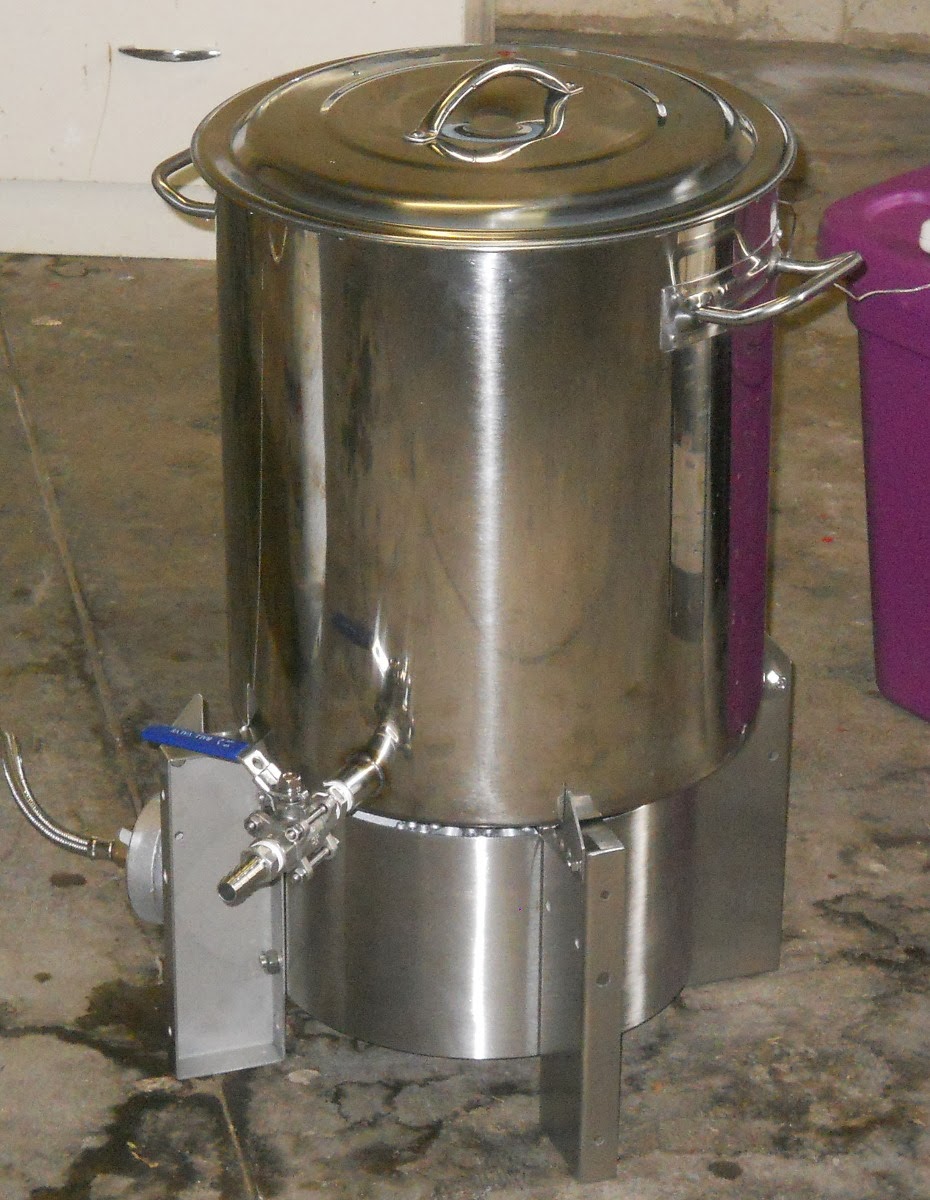
The new burner and kettle

The brewery has been radically reformed over the past few weeks. First was the move into a new (and expanded) brewing space. With that move pretty much completed, I decided it was time to up my brewing game and go full volume boil. Being off the kitchen stove certainly helped in this! I just acquired a new Blichmann floor standing burner–it’s one of the low pressure propane burners, with a maximum output of 72,000 BTUs. Assembly was minimal and simple–perhaps 15 minutes with a wrench. To accompany that, I purchased a 10 gallon stainless steel kettle. As sold at my local homebrew shop, it didn’t have any outlets. But, I was able to have them weld in a threaded coupler. I bought a ball valve and a hose barb, and the setup was complete!

As an inaugural brew, I decided to put together a fairly simple IPA recipe. This is a departure from my previous favorite, the Rainy Day IPA, particularly in having fewer steeping grains. According to some reading, I may have been using more crystal malt than is healthy for an IPA. So, I cut back on that quite a bit (only a half pound now!), and we’ll see what happens.

Laurasia IPA

  • 8 oz. 40° crystal malt
  • 4 lbs. extra light liquid malt extract
  • 5 lbs. light dry malt extract
  • 3 oz. whole Cascade hops (bittering)
  • 1 oz. whole Cascade hops (aroma)
  • 2 oz. Simcoe hope pellets (dry hop)
  • 0.5 tsp. Irish moss
  • 1 pkg. BRY-97 American West Coast dry yeast (Danstar)

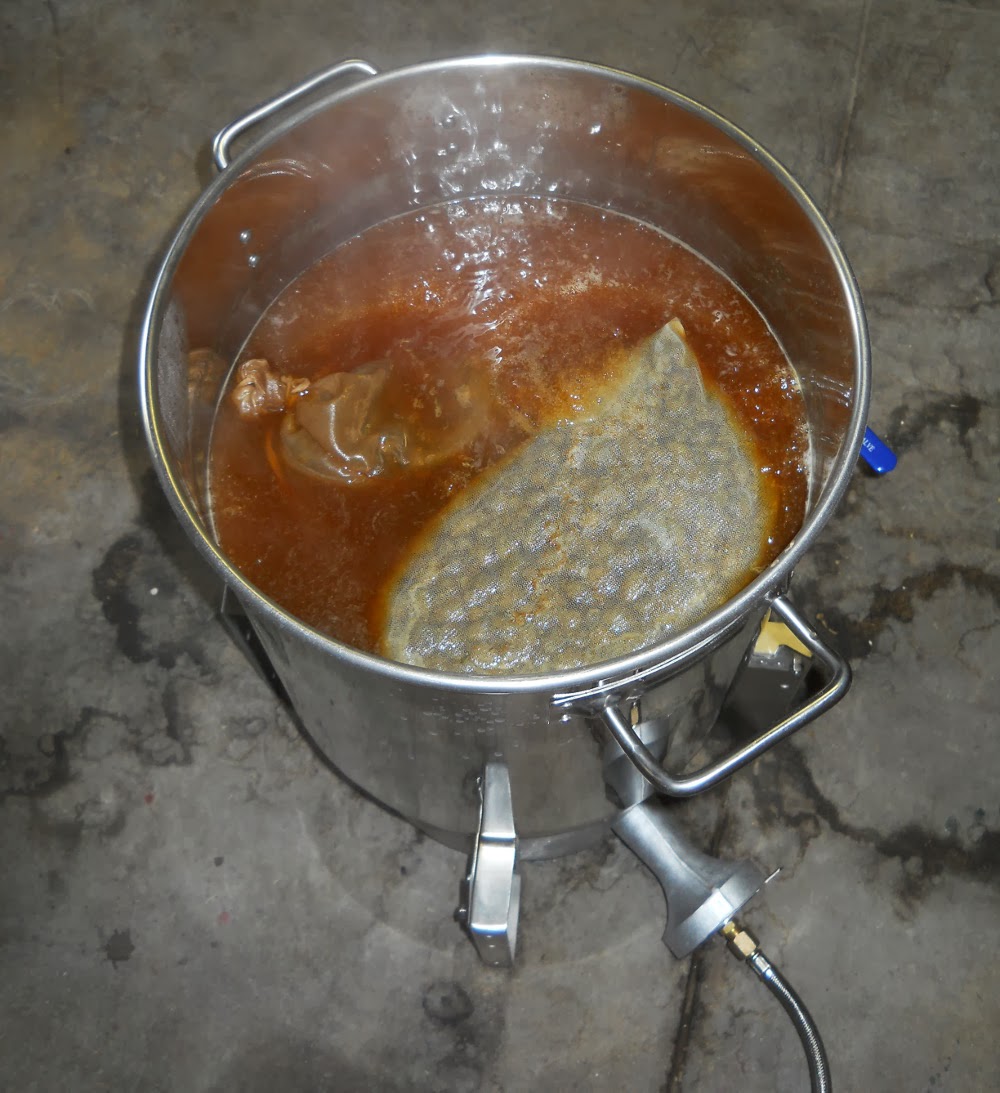
Boiling the Laurasia IPA

Steps

  • Steep crystal malt for 30 minutes in 1 gallon of water at 152° to 156°; sparge with 0.5 gallon of water. Top up to 6 gallons volume total.
  • Bring to a boil, turn off heat. Add malt extract and bring back to a boil. Once the wort is boiling, add 3 oz. of Cascade hops.
  • After 45 minutes, add Irish moss.
  • Boil for a total of 1 hour. At flame-out, add 1 oz. whole Cascade hops (aroma).
  • Chill using wort chiller; this took approximately 45 minutes, during which time the aroma hops were steeping. The end temperature was approximately 70°.
  • Whirlpool, let sit for 15 minutes, and transfer to the primary fermenter. Pitch the rehydrated yeast, and seal up the fermenter.
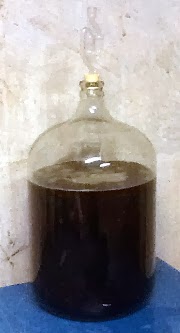
  • After evaporation loss and trub loss, the recipe resulted in nearly precisely 5 gallons. Gravity was 1.068 at 66°, which translates to 1.069 at 60°. This is nearly a perfect match for the calculations from BeerSmith (1.070)!
  • After fermenting for a week, I plan to transfer this over to the secondary fermenter. There it will sit for another week, and I’ll add the Simcoe hops for a week of dry hopping prior to bottling.
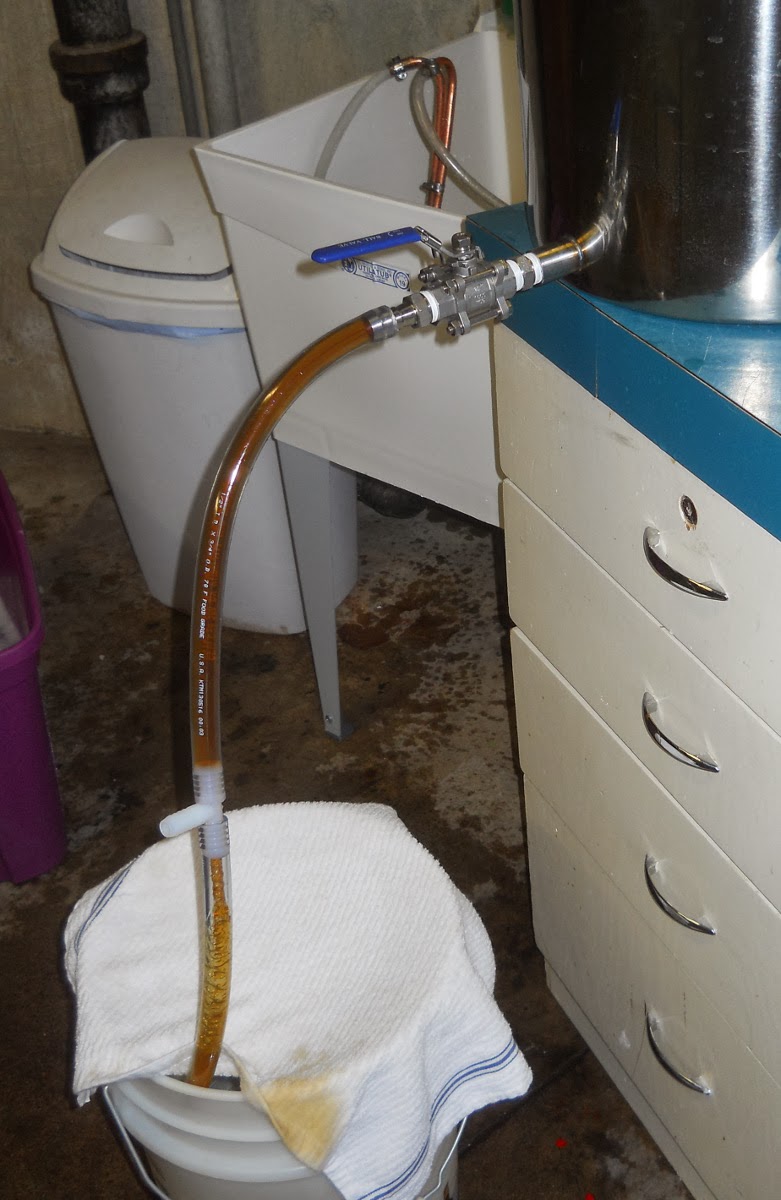
Venturi pump in action
Miscellaneous Comments
Back when I was doing partial volume boils, I oxygenated my wort by splashing in the water direct from the tap, usually with a spray nozzle. That’s no longer an option (because I no longer need to top up), so I needed to try something different. I wasn’t quite ready to spring for a pump and/or oxygen tank, and fortunately some looking online highlighted a much cheaper (and anecdotally just as effective) solution. It gets the fancy name of a “Venturi pump“, but in practice it’s simply a little nylon plastic t-junction in the middle of the tubing that the cooled wort runs through. This piece cost under $3 at the hardware store. It operates on a simple physical principle…because the junction is of smaller diameter than the rest of the tubing, the pressure in the wort drops as it passes through. Air is sucked in via the protruding side of the “t”, and into the wort.
Contamination was a concern, but the reports online suggest this is only a very minor consideration. I presume that because the yeast is pitched immediately, any potential problems are outcompeted. The other minor quirk is that you want to hold your finger over the opening on the “t” while starting the flow of wort. Once there is a good flow, air is sucked in; if you release too soon, you will lose a bit of wort.
All in all, I was happy with this inaugural brew day for the new equipment. The burner heated the wort to boiling quite quickly–under 20 minutes! The kettle was easy to clean, and it was nice not having to mess with adding water and the like. I am curious to see how the beer tastes!

Burning Hills Cacao Stout Update

In the secondary

Today, after 8 days in the primary fermenter, I transferred the stout over to the secondary. Gravity reads 1.026 at 64°, which has a virtually negligible correction factor to 60°…to 1.026. Down from an original gravity of 1.062, this leaves around 4.7% abv at the moment. Assuming that the lactose in the recipe is almost completely unfermentable, I should be pretty close to final gravity with this one, judging by the calculations in BeerSmith.

Based on my tasting at the time of transfer, this is going to be an absolutely delicious stout. It is smooth and creamy, and I was pleasantly surprised to have a mild but distinct cocoa finish pop in a few seconds after each sip. However, it’s also a “big” and hearty beer…I think I’m probably going to stick with almost exclusively 12-oz. bottles for this one. An 18- or 22-oz. pour would be just too filling to enjoy.

This transfer session is also notable as the first time I’ve used my “new” brewing setup in the garage. I finally got some time to swap out the old utility sink (which was covered in grease, old paint, and other grunge) and set up a re-purposed work bench. Just on this first run it is much more convenient than the kitchen counter!

The new brewery location…not in the kitchen.