Pannotia White IPA

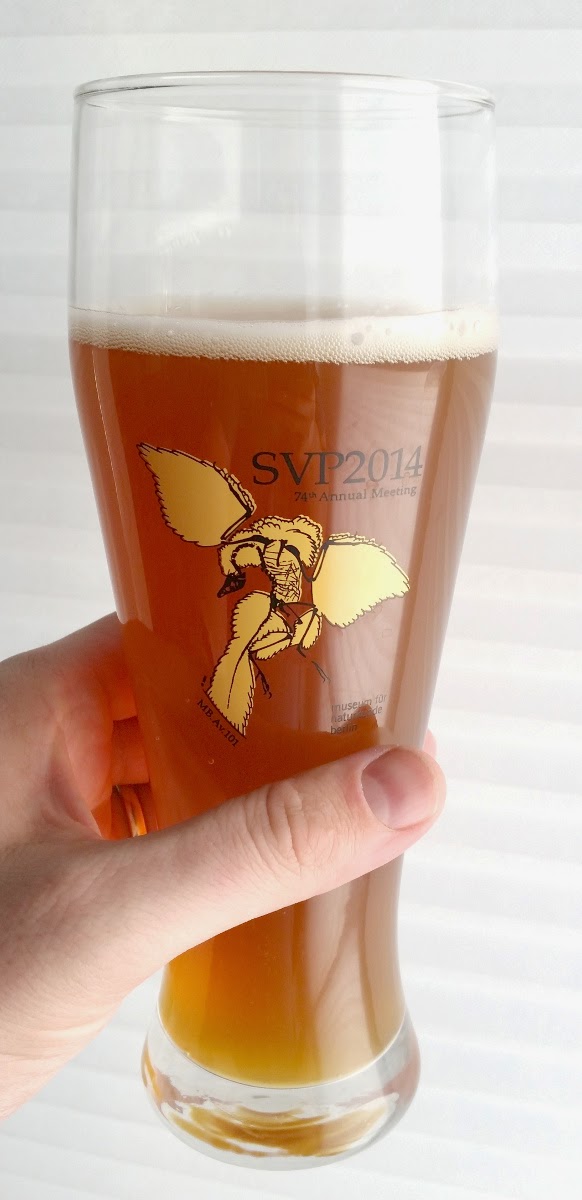
During my European travels last year, I sampled a heavenly brew called Vergött White IPA, brewed by Birrificio Artigianale Lariano of Dolzago, Italy. It was my first time encountering a White IPA, which is essentially a Belgian wit ramped up with hops. In my memory, the brew was crisp, tart, and citrusy–a really fun combination of flavors and aromas. Upon my return to the United States, a little more research turned up additional information on this burgeoning style. I tracked down some bottles of Deschutes Chainbreaker White IPA, which was good, but just a little heavier and sweeter than my own tastes and as compared to my memories of the Italian beer. So, I set off to create a new recipe that would bring together the best of all worlds. I have no idea how it will turn out, and I suspect it may get iterated through a few batches.

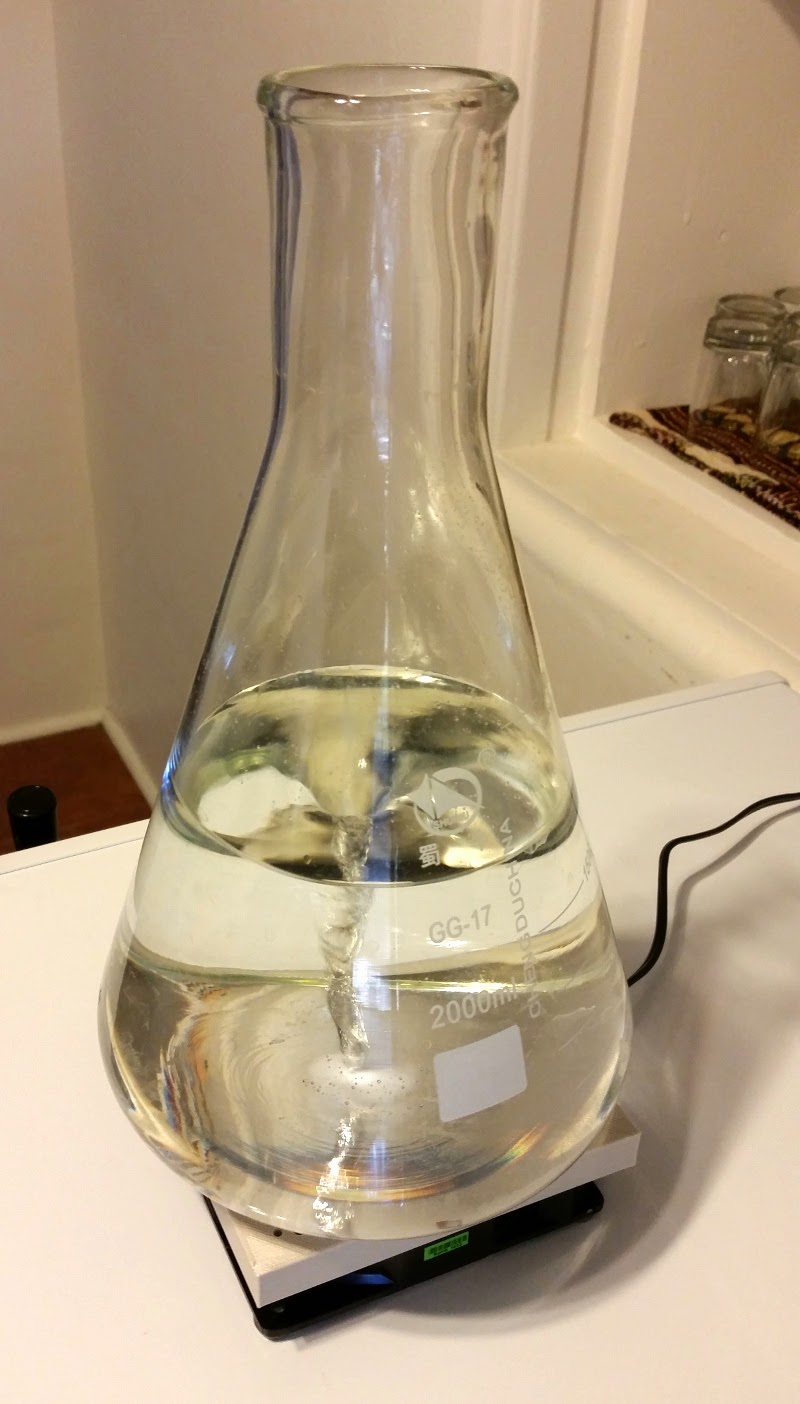
This was the first batch where I used yeast cultured on my new stir plate. The yeast was culturing for around 24 hours when I pitched it, looking to be at high krausen. Also, it was my first time working with pilsner malt.

Per my usual custom, I am naming this IPA after a supercontinent–Pannotia this time around.

Pannotia White IPA

  • 7 lbs. Pilsner (Weyermann) malt
  • 3 lbs. white wheat malt
  • 1 lb. flaked wheat
  • 8.10 g gypsum (added to boil)
  • 1.73 oz. whole Cascade hops (first wort hopping and 90 minute boil; 2014 crop, estimated 4.29% alpha acid)
  • 1 oz. whole Cascade hops (first wort hopping and 90 minute boil; 2013 crop, estimated 2.61% alpha acid)
  • 0.35 oz. bitter orange peel (added for last minute of boil)
  • 0.15 oz. coriander seed (lightly crushed, added for last minute of boil)
  • 3 oz. Citra hops pellets (added at flame-out; 13.2% alpha, 3.7% beta)
  • 1 oz. whole Cascade hops (added at flame-out; 2013 crop, estimated 2.61% alpha acid)
  • Belgian Wit ale yeast (WLP400), prepared 24 hours in advance with 1.5 L starter
  • 3 oz. Citra hops pellets (14 days dry-hop, 13.2% alpha, 3.7% beta)
Anticipated statistics
  • 1.059 o.g., 1.010 f.g., 6.5% abv
  • 50.2 IBU
  • 3.7 SRM

Procedure

  • I mashed in with 3.5 gallons of water at 159°. The mash stabilized at ~147° within 5 minutes, which was a little on the cool side for my taste. So, I added 1 gallon of ~185° water, stirred it a bit, and got the mash  to 151° within a minute. The mash still measured 151° after 10 minutes and 149° after 40 minutes.
  • I drained the mash tun, collecting ~3 gallons of wort with a gravity of 1.064. The hops were in the kettle starting at this point. Note that I adjusted the alpha acid for the calculations based on the age of the hops, using the hops aging tool in BeerSmith.
  • For mash-out, I added 3.5 gallons of water at ~185°.
  • All told, I collected 7 gallons of wort with a gravity of 1.045. This works out to ~74% efficiency.
  • I added the gypsum and brought the wort to a boil. Because I used pilsner malt, which is supposed to have a higher susceptibility to DMS production, I boiled for a total of 90 minutes.
  • One minute before flame-out, I added the coriander and bitter orange peel. At flame-out, I added the Citra hops pellets (contained in a mesh bag) as well as the whole Cascade hops.
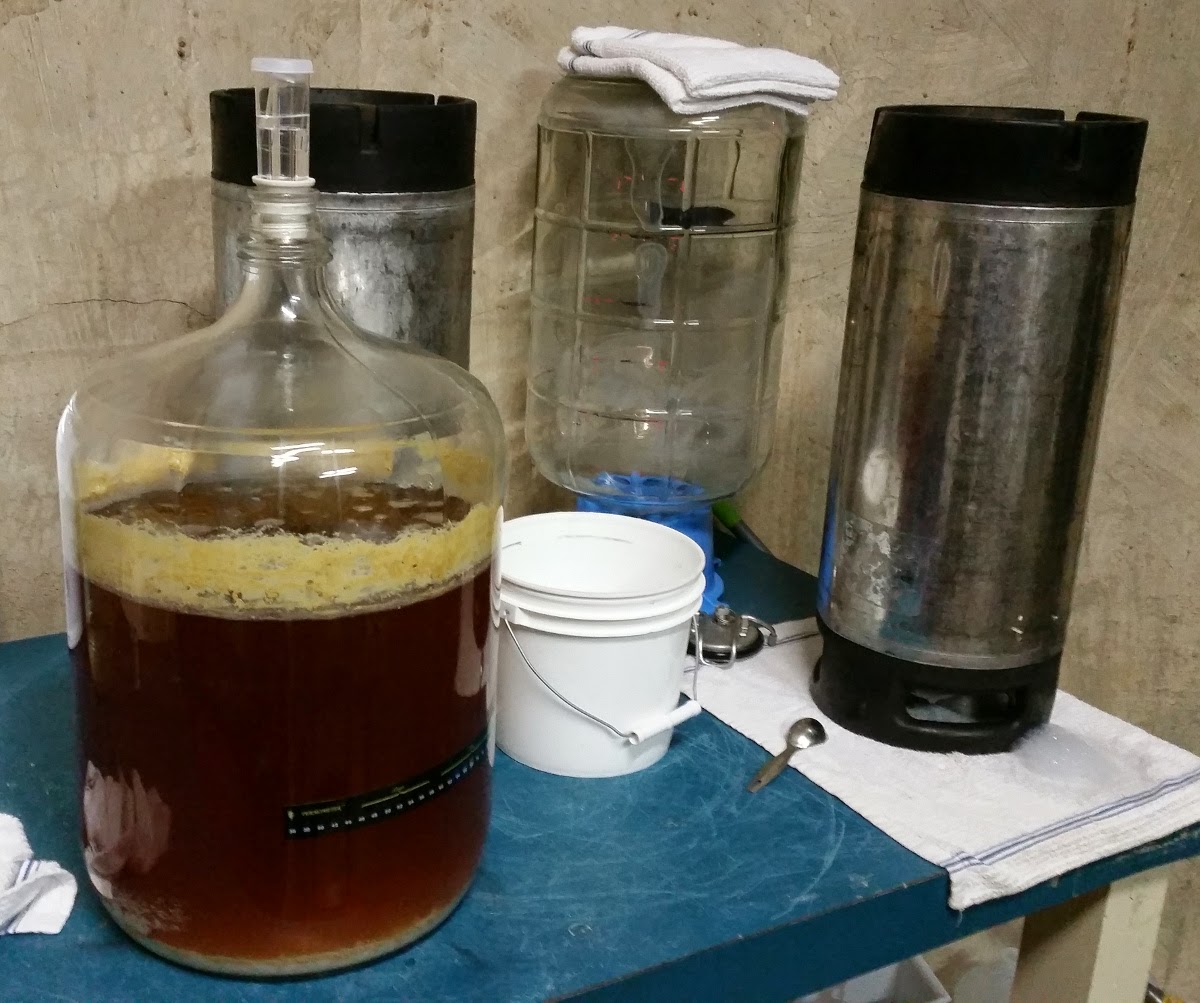
  • I cooled the wort down to ~70°, transfered to the carboy (aerating with the Venturi pump along the way), and pitched the yeast (starter and all).
  • This beer was brewed on Monday, April 6, 2015. Starting gravity was 1.057, just a touch below my predicted gravity (1.059). This is likely due to a slightly lower boil-off rate. Total volume was 5.25 gallons. I placed the carboy in my fermenting chamber, and set the temperature controller for 70°.
  • In less than 12 hours, the fermentation was proceeding quite vigorously. Score one for using a starter!
Pannotia White IPA at high krausen

DIY Stir Plate

Stir plate in action

As I continue to expand my home microbiology lab, a stir plate seemed like a logical addition. Good laboratory grade ones are reliable, but expensive ($75 on up). Cheap kits and cheaply made stir plates are easy to find on-line, but often only have middling reviews. So, I decided to make my own.

Not being an electrical engineer, I wasn’t entirely in love with the idea of soldering wires and the like, so I elected to use one of the builds that modifies a computer cooling fan. A project posted at Homebrew Finds gave basic directions, some designs for a 3D printed magnet mount, and a list of parts easily found on Amazon. A little more searching on Thingiverse found this base for the Ehrelenmeyer flask, which I shrank slightly in the Z-axis (subtracting ~5 mm, but leaving the X and Y dimensions unchanged) before printing in order to move the magnets closer to the stir bar. I also added some silicone feet under the fan, to give a little air circulation as well as to prevent movement of the stir plate when in use.

Parts list:

All told, it cost about $40 in materials to put this together. I assembled the stir plate this weekend, and ran a test with about 1.5 L of water in my 2 L flask. The setup works pretty well, and I’ll be putting it into use for my next batch.

The finished stir plate

Lab Bench Pale Ale Kegged

Tonight I kegged my Lab Bench Pale Ale, after 13 days in the primary fermenter. The yeast had dropped out pretty nicely, leaving a golden beer with a smooth bitterness and a crisp, slightly malty aroma. The gravity was 1.010, down from 1.047, which equals 4.8% abv and ~78% apparent attenuation.

I got around 4.75 gallons of beer. Before sealing up the keg, I added 2 oz. of Cascade hops in pellet form (7.5% alpha, 5.5% beta). In about 5 days, I’ll start carbonating (leaving the hops in place); the goal is to have this ready to go on Easter!


Beer Tasting: von Meyer Weizen

My von Meyer Weizen has been in the bottles for over three weeks now, waiting for the “official” tasting at the homebrew club meeting tonight. In advance of that, I did my own evaluation. This is cautioned, of course, by the fact that I don’t normally drink a lot of weizens, so I’m not entirely up on what makes a “good” or “bad” one. At any rate, here we go!

  • Basics
    • Starting gravity = 1.047; final gravity = 1.012; abv = 4.6%. Estimated IBU = 10
  • Aroma
    • Tangy and clove-forward; not much in the way of banana.
  • Appearance
    • Deep gold, almost orange in color. The beer is fairly hazy with yeast. The head is cream colored and fine in texture; persistent but not terribly tall on the pour. Head retention is quite good.
  • Flavor
    • Clove-dominant and slightly malty, with a moderate banana flavor on the finish. There’s a touch of citrus tang, too.
  • Mouthfeel
    • Body is modest, but carbonation is excellent, with fine bubbles.
  • Would I brew this again?
    • I think so! This wasn’t the most technically challenging beer to brew, but that’s alright…the overall result is pretty tasty; nice and refreshing as the weather starts to warm up. Truth be told, I like having a recipe that is quick turnaround!
  • Overall rating
    • 7/10
I did this tasting last weekend, in advance of the formal club meeting, and was curious to see how my personal assessment would compare. Somewhat to my surprise (there are some talented brewers in my club!), I placed first out of seven entries (two of which were commercial examples, and another two were good beers but brewed in other styles). If I were to guess, commercial wheat beers are handicapped a bit by long storage. According to most things I’ve read, this is a style to be consumed quickly, and homebrew might have an edge in this regard.
My weizen wasn’t the most technically challenging brew I’ve done–not by a long shot–but I am quite pleased with the results. The only minor thing I might change would be to find some way to improve the head; maybe by a partial mash to get some extra proteins into the mix? I’d definitely use the cool fermentation profile again–the balance of clove vs. banana was perfect for my taste. In any case, it’s nice to get affirmation that all-extract brewing produces great beer!

Vitamin K Kölsch Clone Kegged

Last night (March 14), I kegged my Vitamin K Kölsch Clone. The beer had been in the primary for 13 days, fermenting from 1.045 down to 1.009. At 4.7% abv, this is exactly on target from the original recipe. Due to another beer in the fermentation chamber, I ended up not cold-crashing this one.

The kölsch is delicious at this stage–clean and lightly fruity, which I suspect will only continue to improve as it matures. I was also impressed by how well the batch has clarified, resulting in a beautifully clear and light yellow beer. A good yeast strain (as an aside, the sulfur production for this one noted by White Labs was indeed prominent–but thankfully it dissipated by kegging time).
This beer will be very nice for the upcoming warm months. I kegged just a touch under 5 gallons of beer, and am carbonating it at 13.5 psi at 42°. This is approximately 2.5 volumes of CO2.