My latest hoppy brew involves a pale ale recipe from the Maltose Falcons’ 50th anniversary recipe book. It’s a nice volume with some interesting recipes across a variety of styles. The book is by design geared for members of the club, with a decent bit of inside baseball and anecdotes and stuff, but for someone who likes field-tested recipes (versus rando ones posted online), it’s a worthy addition to a home library. I found some of the recipes to be a bit hard to follow in the formatting or presentation (e.g., lines of text with odd breakpoints that made it hard to discern what went where; limited procedural guidance for some batches–I can’t fault them too much, because it is a compendium of recipes from a whole bunch of people across decades of time), so I wouldn’t recommend it for the novice brewer, but most folks who are in the intermediate to advanced stages of brewing should be very capable of putting the recipes to work.
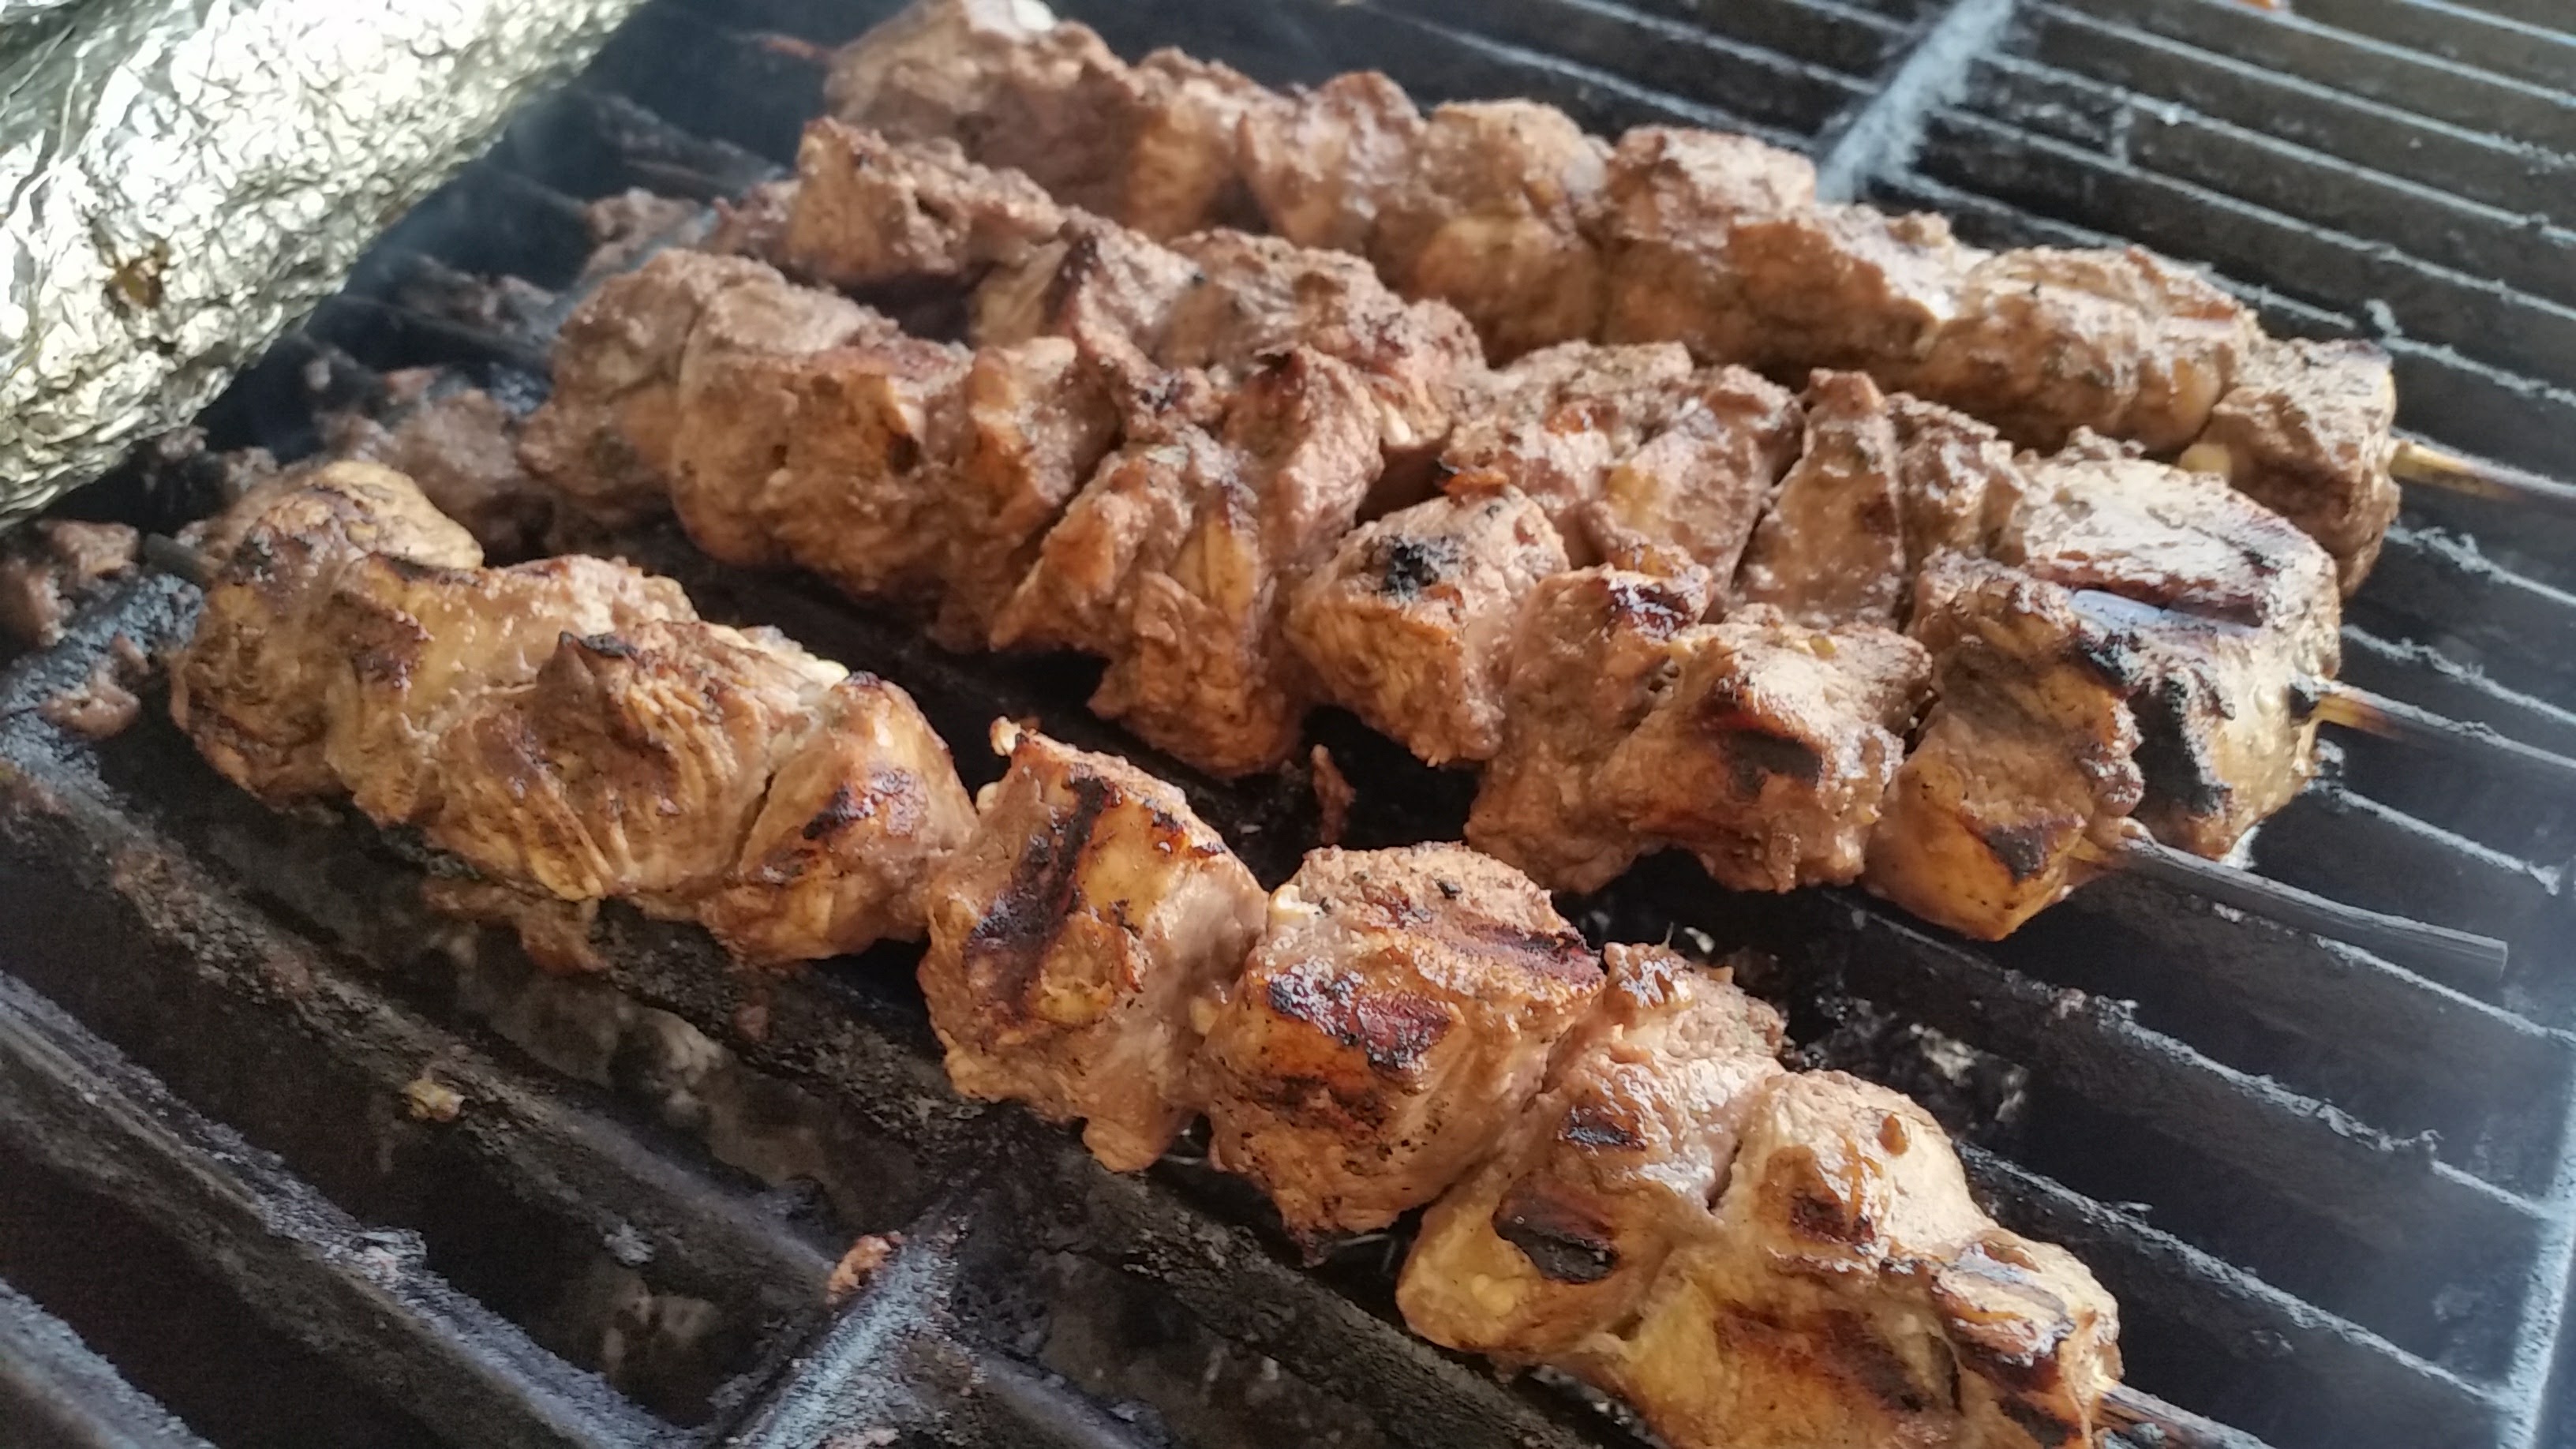
In any case, a recipe called “Halfcolt Pale Ale” caught my eye as a contemporary pale ale of reasonable ABV that incorporated ingredients I mostly had on hand. I made some modifications, both for the base malts and to use hop pellets versus the cryo products, and away I went on my interpretation. Two versions of the recipe were included in the book; one is a commercial scaled version and the other is a homebrew version. Beyond batch size, there are some significant differences between recipes. Most notably, the homebrew version lists bitterness at 76 IBU, whereas the commercial version is published at 50 IBU. I elected to dry the much more bitter homebrew version, partly because I wanted a robustly in-your-face beer. In the printed version of the recipe, the line alignment for hop additions made it ambiguous which were whirlpool and which were dry hops, so I made some informed guesses.
This recipe gets the name of “Scaphohippus Pale Ale,” because this extinct equine was about half the size of a regular horse (i.e., a “halfcolt”).
Recipe Name
- 8.75 lb. 2-row brewer’s malt (Great Western)
- 1 lb. Maris Otter pale malt (Thomas Fawcett)
- 0.5 lb. Carafoam (Weyermann)
- 6 oz. Victory malt (Briess)
- 4 oz. Viking Caramel 100 malt (crystal 40)
- 0.5 tsp. BrewTanB, added to mash
- 0.25 oz. Simcoe hop pellets (12.4% alpha), first wort hop and 60 minute boil
- 1 oz. Cascade hop pellets (7.3% alpha), 20 minute boil
- 1 oz. Simcoe hop pellets (12.4% alpha), 20 minute boil
- 0.5 tsp. BrewTanB, 10 minute boil
- 1 Whirlfloc tablet, 5 minute boil
- 1 oz. Simcoe hop pellets (12.4% alpha), 20 minute whirlpool
- 0.5 oz. Amarillo hop pellets (10.4% alpha), 20 minute whirlpool
- 1 pkg. California ale dry yeast (WLP001, White Labs)
- 1 oz. Amarillo hop pellets (10.4% alpha), dry hop for 12 days
- 1 oz. Cascade hop pellets (7.3% alpha), dry hop for 12 days
- 1 oz. Simcoe hop pellets (12.4% alpha), dry hop for 12 days
Target Parameters
- 60 minute infusion mash, 150°, full volume mash
- 1.049 o.g., 1.009 f.g., 5.3% abv, 75 IBU, 6 SRM
- Claremont tap water adjusted to hit a profile of 86 ppm Ca, 19 ppm Mg, 89 ppm Na, 192 ppm SO4, 110 ppm Cl, and 156 ppm bicarbonate.
Procedure
- I collected 7.4 gallons of tap water, adding a Campden tablet, 3 g epsom salt, and 5 g gypsum to hit my water target parameters.
- I heated the strike water to 156° and added the grains along with 5.7 mL of 88% lactic acid, holding the temperature at 150° for 60 minutes while recirculating. Then, I raised the temperature to 168° for 10 minutes before removing the grains.
- In total, I collected 6.5 gallons of runnings with a gravity of 1.041, for 67% mash efficiency.
- I brought the runnings to a boil, adding first wort hops, additional hops, and finings per the schedule.
- After a 60 minute boil, I turned off the heat, added the whirlpool hops, and recirculated for 20 minutes before chilling the rest of the way.
- I transferred the wort to the fermenter and chilled to 68° before pitching the yeast. Starting gravity was 1.051. I brewed this beer on 24 May 2025 and held it at 68° for fermentation.
- I added the dry hops on 1 June 2025 and cold crashed the beer on 4 June 2025.
- I kegged the beer on 13 June 2025, using a closed transfer followed by forced carbonation. Final gravity was 1.009, for 5.6% abv.
- At my first taste of the beer on 25 June 2025, it was very clear, nearly brilliant, and absolutely delicious.
Tasting
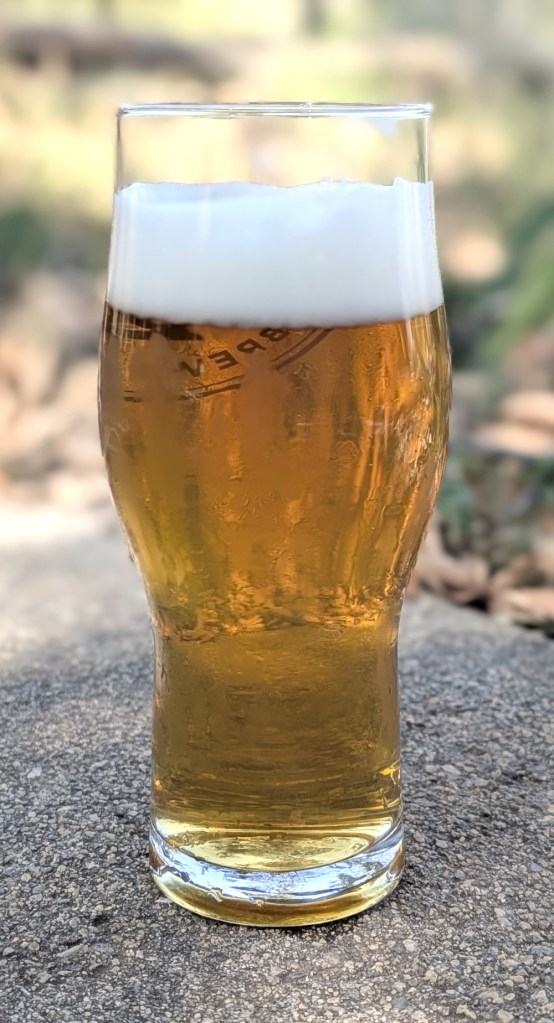
- Appearance
- Very clear, gold beer, which pours with a dense and persistent white head. It’s absolutely gorgeous in the glass!
- Aroma
- Medium level of citrus and a touch of pine in the hop aroma. Not much malt or yeast comes through; perhaps a hint of maltiness as it warms up?
- Flavor
- High level of resiny bitterness, with orange citrus qualities and a slight grapefruit pith edge. There is a moderate level of a clean, malty flavor, with hints of caramel and biscuit.
- Mouthfeel
- Medium body, medium level of carbonation, dry finish.
- Would I Brew This Again?
- This is a really enjoyable hoppy ale! It tilts more towards IPA (and a traditional west coast version at that) than pale ale due to the aggressive bittering, and so stylistic grounds were the main reason I didn’t give it a 9 or 10. The hop flavor and aroma are great; I think I’ve got my hop handling and kegging techniques pretty dialed in now to maximize flavor and freshness over the long haul. If I were to brew this again, I’d notch back the bitterness for future brews down to 50 or 60 IBU, but everything else hits well.
- Overall
- 7/10