Azacca Session IPA

A few weeks back, I attended the National Homebrewers Conference in San Diego. One of the highlights (among many) was a lecture on “Brewing Session Beer” by New Belgium Brewing’s Andy Mitchell, focused on brewing low-alcohol but high-flavor beers. My overall tastes (particularly for stuff I am going to put on tap in 5 gallon quantities) tend towards beers in this domain. I like to be able to enjoy a beer or two without ending up completely buzzed (and I want my liver to hold up for a few more decades of enjoying homebrew). One of the really interesting parts of Mitchell’s lecture focused on brewing session IPA’s, with a particular eye towards getting a beer with some nice body and flavor while avoiding watery mouthfeel.

Tips for brewing a session IPA (taken from my notes) included:

  • Malt
    • Less malt means less flavor! Instead of reducing the amounts of all malts in the beer (relative to a higher gravity grain bill), just scale back the base malt and leave the specialty malt as usual. If you scale back everything, it may result in a watery beer. 
    • As another alternative, use a more flavorful base malt, with as Vienna or Maris Otter.
    • Use a higher temperature mash rest, up to 158°. This will result in a greater proportion of unfermentable sugars, which will result in a bigger body for the finished beer.
    • Consider a shorter mash time. [my question is if the mash is cut too short, is there a risk of an over-starchy beer?]
  • Hops
    • Balance is key; due to the lower starting gravity of session beers, you don’t want to overhop. A smaller addition of hops in a session IPA can result in perceived bitterness equivalent to that of a higher gravity IPA with more hops.
    • The bitterness ratio (IBU/SG) can be a useful tool to guide you. For an IPA, you might want to aim for a ratio of around 0.8 (e.g., 35 IBUs / 1.044 s.g.).
    • Use a “hop burst” technique instead of a bittering addition. This gives increased aroma and avoids over-bittering the beer. In practice, this means adding hops only for the last 10 to 15 minutes of the boil.
  • Water
    • Avoid adding sulfate to the water; adding chloride can be OK. (oops, I forgot to follow this guideline in my recipe)
  • Yeast
    • A strain with relatively low attenuation is worth using. For this, consider stepping outside the box of what you normally brew. For instance, if you normally are aiming for American yeasts, look into the British yeast toolbox, because many of these finish less dry.
      • Thames Valley strains are good for fermenting at lower temperatures with good character and relatively low attenuation.
Using these guidelines, I set out to design my own session IPA. Thanks to the AHA and BSG Craftbrewing, I had recently acquired 5 oz. of (free!) Azacca hops. It is a very North American strain, with lots of tropical and citrus (according the descriptions I’ve read). Additionally, the American Dwarf Hop Association suggests that it fares well in a single-hop beer. That’s all the excuse I need to center my beer around this variety!
While designing this recipe, I used a few basic principles: 1) a simple malt bill utilizing a strong supplement to my usual 2-row base malt; 2) a high temperature mash to maintain a robust body for the beer; 3) hop bursting to maximize aroma and achieve a balanced bitterness; and 4) a British ale strain selected for comparatively low attenuation. In short, maximum body with balanced hoppiness. Thanks in part to all of the free hops, this batch was also pretty inexpensive: only $15 in raw materials. I’ll find out how successful I was in a few weeks!

Azacca Session IPA

  • 6.5 lbs. 2-row malt (Great Western Malting Co.)
  • 3 lbs. 10° Munich malt 
  • 1 oz. Azacca hops pellets (10.3% alpha), 15 minute boil
  • 1 oz. Azacca hops pellets (10.3% alpha), 10 minute boil
  • 1 oz. Azacca hops pellets (10.3% alpha), added at flame-out, steep for 5 minutes before cooling
  • 2 oz. Azacca hops pellets (10.3% alpha), 2 week dry-hopping
  • British Ale yeast (White Labs, WLP005), prepared in 0.75 L starter
  • 1 tbs. 5.2 pH stabilizer (added to mash)
  • 1 tbs. gypsum (added at first hops addition)
  • 1 Whirlfloc tablet (10 minute boil)
Procedure
  • I mashed in with 15 quarts of water at 169.8° and stirred for two minutes. The mash stabilized at 159°. After 50 minutes, the mash temperature was down to 157°.
  • I added 1.1 gallons of water at 180°, to bring the mash temperature up to 160°. I let it sit for 10 minutes, vorlaufed, and collected 3.25 gallons of wort.
  • Then, I added 3.75 gallons of water at 180°, to bring the mash up to 165°. I let it sit for 10 minutes, vorlaufed, and collected the remainder of the wort.
  • All told, I collected 7 gallons of wort with a gravity of 1.038. This works out to 77% efficiency.
  • I brought the mixture to a boil, adding the hops per the hopping schedule in the recipe (at 45 minutes, 50 minutes, and flame-out). This is essentially the “hop-burst” method, to gain all of the bittering units (with extra aroma) at the end of the boil.
  • At flame-out, I let the beer sit for 5 minutes before starting cooling. This was with the intent of maximizing the hops aroma from the final addition.
  • I cooled the wort and transferred it into the fermenter, aerating per usual with the Venturi pump. I pitched the yeast, sealed up the fermenter, and placed it in my fermentation chamber. The initial setting was for 68°. I had visible fermentation when I checked it seven hours later, and vigorous fermentation within 12 hours. At this point, I dropped the fermentation temperature to 66°.
  • I brewed this beer on July 3, 2015. Starting gravity was 1.045, with an estimated 6 gallons of wort into the fermenter.
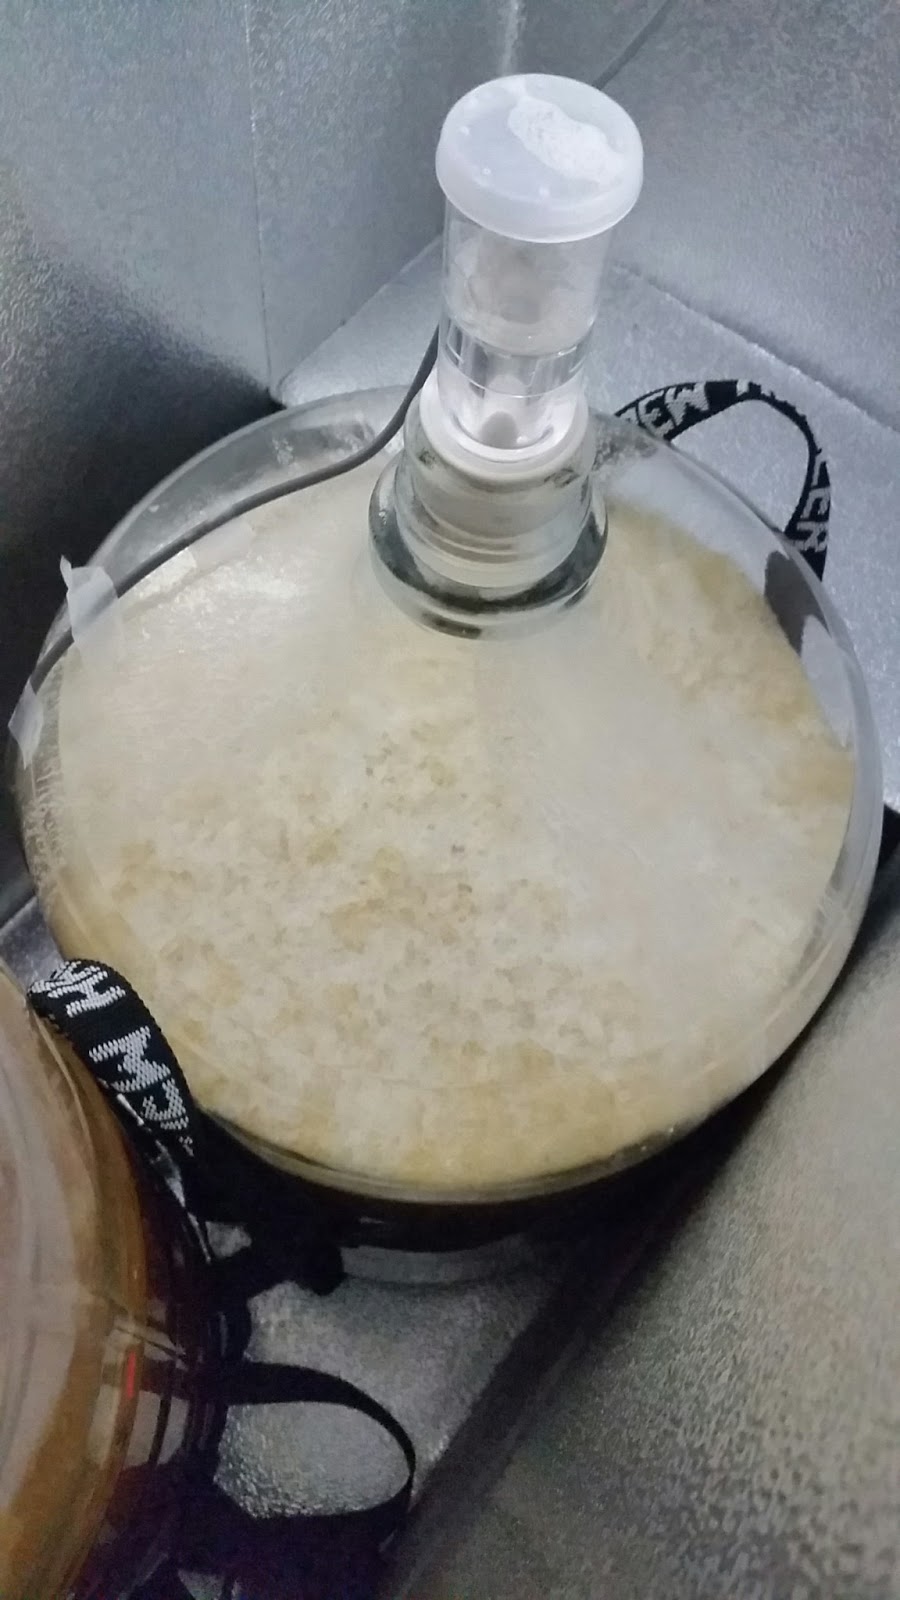
Azacca IPA reaching high krausen

Beer Tasting: Pannotia White IPA

My Pannotia White IPA has been on tap for about two weeks; it seems like a great time to evaluate the beer and reconfigure it for its next iteration (and there will be another iteration!).

  • The Basics
    • Starting gravity = 1.057; final gravity = 1.012; abv = 5.9%; IBU = 50 (estimated)
  • Appearance
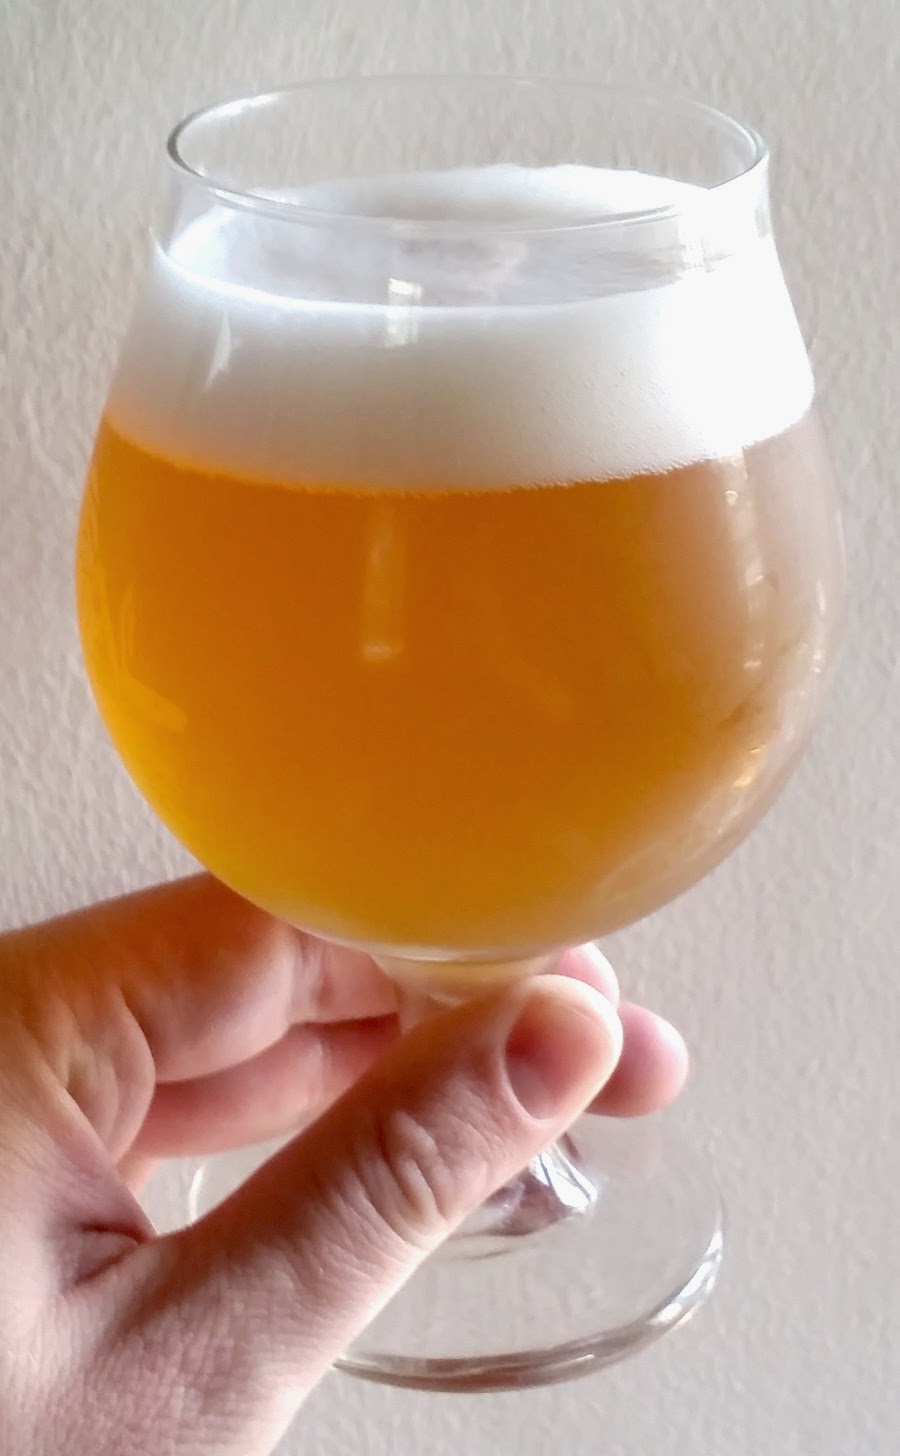
    • Hazy, light golden hue; head is tall and persistent, with a creamy appearance and off-white color. The beer has gotten slightly less hazy since the first tastes a week or two ago.
  • Aroma
    • Dominated by citrus, secondarily with some floral and passionfruit aroma; very clean and fresh
  • Flavor
    • Hop-dominated; very citrusy and slightly floral. Any maltiness is subtle at best. There is an extended, smooth, and slightly sweet finish for the hops.
  • Mouthfeel
    • Nicely carbonated; body is perhaps a touch thin
  • Would I brew this again?
    • Absolutely! The white IPA style is a delightful and very drinkable variant change from the overbearing single/double/triple/quadruple American IPAs that are the norm for many microbreweries. My original goal was to recapture my memories of the Italian-made Vergött White IPA. I got partway there–particularly in its appearance and refreshing drinkability–but am lacking the somewhat lemony aroma and flavor that I recall from the original. Some more sleuthing on Italian-language websites revealed indications that they dry-hopped with Galaxy hops (and possibly some Mosaic), that the alcohol clocks in at 5.5% (rather than 5.9%), and that oats are part of the mix too. I would also like a little more body in my beer. So, I think for the next iteration I will use 2-row malt instead of pilsner malt, mash at a slightly higher temperature (perhaps ~152°), add some oats, notch the alcohol down a touch, and dry-hop with Galaxy instead of Citra. I will likely maintain the first wort hopping with American hops (probably Cascade), because the background hopping on this one is about perfect.
  • Overall rating
    • 8/10

Beer Tasting: Beringea IPA

The Beringea IPA has been on tap for about three weeks now, and has matured and clarified beautifully. Before it’s all gone, I figured I should do an official tasting!

A few notes–it was dry-hopped at around 60 degrees for 10 days. I chose to leave the hops in while carbonating and serving, and haven’t noted any negative effects on the beer.

  • Basics
    • Starting gravity = 1.060; final gravity = 1.013; abv = 6.2%. Estimated IBU = 56
  • Aroma
    • Pleasantly and moderately floral.
  • Appearance
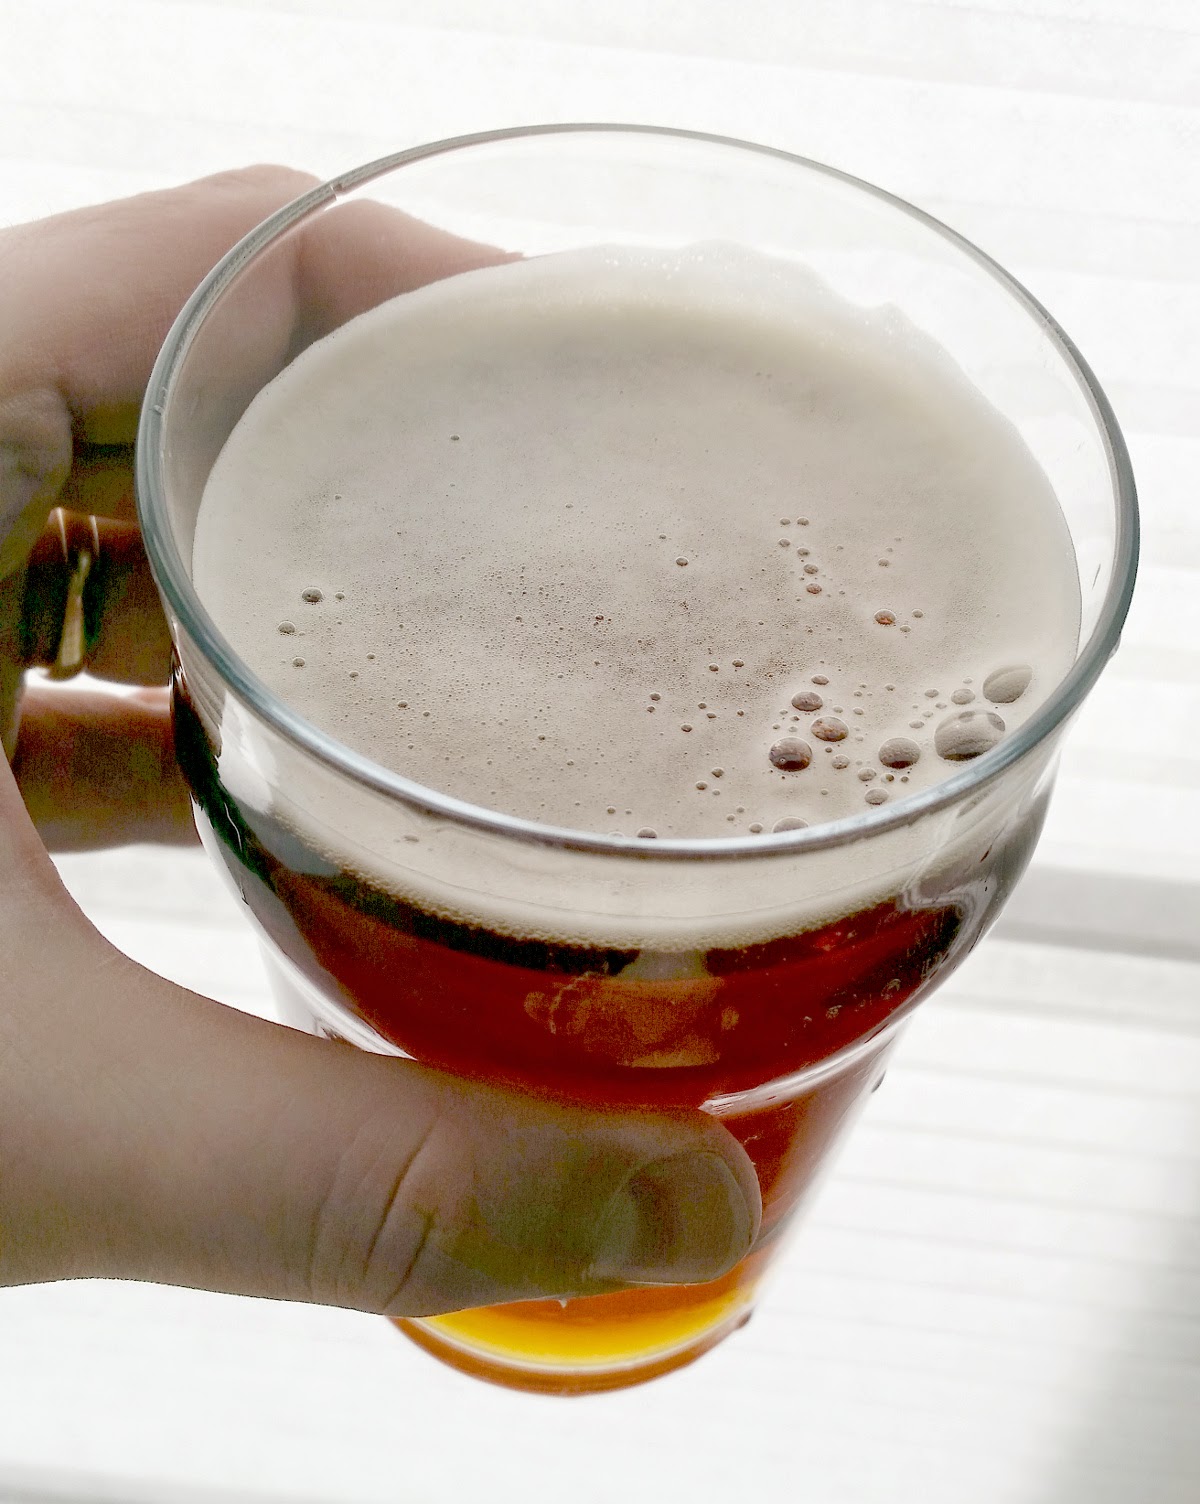
    • Off-white, creamy head that is pretty persistent, with modest lacing. The beer itself is a clear, moderate copper in color. No chill haze. Really pretty!
  • Flavor
    • Nicely balanced with a hint of maltiness. The beer is modestly bitter but not overly so. The finish is gently bitter but not harsh at all. The hops come through nicely…not just bitter, but flavorful.
  • Mouthfeel
    • Smooth; carbonation is about perfect for the style.
  • Would I brew this again?
    • Yes! It’s a nicely balanced IPA; very drinkable, and not so ridiculously bitter that it blows out your taste buds from the first sip. I’m pleased.
  • Overall rating
    • 9/10

Beringea IPA Update

Tonight I transferred my Beringea IPA from the primary fermenter into the keg, where it will be dry-hopped for 14 days before carbonation begins. In a slight switch from original plans, I changed the final hops addition from Simcoe to Amarillo. Although I like the aroma of Simcoe, I’ve heard so many good things about Amarillo that I wanted to try it out. I put the hops pellets (2 ounces total) in a largish nylon hops bag, weighted it with a small ceramic dish, and tied it to the outside of the keg with a piece of thread. Then, I sealed up the keg.

The final gravity for this beer was 1.013, down from 1.060. This works out to 6.2% abv, right on target for the recipe. Taste and appearance for the beer are quite nice–it will be hard to have the patience for my first taste! After my two weeks of dry-hopping at between 60 and 65 degrees, into the keezer it goes for carbonation.

Beringea IPA

Continuing to ramp up brewing for my kegging outfit, I would like a nice IPA on tap later this month. In addition to using up the end of my 50 pound bag of 2 row malt, I also wanted to finish out a partly-used bag of Chinook hops as well as continue working through my supply of South Dakota-grown Cascade hops. Finally, I really like the aroma of Simcoe hops, but I didn’t dry hop my last recipe with them long enough, so the aroma on that batch was a little underwhelming. I decided to give Simcoe another try, with a longer dry hopping period this time around. Note added later: I ended up changing my mind and going with Amarillo hops, which I haven’t used for dry-hopping previously. Simcoe will get saved for later!

At any rate, I’ve designed a recipe that I’m hoping will hit the target for maltiness and hoppiness. The name refers to the adjacent parts of North America and Asia across which many an organism has migrated between continents over the millenia. We’ll see how this recipe works out!

Beringea IPA

  • 10.4 lbs. 2 row malt
  • 1 lb. Carapils malt
  • 0.75 lb. 60° L crystal malt
  • 0.15 lb. chocolate malt
  • 1.25 oz. Chinook hops pellets (11.4% alpha; 3.4% beta), 60 minute boil
  • 1 oz. Cascade whole hops (est. 5.5% alpha), 15 minute boil
  • 2 oz. Simcoe hops pellets (13.0% alpha; 4.5% beta) Amarillo hops pellets (8.2% alpha, 5.7% beta), 2 weeks dry hop
  • California Ale Yeast (White Labs WLP001), prepared 2 days in advance with 1.5 L starter
  • 1 tsp. Irish moss (10 minute boil)
Anticipated statistics
  • 1.060 s.g., 1.013 f.g, 6.2% abv
  • 56.9 IBU
  • 12.4 SRM
Procedure
  • I mashed in with 3.9 gallons of water at ~173°; the mash stabilized at 155° after 5 minutes, and was down to 154° after 30 minutes. After an hour, I added .75 gallons of water at 190°, let it sit for 10 minutes, vorlaufed, and collected ~3.1 gallons of wort.
  • Then, I added 3.14 gallons of 185° water to the mash tun, which brought the mash up to 165°. I let this sit for 10 minutes, vorlaufed, and collected the rest of the wort. This came to a total of 6.75 gallons, with a gravity of 1.049 at 60°, which works out to 75% efficiency.
  • I brought the wort to a vigorous boil, and added the Chinook hops.
  • Because the original wort volume (6.75 gallons) was on track to be more than I anticipated, I aimed for a very vigorous boil to clear out the excess. I was down to 6.25 gallons after 30 minutes, and ~5.75 gallons after 60 minutes of boiling.
  • After 45 minutes, I added the Cascade hops.
  • After 50 minutes, I added the Irish moss.
  • After 60 minutes, I turned off the flame and used my wort chiller to cool the wort. Prior to chilling, I took a sample of wort for specific gravity. This is a minor change in my procedure–by taking the sample now, I figure I reduce the risk of contamination or wort loss due to clumsiness later.
  • I chilled the wort in two stages. The first was by running tap water through the wort chiller. After the wort temperature was around 82°, I siphoned around 3.5 gallons of ice water through the chiller, which brought the temperature down to around 68°.
  • The wort is a beautiful deep copper color, with a smooth bitterness and pleasant flavor. Starting gravity was 1.060 at 60°, exactly on target.
  • I transferred the beer into the carboy while aerating with the Venturi pump, and pitched the yeast starter. I’m fermenting the beer at 65°, in my usual temperature controlled fermentation chamber.
  • This batch was brewed on 3 January 2014.