Coopers Irish Stout – An Experiment

Last weekend I was at my local home brew store, getting the stuff together for tomorrow’s brewing session (a Fat Tire-ish amber ale). Looking up on one shelf, I saw these cans of hopped extract kits. $21 on the price tag. Intrigued by the low cost, I asked the shop owner if it was worth trying. He told me that many home brewers look down their noses at these kits (I suppose because it’s considered cheating), but that they actually can turn out some great beer. Quick, easy, cheap. . .worth a try! So, I bought a kit and took it home.

I selected a Coopers Irish Stout kit, which included a can of hopped malt and a packet of yeast. The package recommended adding some additional malt and dextrose – I had dry malt already, but not the latter, so I skipped dextrose. Instead, I used one pound of light and one pound of amber dry malt extract.

The directions recommended dissolving the can’s contents and the dry malt in 2 liters of boiling water. In order to achieve an additional level of sanitation, I boiled the dry malt first (in about 3 liters of water). Once that had gone for a few minutes, I turned off the heat and stirred in the liquid hopped malt. Several websites I saw said not to boil this final mixture, in order to maximize flavor. That makes sense, because the malt in the can should already be sterile, and I didn’t want to drive off any latent aroma.

At any rate, I dumped the hot mixture in my primary fermenter, and topped it up with cold tap water to about 5.25 gallons (enough to get the overall temperature down appropriately for the yeast). Original gravity was 1.044. I pitched the dry yeast directly into the fermenter (per the package directions), sealed it up, and hoped for the best.

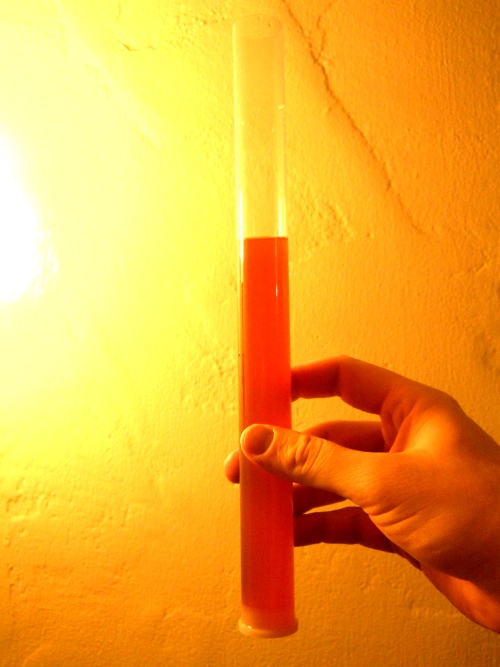
The fermentation was clearly moving along after 24 hours, and after 48 hours it was so vigorous as to be spilling out the top of my airlock. I let it go for seven days, until the gravity had dropped to 1.018. Then, I transferred the beer into my bottling bucket (with 2/3 cup corn sugar added for priming), and bottled. The overall yield was 10 18 oz. bottles and 36 12 oz. bottles – not too shabby! Given the o.g. and f.g., I can expect about 3.4% alcohol by volume.

The uncarbonated beer has a clean flavor, but I must say it isn’t that complex or interesting otherwise. Then again, what can you expect for around $25 worth of materials? A big plus was the speed of initial brewing – it was only about 90 minutes of work to get from can to sealed primary fermenter (this includes cleaning all of the equipment!). Once carbonated, I anticipate this Irish Stout being a rather drinkable session brew – perfect for the upcoming winter months!
Vanilla Voay Porter Update

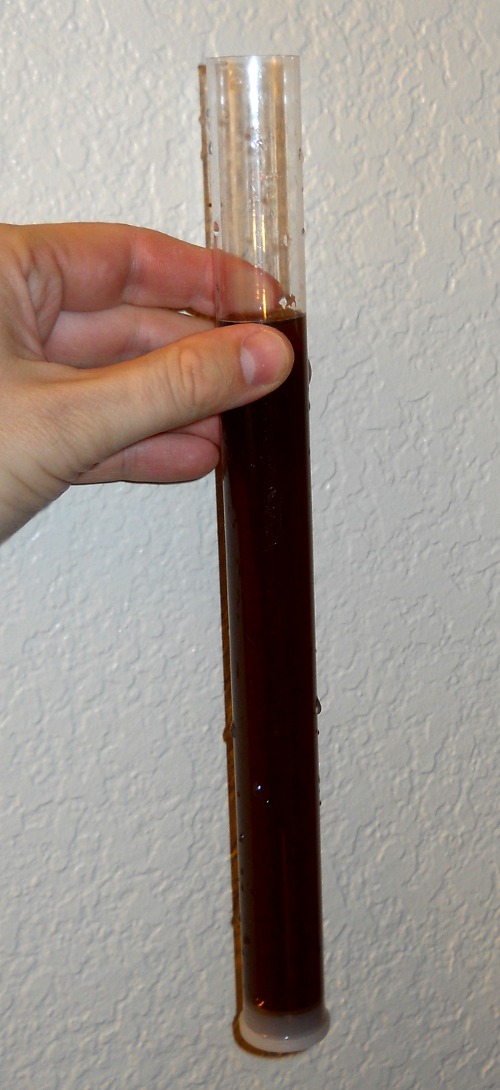
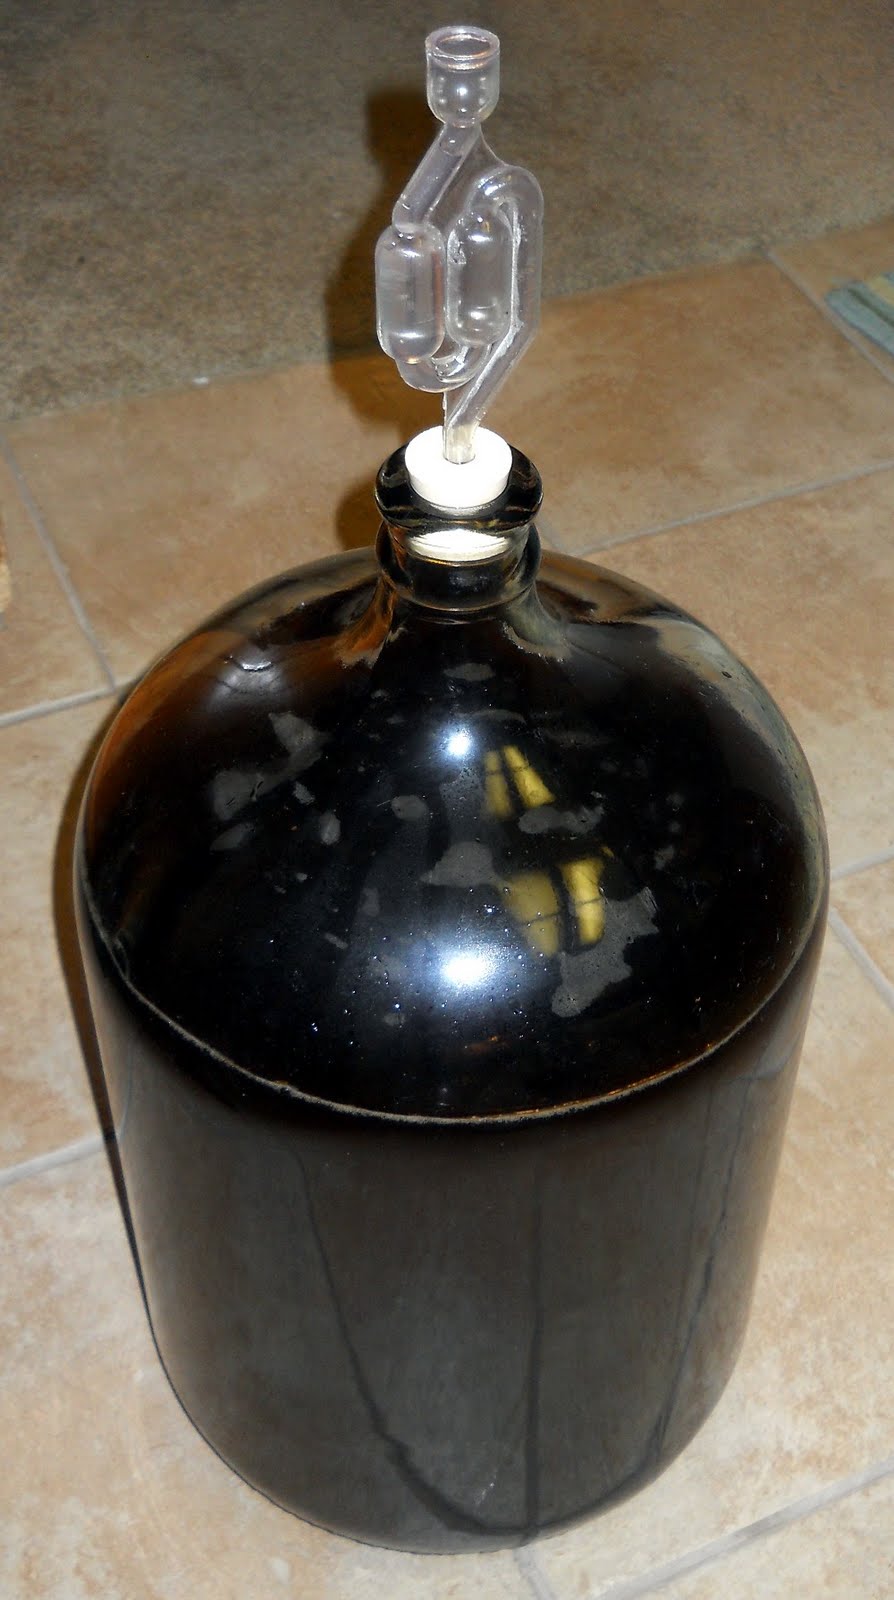
My vanilla porter has gone through the first stage of fermentation, and after one week I have now transferred it into a glass carboy for secondary fermentation. At the time of transfer, the gravity was 1.024, down from the starting gravity of 1.056. I expect that the gravity will go down a little more over the next two weeks before bottling.

The beer is nicely flavored, with no off character that I can detect. Dark color (see photo at left), lighter body, and heading towards the direction of a very drinkable porter. Interestingly, the yeast strain I used (White Labs California V ale yeast) produced a mild sulfurous aroma in the early stages of fermentation. I have read elsewhere that this is a normal characteristic for that strain, so I didn’t worry about that too much. It’s not detectable on tasting, either.

I also started some vanilla beans in vodka, to make an extract for the porter. At the recommendation of my brewing colleague Greg, I split the pods, scraped the seeds into the vodka, and then cut the pods up and threw them in too. In one week, I plan to add them to the secondary along with the rest of the beer.

Vanilla Voay Porter, in the secondary fermenter

Vanilla Voay Porter

It is finally time for the first batch of the season! I’ve been wanting to do a vanilla porter for some time, because I have a bunch of vanilla beans from my last trip to Madagascar. My wife and I both like porters, too (and she loves vanilla porter), so the stars are in alignment for this attempt.

The base recipe is modified from one I found on-line; nothing too fancy, but that’s probably an OK thing. I had thought about riffing from the recipe for last year’s Schoolhouse Porter (which turned out awesome!), but the flavor for that would be just a little too big against vanilla. The hops are all whole hops from my dad’s vines in South Dakota, and I got all of the other ingredients at a new local homebrew shop (Vanguard Home Brewing Supply – much closer than the other options, and an excellent selection of malts, grains, and yeasts).

For those who are curious, “voay” (pronounced “voy”) is Malagasy for “crocodile.” The name was chosen because of the Malagasy origin of the vanilla, in honor of the various fossil crocs I’ve dug up over there, and because it has a nice ring to it!

Vanilla Voay Porter

  • 1/2 pound 40L caramel crystal malt
  • 1/2 pound chocolate malt
  • 1/2 pound cara-pils malt
  • 6 pounds light dry malt extract
  • 1 oz. Cascade hops (whole) for bittering
  • 1 oz. Sterling hops (whole) for bittering
  • 1 vial White Labs California V ale yeast (WLP051)

Steps

  • I heated 3 gallons of water to ~158°, and steeped the grains. After 30 minutes, I sparged them with 1 gallon of water, to fill the brew pot to 4 gallons.
  • I heated the water to boiling (gas stove now!), and turned off the flame. I added the dry malt extract, stirred it until it dissolved, and heated the pot to boiling.
  • Once the pot was boiling, I added the Cascade hops.
  • After 50 minutes, I added the Sterling hops.
  • After 60 minutes, I took out the hops, re-topped the kettle to ~4 gallons, and started cooling with my cooling coil.
  • Once the wort had cooled to around 70°, I put it in the fermenter, topped to 5.5 gallons, and pitched the yeast. The starting gravity is 1.056 – I had started at 5 gallons, but the gravity was just a little too high (1.070).

Rainy Day IPA 1.1 Update

Tonight (7 January 2011, six days after brew day) I transferred my latest batch of the Rainy Day IPA to the secondary fermenter, a 6-gallon glass carboy. Right now, the s.g. reads at 1.018 (down from 1.060 at the beginning, for 5.5% alcohol by volume). Once the transfer was complete, I added 2 oz. of Cascade hops pellets (5.4% alpha acid) in a nylon mesh bag, for dry hopping.

The hops pellets were left over from last year (I bought them in March 2010), and were kept triple-bagged in the freezer. I’ve read that some deterioration is natural after opening (these were opened last year, as it was a 6 oz. bag), but that pellets are pretty hardy in the long-term because the interior is protected from oxygen.

In another minor technique change, I decanted the beer from the primary into the secondary fermenter through a hose attached to the spigot at the bottom of the primary, rather than through siphoning. I had been a little hesitant to try this, because I was worried about getting too much of the trub and other nastiness off of the bottom. But, it doesn’t seem like any more than normal got carried along (especially when I tipped the bucket back a bit for the initial part of the siphoning). I’ll definitely be trying this again, as it was much easier.

The beer is reasonably bitter, but not quite as much so as I remember from last time. The color and flavor is nice otherwise, so it will be interesting to see how the dry hopping augments the taste and aroma.