Amber Ale, Vanilla Porter, and Irish Stout Updates

A few updates condensed into one post. . .

Vanilla Voay Porter
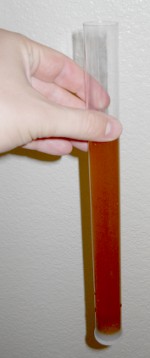
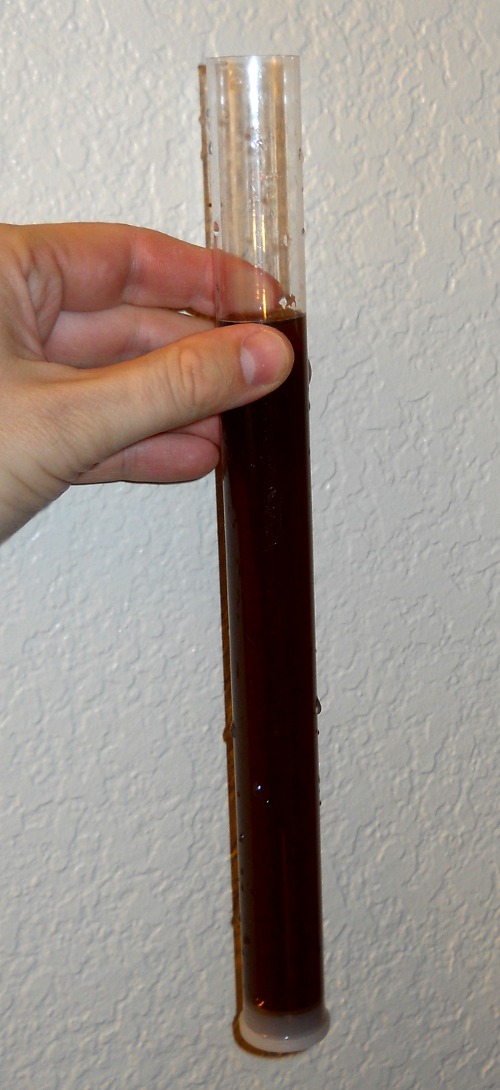
This experimental brew (recipe, update, and update) was bottled on Saturday, December 10. This gave the vanilla extract/pods around two weeks in the secondary fermenter – the chopped and scraped pods floated on the surface, and many of the tiny seeds were everywhere in the fermenter.

Final gravity was 1.016, from a starting gravity of 1.056, giving 5.25% alcohol by volume. Final yield was just over 5 gallons of beer(!), with 30 12-oz. bottles, 12 1-pt. bottles, and 4 22-oz. bottles.

Four days after bottling, I was impatient and opened one of the small bottles. Carbonation was still very slight, but the flavor and aroma were delicious. A faint vanilla scent, but a rich vanilla flavor (not overpowering though, thankfully). I’m very excited to see how this is going to mature over the next few weeks!

Fake Tire Amber Ale
One week after brewing, I transferred my Fat Tire clone into the secondary fermenter. The aroma was very estery, with a strong banana component. I might have been a little worried, except the yeast strain is known to do this. The gravity was around 1.014 at this point, and hadn’t changed at all when I racked the beer into the bottling bucket today (December 17, 19 days after brewing). This gives 5% alcohol by volume, a little less than the 5.2% of real Fat Tire.

From this batch, I got 20 12-oz. bottles, 14 1-pt. bottles, and 1 22-oz. bottle. Next time I might try scaling the recipe up a bit.

When preparing to bottle, I’m very impressed by the absolute clarity of the beer. This bodes well for the final product (which I’ll probably test in a week’s time – Christmas Eve!).

Coopers Irish Stout
The Irish stout I made a few weeks ago has matured into a wonderfully drinkable brew. The head is a nice caramel-color, and isn’t overwhelming, but certainly sticks around the edges of the glass after pouring. The flavor has a hint of malt and is dominated by the roasted grains, and has a nice dry finish (as expected for the style). As I noted at the time of bottling, it’s not a very exciting beer (middle of the road flavor – good but no really unusual highlights), but it’s certainly a solid one.

This kit was cheap, fast, easy, and tasty – perfect for the beginning or end of the brew season when I just want to crank something out! I’ll admit that it’s not quite as much fun as doing everything from scratch, but then again that’s also a welcome break sometimes. I expect I’ll probably do this kit (or a similar one) again!

Irish stout, in the glass

Fake Tire Amber Ale

I’ve always liked Fat Tire (from New Belgium Brewing), and have previously found clone recipes to be a good way to experiment with various styles and flavors. Thus, tonight’s brew was modeled after two different Fat Tire recipes I found kicking around the Internet. These are followed reasonably closely, except for the hops – I used what I had on hand, so this will almost certainly modify the resultant into something Fat Tire-ish rather than a spot-on Fat Tire (if such a thing is genuinely possible). Thus, I’m calling this batch. . .

Fake Tire

  • 5 pounds plain extra-light DME
  • 0.5 lb Munich light malt
  • 0.5 lb Carapils malt
  • 0.5 lb biscuit malt
  • 0.5 lb crystal malt (20° Lovibond)
  • 0.5 lb crystal malt (40° Lovibond)
  • 1.0 oz chocolate malt
  • 1.0 oz. Cascade hops (60 minutes boil)
  • 1.0 oz. Mt. Hood hops (5 minutes boil)
  • 1 tsp. Irish moss (15 minutes boil)
  • Wyeast 1272 (American Ale II)

Steps

  • I heated 3.5 gallons of tap water to 154° F (usually hovering around 156° to 158°), and steeped the grains for 45 minutes. Then, I sparged the grains with 0.5 gallons of tap water at 154°.
  • After bringing the mixture to a boil, I turned off the heat and added the malt. I brought it back to a boil, and threw in the Cascade hops.
  • After boiling for 45 minutes, I added 1 tsp. of Spanish moss.
  • After boiling for another 10 minutes (for 55 minutes total boil), I added the Mt. Hood hops.
  • After 5 more minutes (60 minutes total of boiling), I cooled the wort with my chiller, added cold tap water to a total of 4.5 gallons, and pitched the yeast. Pitching temperature was 74° F, and starting gravity was measured at 1.052. The wort is a nice amber color (as befits an amber ale).

As I refined the recipe, I played around with some calculators for IBU and starting gravity. I got an estimated boil gravity (4 gallon boil) of 1.077; with a top-up to 5 gallons, this gives an estimated IBU of 20.7 and estimated starting gravity of 1.061. My actual starting gravity was a little lower, at 1.052. Part of this discrepancy could be the sludge I left in the bottom of the brew pot, and the other could just be errors in the brew calculator.

New Belgium officially gives an “OG” of 12.6 and an “FG” of 2.2 for Fat Tire, which I think is on the Brix scale (even if not stated). This translates to 1.051 and 1.009. Thus, my original gravity is quite close! We’ll see if this comparability is maintained through fermentation. (as a side-note, they measure 18.5 IBU and 5.2% ABV, too)

I’ve never fermented with American Ale II before, so I’m curious to see how it works out. Judging by the Wyeast website, this should be a nice little strain.

The grains, waiting to steep

Coopers Irish Stout – An Experiment

Last weekend I was at my local home brew store, getting the stuff together for tomorrow’s brewing session (a Fat Tire-ish amber ale). Looking up on one shelf, I saw these cans of hopped extract kits. $21 on the price tag. Intrigued by the low cost, I asked the shop owner if it was worth trying. He told me that many home brewers look down their noses at these kits (I suppose because it’s considered cheating), but that they actually can turn out some great beer. Quick, easy, cheap. . .worth a try! So, I bought a kit and took it home.

I selected a Coopers Irish Stout kit, which included a can of hopped malt and a packet of yeast. The package recommended adding some additional malt and dextrose – I had dry malt already, but not the latter, so I skipped dextrose. Instead, I used one pound of light and one pound of amber dry malt extract.

The directions recommended dissolving the can’s contents and the dry malt in 2 liters of boiling water. In order to achieve an additional level of sanitation, I boiled the dry malt first (in about 3 liters of water). Once that had gone for a few minutes, I turned off the heat and stirred in the liquid hopped malt. Several websites I saw said not to boil this final mixture, in order to maximize flavor. That makes sense, because the malt in the can should already be sterile, and I didn’t want to drive off any latent aroma.

At any rate, I dumped the hot mixture in my primary fermenter, and topped it up with cold tap water to about 5.25 gallons (enough to get the overall temperature down appropriately for the yeast). Original gravity was 1.044. I pitched the dry yeast directly into the fermenter (per the package directions), sealed it up, and hoped for the best.

The fermentation was clearly moving along after 24 hours, and after 48 hours it was so vigorous as to be spilling out the top of my airlock. I let it go for seven days, until the gravity had dropped to 1.018. Then, I transferred the beer into my bottling bucket (with 2/3 cup corn sugar added for priming), and bottled. The overall yield was 10 18 oz. bottles and 36 12 oz. bottles – not too shabby! Given the o.g. and f.g., I can expect about 3.4% alcohol by volume.

The uncarbonated beer has a clean flavor, but I must say it isn’t that complex or interesting otherwise. Then again, what can you expect for around $25 worth of materials? A big plus was the speed of initial brewing – it was only about 90 minutes of work to get from can to sealed primary fermenter (this includes cleaning all of the equipment!). Once carbonated, I anticipate this Irish Stout being a rather drinkable session brew – perfect for the upcoming winter months!

Vanilla Voay Porter Update

My vanilla porter has gone through the first stage of fermentation, and after one week I have now transferred it into a glass carboy for secondary fermentation. At the time of transfer, the gravity was 1.024, down from the starting gravity of 1.056. I expect that the gravity will go down a little more over the next two weeks before bottling.

The beer is nicely flavored, with no off character that I can detect. Dark color (see photo at left), lighter body, and heading towards the direction of a very drinkable porter. Interestingly, the yeast strain I used (White Labs California V ale yeast) produced a mild sulfurous aroma in the early stages of fermentation. I have read elsewhere that this is a normal characteristic for that strain, so I didn’t worry about that too much. It’s not detectable on tasting, either.

I also started some vanilla beans in vodka, to make an extract for the porter. At the recommendation of my brewing colleague Greg, I split the pods, scraped the seeds into the vodka, and then cut the pods up and threw them in too. In one week, I plan to add them to the secondary along with the rest of the beer.

Vanilla Voay Porter, in the secondary fermenter