West Coast Wheat Beer

We’re getting low on the summer blonde ale, our easy-drinking summer beer, so before we get in a bad spot I figured it was time to brew up another light-and-tasty ale for the California summers. This recipe is based loosely on the American Wheat Beer recipe provided by Gordon Strong in Modern Homebrew Recipes. I modified it slightly to match my preferred yeast brand (White Labs) and to end up with a smaller quantity into the fermenter. Additionally, I wanted to use up some ingredients I had on-hand, so I used a different hops selection (the American blend of Falconer’s Flight, instead of primarily European hops). Additionally, I’m using a straight-up batch sparge technique rather than the step and decoction stated in the recipe.

Of course, this overall departure from “beer scripture” might freak out some…but it’s all in the tradition of “Relax, Don’t Worry, Have a Homebrew.” I had the good fortune to catch Strong’s talk at the 2015 AHA meeting, and he emphasized that his recipes are guidelines, not proscriptions for or against certain techniques. He noted that everyone has different equipment and different preferences, all of which can generate excellent beer. I like this philosophy!

West Coast Wheat Beer

  • 5 lbs. white wheat malt
  • 3.5 lbs. 2-row malt (Great Western Malting Co.)
  • 0.75 lbs. Munich malt
  • 0.75 lbs. rice hulls
  • 1 oz. Falconer’s Flight hops pellets (9.6% alpha, 4.4% beta; alpha acid adjusted for age), 20 minute boil
  • 1 oz. Falconer’s Flight hops pellets (9.6% alpha, 4.4% beta; alpha acid adjusted for age), 1 minute boil
  • 1 pkg. California Ale V (White Labs WLP051), prepared 24 hours in advance in 0.75 L starter
Procedure
  • I mashed in with 13.4 quarts of water at 160.4°. This precisely hit my mash target of 150°. The mash was at 149° after 30 minutes and 146° after 60 minutes.
  • I added 1.25 gallons of water at 175°, which raised the temperature of the mash bed to 152°. I let it sit for 10 minutes, vorlaufed, and collected 3 gallons of wort.
  • Next, I added 3 gallons of water at 182°, which raised the temperature of the mash bed to 166°. Once again, I let it rest for 10 minutes, vorlaufed, and collected the remainder of the wort.
  • I had a total of 6 gallons of wort at 1.045 gravity, which works out to ~73% efficiency. The gravity was a little higher than I wanted, so I added a half gallon of water to bring the total boil volume up to 6.5 gallons.
  • I brought the wort to a boil, and let it boil for 40 minutes before I added the first charge of hops. One minute before flame-out, I added the last charge of hops.
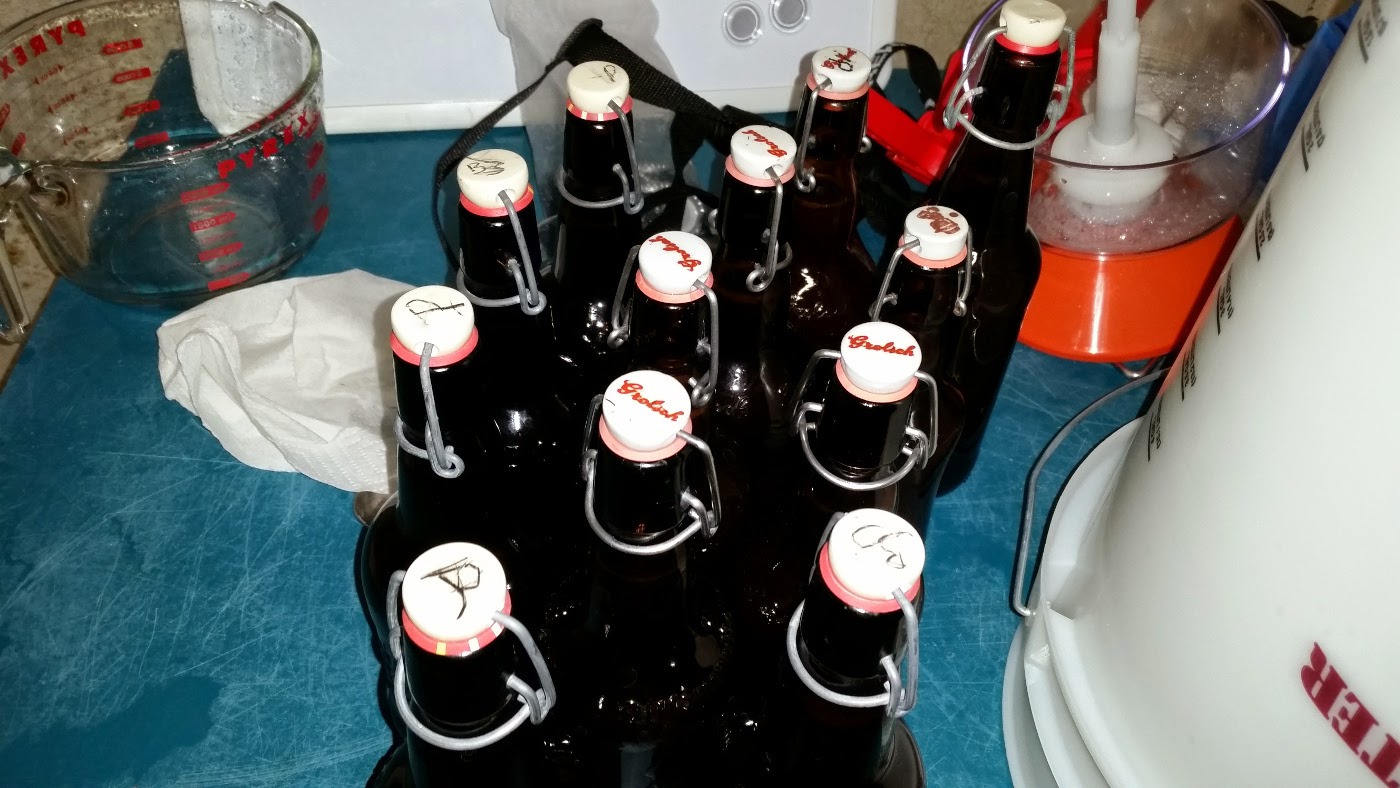
  • After flame-out, I chilled the wort down to 80° using my wort chiller (couldn’t manage much cooler with the warm weather!) and transferred the wort into my fermenter. I pitched the yeast starter and sealed it all up. I placed the yeastified wort into my fermentation chamber, and set the temperature for 68°. I will lower it a touch once fermentation has started, down to 66°.
  • All total, I ended up with 5 gallons of wort in the fermenter, with a starting gravity of 1.048.

Beer Tasting: von Meyer Weizen

My von Meyer Weizen has been in the bottles for over three weeks now, waiting for the “official” tasting at the homebrew club meeting tonight. In advance of that, I did my own evaluation. This is cautioned, of course, by the fact that I don’t normally drink a lot of weizens, so I’m not entirely up on what makes a “good” or “bad” one. At any rate, here we go!

  • Basics
    • Starting gravity = 1.047; final gravity = 1.012; abv = 4.6%. Estimated IBU = 10
  • Aroma
    • Tangy and clove-forward; not much in the way of banana.
  • Appearance
    • Deep gold, almost orange in color. The beer is fairly hazy with yeast. The head is cream colored and fine in texture; persistent but not terribly tall on the pour. Head retention is quite good.
  • Flavor
    • Clove-dominant and slightly malty, with a moderate banana flavor on the finish. There’s a touch of citrus tang, too.
  • Mouthfeel
    • Body is modest, but carbonation is excellent, with fine bubbles.
  • Would I brew this again?
    • I think so! This wasn’t the most technically challenging beer to brew, but that’s alright…the overall result is pretty tasty; nice and refreshing as the weather starts to warm up. Truth be told, I like having a recipe that is quick turnaround!
  • Overall rating
    • 7/10
I did this tasting last weekend, in advance of the formal club meeting, and was curious to see how my personal assessment would compare. Somewhat to my surprise (there are some talented brewers in my club!), I placed first out of seven entries (two of which were commercial examples, and another two were good beers but brewed in other styles). If I were to guess, commercial wheat beers are handicapped a bit by long storage. According to most things I’ve read, this is a style to be consumed quickly, and homebrew might have an edge in this regard.
My weizen wasn’t the most technically challenging brew I’ve done–not by a long shot–but I am quite pleased with the results. The only minor thing I might change would be to find some way to improve the head; maybe by a partial mash to get some extra proteins into the mix? I’d definitely use the cool fermentation profile again–the balance of clove vs. banana was perfect for my taste. In any case, it’s nice to get affirmation that all-extract brewing produces great beer!

von Meyer Weizen Bottled

Tonight I bottled my von Meyer Weizen; it had been in the fermenter for 3 weeks. This was a touch longer than originally intended, following various unexpected interruptions. The final gravity was 1.012, down from 1.047. This works out to 4.6% abv. The beer has the prominent banana and clove aroma/flavor that’s expected with this style–I shall be curious to see how these mellow and taste after a little aging and at proper serving temperature under carbonation.

I primed the beer with 2.6 oz. of corn sugar boiled in 2 cups of water, targeting 2.7 volumes of CO2. My final yield was 6 12-oz. bottles, 12 18-oz. bottles, and 3 22-oz. bottles.


von Meyer Weizen

My homebrew club is focusing on German wheat beers for its March meeting, so today I brewed up a batch in preparation. Based on past experiences, I knew that German wheat beers are tasty, but maybe not something I wanted five gallons of (especially given the relatively short shelf life for the style). Given my brewing equipment and available time this afternoon, I decided to go for a 2.5 gallon batch of an all-extract beer. My mash tun holds 10 gallons, so I was worried that a half batch (2.5 gallons) wouldn’t hold temperature for a sufficiently long time, and I didn’t feel like simultaneously learning BIAB, so extract seemed the way to go. As I read up on the style, I ended up thinking that a simpler brew would be best.

Because I was using all-extract, I elected to use distilled water to keep the mineral concentrations down. In my reading, it became apparent that extracts already have the minerals from the mash. For a lighter beer like this, using my (already heavily mineralized) tap water to rehydrate might ding the flavor a little bit. We’ll see how it works out!

The recipe itself is named after Christian Erich Hermann von Meyer, a nineteenth century German paleontologist who studied Plateosaurus, perhaps one of the best known dinosaurs of Germany. I was using a Bavarian malt extract, and Plateosaurus are plentiful in Bavaria, so all of the elements add up!

von Meyer Weizen

  • 3 lbs. Bavarian wheat dry malt (Briess, 8.0 SRM; 65% malted wheat, 35% malted barley)
  • 0.35 oz. Hallertauer hops pellets (4.3% alpha, 5.6% beta)
  • 3.5 gallons distilled water
  • Hefeweizen Ale Yeast (White Labs WLP300)
Anticipated statistics
  • 1.047 o.g., 1.012 f.g., 4.6% abv
  • 10.3 IBU
  • 6.4 SRM
Procedure
  • I heated 3.25 gallons of distilled water to a boil, turned off the heat, and added the dry malt extract.
  • Once the mixture returned to a boil, I added the hops pellets and boiled for 60 minutes.
  • After 60 minutes, I cooled the wort down to 70° using my chiller and transferred it into my carboy. The gravity was a little high (1.052), so I diluted the wort slightly by adding another 0.25 gallons of water. This brought my starting gravity exactly where I wanted it to be.
  • I pitched the yeast directly from the vial into the wort (no starter needed for this small of a batch), agitated the mixture, and set it in my fermenting chamber. I plan to ferment at 64°. Based on what I read, this temperature can result in a more balanced clove/banana aroma than fermenting at a higher temperature.
  • Starting gravity was 1.047, with ~2.67 gallons in the fermenter.
  • After 10-14 days, I will bottle the beer.

This project reminded me of one of the great pleasures of extract brews–rapid brewing and short clean-up! I spent maybe 2.5 hours max on this, for everything from pulling out the equipment to washing the brew pot.

Andy’s Orange Wheat Ale 1.1

Last year, I designed an orange wheat recipe that turned out pretty phenomenally. In an attempt to replicate that success, I brewed up the next iteration yesterday. It’s essentially the same recipe as before, modified slightly to accommodate ingredient availability.

Andy’s Orange Wheat Ale 1.1

  • 8 oz. 15°L crystal malt
  • 5 lbs. Bavarian Wheat Dry Malt Extract (Briess; 3.0 SRM; 65% wheat, 35% barley)
  • 2 oz. Liberty hops pellets
  • 1 tsp. Irish moss
  • 1 package American Hefeweizen Ale Yeast (White Labs WLP320)
  • 5 fresh Valencia oranges

Directions

  • I heated 3 gallons of water to ~158°, and steeped the crystal malt for one hour. Then, I sparged with a half gallon of water (plus ~2 cups, to bring it up to 3.67 gallons).
  • I heated the brew kettle to a boil and turned off the heat. Then, I added the dry malt extract.
  • Meanwhile, I zested the peel of five medium-sized Valencia oranges (fresh-picked, without the nasty wax coating you get in the grocery store), resulting in 1.35 oz. (wet) of peel. I was very careful not to go down to the white part of the peel, which is too bitter. Then, I peeled and sliced up three of the oranges (the remainder went to make fresh juice – delicious!). I put those oranges and orange peel in a hop sack and placed them in a saucepan with 1/2 gallon of water. I heated this to just boiling, and turned off the heat to let it soak (~45 minutes).
  • Once the wort mixture came to a boil again, I added 1 oz. of the Liberty hops. After 55 total minutes of boil, I added another ounce of Liberty hops. After 60 minutes, I chilled the wort.
  • The Irish moss was added after 45 minutes of boiling.
  • I poured the wort into the primary fermenter and added the hot mixture of orangey water, slices, and peel. I topped the fermenter up with cold water to 5 gallons, and pitched the yeast. The temperature was 78°, and starting gravity was 1.046 (adjusted for temperature).
  • I plan to let this ferment in the primary for 10 days before bottling.