Hop Water v1.0

I enjoy hop water as a non-alcoholic option, but it can be pricey and sometimes even hard to find at my usual grocery store. With my hop stash, it should be easy to make at home, right? There are plenty of recipes for hop water out there (e.g., in the March/April 2024 Zymurgy), but most of them require you to make a keg’s worth and carbonate in the keg. I don’t really have the space for that (beers are the primary thing in my keezer!), and I don’t really want 2, 3, or 5 gallons of hop water that may or may not taste good. For carbonated non-alcoholic beverages, I’m a huge fan of making concentrates that can then be purpose-mixed by the glass (see my tonic syrup and soda syrup recipes).

Photo by Donovan Kelly on Pexels.com

I’ve been keeping an eye out for just this kind of recipe, and recently saw one on the NABeer reddit forum. It fit my most important criterion–a recipe that could be made as a concentrate and mixed with sparkling water–and also gave very specific directions. So, I made some slight adjustments and crafted a batch! The recipe is below.

Hop Water v1.0

  • 500 mL of tap water, heated to 170°
  • 5 g of Centennial hop pellets
  • 1 tsp. of white sugar
  • 1 tbs. of freshly squeezed lime (or lemon) juice
  • carbonated water (12 oz. per serving, approximately)

Procedure

  • I put the white sugar into my Pyrex, and then set my pour-over coffee setup (carefully washed to reduce coffee aroma) on top of the Pyrex.
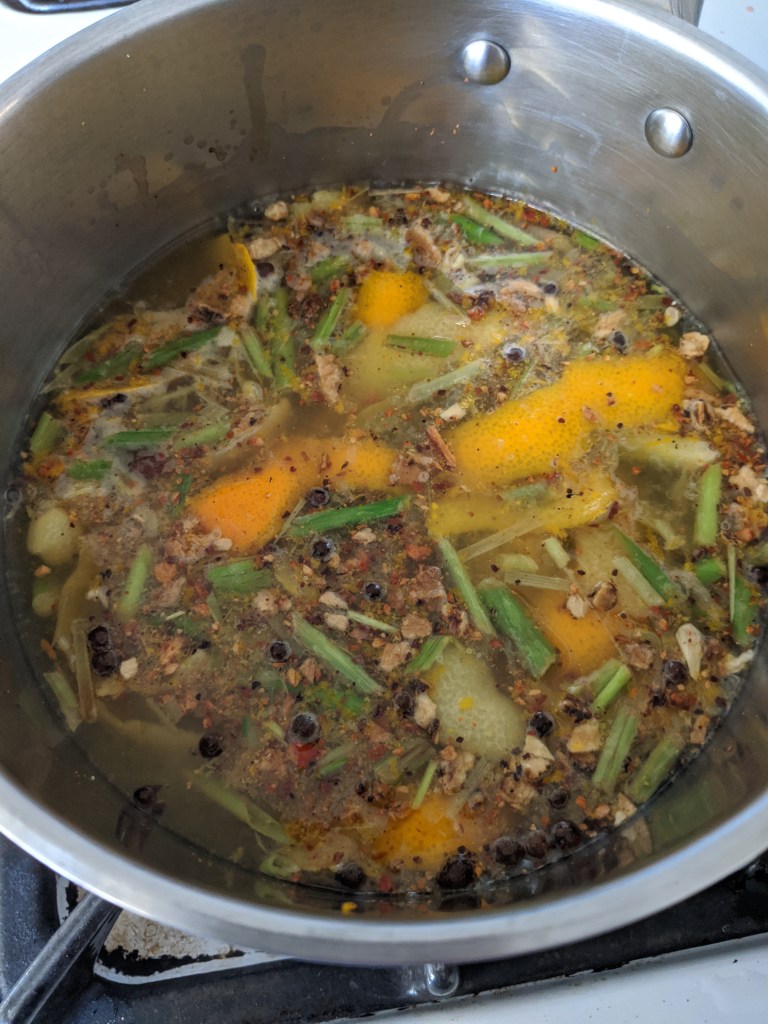
  • I put the hop pellets inside a tea bag, set inside the pour-over coffee setup. Then, I slowly poured the water over the hop pellets, stopping once I had collected around 500 mL of hop water concentrate.
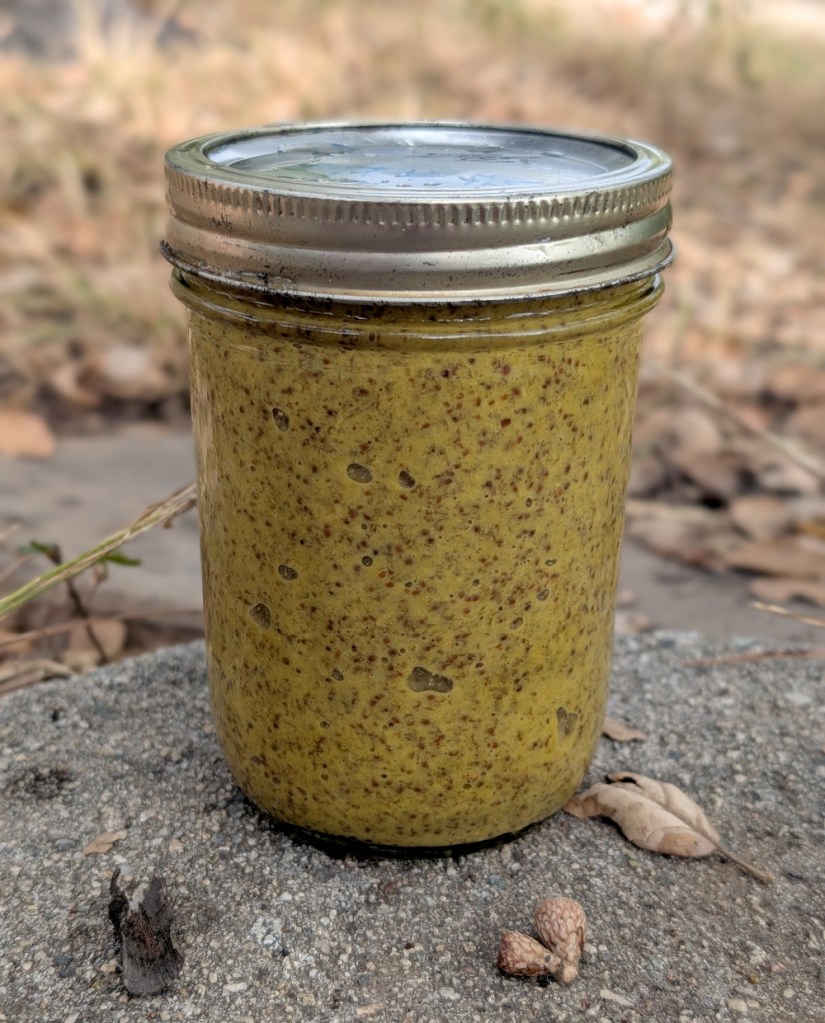
  • Next, I poured the hoppy goodness into a mason jar, closed it up, and set it in an ice bath to chill. This ice bath isn’t required, but I was impatient and wanted to sample my hop water quickly!
  • Once the concentrate was chilled, I added the lime juice, shook it all up well, and then got ready to serve.
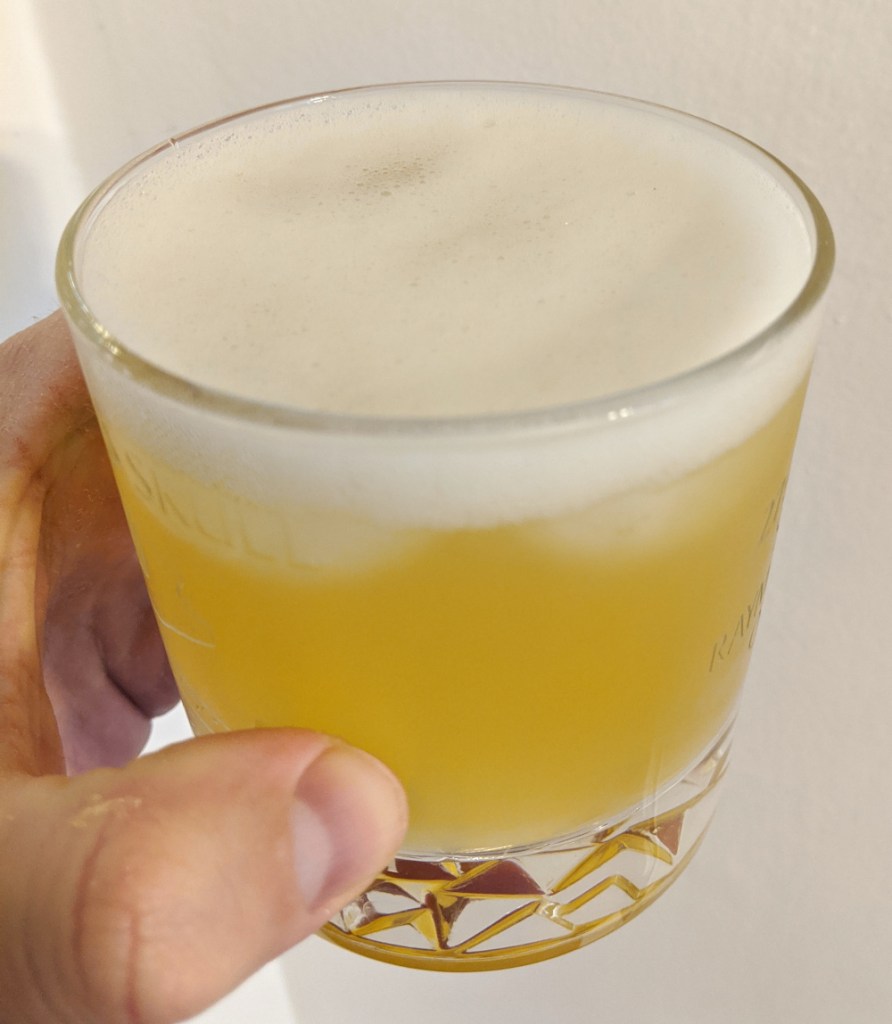
  • To prepare a serving, I mixed 1 shot (~30 mL) of the concentrate with 12 oz. of carbonated water.

Initial Impressions

This is pretty respectable hop water! It’s not overly sweet, and the hoppy bitterness and aroma come through prominently. A recipe on Zymurgy called for 2 oz. of hops cold (1 oz. each of a hop like Citra and Centennial) steeped overnight for a 1 gallon batch, so I might try that to see how it compares.

I’m going to use this as a jumping-off point for some variants — I would like to try a “dip-hopped” version, and I’ll definitely attempt a version with a greater amount of hops. It will be fun to explore this new world, and I’m so glad I have found a hop water I can mix as I need it, without having to tie up a keg.

Spent-Grain Dog Treats

All-grain brewing generates spent grains, and it can be a challenge to deal with them outside of tossing them in the trash. Composting the grains seems to be the best course for my household, although during times of frequent brewing that’s a lot of grain going into the compost barrel. Spent-grain bread is unsatisfying to me, too, because the husks make the product coarser than is really appetizing. So, dog treats are my go-to kitchen use for spent grains.

Hazel, Brew Dog Number One, expectantly awaiting a fresh spent-grain dog treat

First, some notes. Hops are very toxic to dogs, so you should never use the grains from anything that had mash-hopping or any other cases where hops might have gotten mixed in with the grains. Second, a little bit of spent grain goes a long way in this recipe. So, dog treats will never be a primary destination for spent grains resulting from a typical batch, unless you are making industrial quantities. Think of it as a fun novelty and something to do as a post-brew activity. If you have kids around, they might love helping!

This recipe is identical to others floating around out there; my version is based on one posted by the Crafty Beer Girls, hosted at the Red Rock Brewing website. The original version creates a ridiculous quantity, so I halved it and still got more than 40 individual treats. Although these are relatively healthy, we try not to load our dog up with too many treats, so a single batch lasts a long time for us.

Spent-Grain Dog Treats

  • 2 cups spent grain
  • 1 cup all-purpose flour (plus extra for rolling out the dough)
  • 1/2 cup peanut butter
  • 1 egg

Procedure

  • On brew day, I set aside a few cups of spent grain. The grains will keep for up to a week or so in the fridge, but shouldn’t be held longer than that.
  • I preheat the oven to 350°.
  • In a large bowl, I mix the ingredients by hand until the texture is uniform. Then, I split the dough in half and roll each half out on a floured counter or baking mat. The peanut butter makes things somewhat sticky, so the flour is definitely a must.
  • I roll the dough fairly thin, between 1/4 and 1/2 inch max.
  • Using a cookie cutter, I cut out the treats. I like a medium-sized bone shape, but it doesn’t much matter. I do like to avoid any shapes that have sharp edges or corners, just to make them easier or the dog to munch on. It all depends on the size of the dog that will be doing the eating!
  • I place the treats on a baking sheet; these treats do not expand during cooking, so you can place them super close together. There is no need to grease the baking sheet, either; the peanut butter takes care of that.
  • Any scraps left after cutting can get combined and re-rolled, to use up all of the dough.
  • Bake the treats at 350° for 30 minutes, before dropping the oven to 225° and baking another 2 hours. This dries out the treats and gets them ready for storage.
  • Once the treats are done, pull them from the oven and let them cool. They’re ready to eat now! Extras can be kept in an air-tight container or freezer bag. I store them at room temperature, and they keep for months.
  • Depending on the size to which you cut the treats, you can get 40 to 60 pieces out of a single batch.

Images above show my most recent batch of treats from mixing (upper left), rolling (upper right), waiting to bake (right), and a few examples of the finished product (bottom). This particular grist was from a pilsner that was 96% pilsner malt and 4% CaraFoam.

Spicy Brown Mustard

When I think German beer, I think German bratwurst…and then I think sauerkraut and mustard. I’ve never been completely satisfied with store-bought mustard, even the fancy stuff, and so have perfected my own recipe over the last few years. The result is in-your-face, with a fantastic spicy kick from the mustard seeds. I find it interesting that it comes across as horseradish-like, without a single bit of horseradish root.

The recipe is heavily based on a version from The Spruce Eats, but subbing in all brown mustard seed instead of a mix of brown and yellow. I took additional inspiration in the spicing from a recipe at Serious Eats. On the one hand, it’s a fair bit of ingredients; on the other hand, the spices give a complexity that straight-up mustard seeds would not give. I used to add the spices to the simmered liquid ingredients, but for my latest batch I just put them in with the mustard seed and mustard powder. I think I like this revision a bit better, because the aromatics from the spices don’t boil off as much.

The recipe yields around a pint of processed mustard; the mustard seeds swell a surprising amount! The mustard keeps very well in the fridge.

Spicy Brown Mustard

Add to bowl:

  • 1/4 cup + 3 tbs brown mustard seeds
  • 1/4 cup dry mustard powder
  • 1/2 teaspoon ground cinnamon
  • 1/2 teaspoon ground turmeric
  • 1/4 teaspoon ground allspice
  • 1/4 teaspoon dried tarragon
  • 1/8 teaspoon ground nutmeg

Boil for 10 minutes:

  • 1/2 cup water
  • 1 1/2 cups cider vinegar
  • 1 small onion, coarsely chopped
  • 2 tablespoons firmly packed brown sugar
  • 1 teaspoon kosher salt
  • 2 cloves garlic, minced or pressed

Pour the hot liquid over the mustard seeds and mustard powder; stir, cover, and let this mixture sit for 24 hours. It will swell and increase in volume a fair bit. Next, blend the mixture to preferred consistency (I use a stick blender), put it in jars, and refrigerate. Let the mustard sit for at least two days before using (three is better); the mustard has an initial unpleasant bitterness that disappears pretty quickly.

Soda Syrup Recipes

Although beer brewing is the main focus of my beverage-based creativity, I also enjoy making non-alcoholic drink syrups. I’ve perfected a strawberry soda recipe I’m quite happy with, and also have a ginger beer syrup that works very well. I often get asked to pass these recipes along, so I’m going to compile them in a post here for future reference.

All of these syrups are completely non-alcoholic. “Traditional” recipes (such as ones for ginger beer) use natural carbonation, but I prefer to make a concentrated syrup and then mix it with sparkling water. This gives me a bit more control and consistency on the carbonation level, ensures there is absolutely no alcohol in the beverage, and reduces the sometimes yeasty flavor you get from natural carbonation.

Strawberry Syrup

  • Ingredients
    • 1.5 cups strawberries (cut up roughly)
    • 0.9 cups sugar (white or demerera)
    • 0.25 cups fresh-squeezed lemon juice
    • 0.65 cups water
  • Procedure
    • Simmer all ingredients for 15 minutes, mashing strawberries as it comes to a simmer.
    • After 15 minutes, strain through a fine mesh strainer and transfer the syrup to a container. The strawberry sludge left over in the strainer makes a great ice cream topping or spread on bread.
    • Mix ~1 to 2 oz. of syrup with 6 to 8 oz. of sparkling water, or to taste.
bright red strawberries

Ginger Syrup

  • This recipe is very heavily modified from an Alton Brown recipe on The Food Network website. The original version didn’t have nearly enough ginger for my taste; it’s worth experimenting to find what works for you.
  • Just the standard “grocery store ginger” works really well, although you can try out galangal or other gingers if you like.
  • Thanks to my buddy Peter K. for turning me on to this recipe.
  • Ingredients
    • Mid-sized ginger root, peeled and grated
    • 3/4 cup sugar (white or demerera; I usually use demerera)
    • 3/4 cup water
    • 2 tbs. freshly squeezed lemon or lime juice
  • Procedure
    • Bring the ginger, sugar, and water to a boil, and let sit for an hour.
    • Strain into a container, and add the lemon (or lime) juice.
    • Mix ~1.5 oz. of syrup with 6 to 8 oz. of sparkling water, or to taste.
    • This is delicious on its own, or you can use it as a mixer for other drinks.

Juniper Syrup

  • This recipe is modified off of one from Imbibe magazine. I reduced the sugar a bit, and added rosemary–that last ingredient really helped the syrup to “pop,” and brought it a bit closer to a gin-like character. This works really well in a juniper & tonic!
  • Ingredients
    • 3 tbs. dried juniper berries, crushed
    • Peel from one orange
    • 1 sprig rosemary
    • 3 green cardamom pods, crushed
    • 1/2 cup sugar
    • 1 cup water
  • Procedure
    • Bring the juniper berries, orange peel, rosemary, cardomom, and water to a simmer, simmering for 15 minutes.
    • Add the sugar, stir to dissolve, and then transfer the hot mixture (berries and all) to a jar.
    • Steep overnight in the refrigerator, and then strain into a jar.
    • Mix ~1.5 oz. of syrup with 6 to 8 oz. of sparkling water, or to taste.

Tonic Syrup

  • In our house, this serves primarily as a mixer for gin & tonic, although it also works really well for a non-alcoholic juniper & tonic drink.
  • For a full post on the stuff, check out my previous article.

Andy’s Homemade Tonic Syrup

When I’m not drinking beer, my absolute favorite mixed drink (especially in hot weather) is a gin and tonic. I love a good gin, and it also turns out that I’m picky on tonic water. The store brand tonic is cheap but pretty dreadful, being about 90% corn syrup and overly bitter without any complexity. The Fever Tree brand (and others like it) is good, but it’s also pretty expensive. In both cases, I end up with empty bottles that have to be recycled (if they can be recycled), and I’m spending money I shouldn’t have to spend! So, how do I balance my desires to A) save money; and B) get good tonic water?

A few years back, we invested in a Soda Stream–I normally don’t care for single-purpose, ultra-speciality kitchen gadgets, but this has been totally worth the initial cost and the occasional CO2 refill swap (we end up doing this about once a year–I keep two spare bottles on hand at any time)). Thanks to Soda Stream, we don’t have to buy sparkling water from the grocery store (with its accompanying plastic garbage and the inevitable waste of the water that doesn’t get used before it goes flat), and we can mix just about anything we like with syrup. Overall, this gadget cuts down on our waste, and lets us save a good chunk of money by crafting some of our favorite fizzy drinks at home!

Simmering the ingredients

It’s turns out that it’s fairly easy to make a really nice craft tonic water. The key is to start with a tasty syrup…and just add (sparkling) water! I got a copy of The New Cocktail Hour for Christmas a few years back, and used its tonic syrup recipe as a starting point. After a few iterations, I figured out a version that suited my tastes. The main changes were less sugar and a touch more cinchona bark. I had to do a little hunting for specialty ingredients (I ended up ordering the cinchona bark and gentian root online), but once I had those on-hand it’s a pretty inexpensive and easy recipe. A pound of cinchona bark cost ~$25, and it was about the same for the gentian root. These will last me forever! We can just walk out our door and pick the citrus and the lemon grass (thanks, SoCal!), so there’s little cost there. Averaging out after the initial material purchase, it probably costs well under $5 per batch, and I get around a dozen servings of tonic water (<50 cents per serving). Contrast this with ~$1.50 per bottle for the fancy stuff, and it’s a pretty big savings.

Note the an overdose of quinine can lead to ill effects…so, make this recipe at your own risk. I do not recommend consuming the tiny bits of bark that might make it into the syrup, nor do I recommend using powdered bark.

Andy’s Homemade Tonic Syrup

  • Peel from a whole lemon, zested or peeled w/vegetable peeler
  • Peel from a whole lime, zested or peeled w/vegetable peeler
  • Peel from a whole orange, zested or peeled w/vegetable peeler
  • 2 tsp. cinchona bark (coarse cut, not powdered)
  • 1 tsp. gentian root
  • 1/2 tsp. whole allspice berries
  • 2.5 tsp. citric acid powder (or 2/3 cup lemon juice)
  • 2/3 cup lemongrass stalk (fresh, not dried), chopped
  • 1/8 tsp. sea salt
  • 2 cups water (or 1-1/3 cup water if using lemon juice)
  • 1/2 cup demerera sugar (can also use white sugar)

Procedure

  • Combine all ingredients except sugar in a sauce pan, and bring to a low boil.
  • Turn down the heat, and simmer for 15 minutes.
  • Strain the mixture through a mesh strainer or equivalent device, and then transfer into a Mason jar. Add the sugar, stir to dissolve, and store in the fridge.
  • When ready to serve, mix with sparkling water to taste. I usually use just under a shot glass (1.5 oz), with ~6 oz. sparkling water.
  • As long as you keep the syrup refrigerated, it will last around a month (in my experience), and potentially even longer. (as a fair warning, the conservative thing would be to consume it all in a week, but that’s up to you!) You can freeze the syrup, too; it’s never as good as it is fresh, but it’s still way better than the store-bought alternatives!
  • Recipe note: It turns out OK if you leave out one of the types of citrus (e.g., if you don’t have limes in the house), but it’s really better with more different citrus notes. I find the peels rather than zest are more manageable, especially for the lemons and oranges. Also, straight-up citric acid powder creates a crisper-tasting result than using lemon juice, but either way is okay.
Gin and tonic–the syrup creates a gorgeous color!